


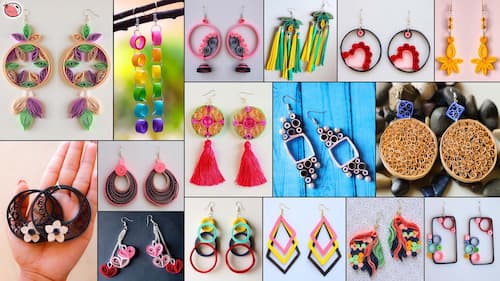
Paper earrings are a unique and stylish addition to any jewelry collection. Not only are they eco-friendly, but they also allow for endless creativity in design. But how do you make paper earrings by yourself? In this comprehensive guide, we'll take you through the steps of how to make your own paper earrings, from choosing materials to crafting your designs. Join us to start your crafting now!
Before we start our tutorial on how to make earrings with paper, we need to prepare paper earrings and gather the following materials:
- Cardstock: Choose a sturdy, high-quality cardstock to ensure durability.
- Cricut, Silhouette, or Laser Cutter: Use one of these machines for precise cutting of your designs.
- Elmer's Glue: Ideal for securely bonding paper elements.
- Sealer: Opt for a clear sealer to protect and finish your earrings.
- Small Jump Rings: Essential for connecting earring components.
- Earring Hooks: Choose hypoallergenic options for sensitive ears.
- Pliers: Needle-nose pliers work best for manipulating jump rings and hooks.
- Paintbrush: Use a fine, high-quality brush for applying glue or sealer precisely.
Now that we have all the necessary materials, we can start to create paper earrings with these easy steps:
The first step in creating paper earrings is selecting your desired design. This could be a simple shape like circles or hearts, or something more intricate. Use your Cricut, Silhouette, or laser cutter to cut out the design from the cardstock. Each earring will require about 10 shapes to achieve the desired thickness. Therefore, cut out your design 20 times (10 for each earring). If you want thicker earrings, you can cut out more shapes. Aim for a total thickness of around 3mm when stacked. Using solid colors or patterned scrapbook paper can add a unique flair to your earrings.
Once you have your cut-out shapes, it's time to assemble them. Take one shape and apply a thin layer of Elmer's Glue using a foam brush or a paintbrush. Be sure to apply the glue quickly and evenly to avoid warping the paper. Place a second shape on top of the glued shape, aligning it precisely. Continue this process, stacking and gluing each shape until you have a stack of 10 shapes. Repeat the same process for the second earring. Ensure that each layer is aligned correctly to maintain a neat and professional appearance.
To add durability and a glossy finish to your earrings, apply a clear sealer. Mod Podge is a popular choice for this. Using a fine paintbrush, apply a thin layer of sealer over the entire surface of each earring, including the edges. This will protect the paper from moisture and wear. Depending on the desired finish, you may need to apply multiple layers, allowing each layer to dry completely before applying the next. Let the earrings dry flat to prevent any drips or runs in the sealer.
Once the sealer is fully dry, it’s time to attach the earring hooks. First, use a small needle or a pin to create a tiny hole at the top of each earring for the jump ring. Open a small jump ring using needle-nose pliers and thread it through the hole in the earring. Close the jump ring securely. For better orientation, add a second jump ring through the first one. Attach the earring hook to the second jump ring and close it securely with the pliers. Repeat the process for the other earring. Then your DIY paper earrings are now ready to wear!
Paper earrings are a unique and creative form of jewelry that blend art with fashion. Here are some popular paper earring designs for you to create your own style:
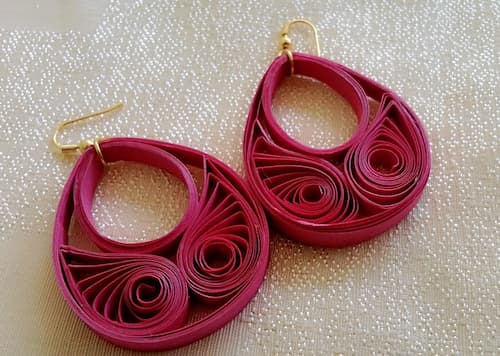
Quilling involves rolling thin strips of paper into various shapes and then gluing them together to form intricate patterns. These earrings can be delicate and intricate, ranging from simple circular designs to more complex floral or abstract patterns.
Origami earrings use the ancient Japanese art of paper folding to create miniaturized paper sculptures. Common designs include cranes, butterflies, and flowers. These earrings are often coated with a sealant to make them more durable.
Paper beads are made by rolling strips of paper into beads and sealing them with varnish. These beads can be painted, printed, or left in their natural state, and then strung together to create unique earrings. They can vary in size and shape, offering endless design possibilities.
These earrings are created by stacking multiple layers of paper together, often in different colors or patterns, to create a three-dimensional effect. The layers can be cut into various shapes and sizes, creating a bold and artistic look.
Paper cut earrings involve cutting intricate patterns and designs out of paper, similar to the art of paper cutting. These earrings often have a lace-like appearance and can be quite delicate. They can be reinforced with a sealant or laminated for added durability.
These earrings feature paper that has been hand-painted with various designs. Artists can use watercolors, acrylics, or other painting techniques to create vibrant and unique pieces of jewelry. The painted paper is then cut into shapes and sealed for protection.
Now you know how to make paper earrings. Creating your own paper earrings is a rewarding and creative endeavor that allows you to personalize your jewelry collection. By following this guide, you'll learn the essential steps and techniques, from choosing materials to crafting intricate designs like quilled flowers. Enjoy crafting your custom paper earrings and showcasing your creativity!
To make paper earrings stronger, use high-quality, sturdy cardstock and glue multiple layers together. Apply a clear sealer, such as Mod Podge, to add durability and a glossy finish. This protects the paper from moisture and wear. Additionally, consider reinforcing critical areas with small amounts of resin for extra strength.
To make paper earrings water-resistant, apply a clear sealer like Mod Podge or a waterproof varnish. Coat the earrings thoroughly, including the edges, and allow each layer to dry completely before applying additional coats. This creates a protective barrier that helps prevent damage from moisture.
Yes, you can make paper earrings with recycled materials. Use old magazines, newspapers, or scrap paper for your designs. Ensure the paper is clean and sturdy. Layer the paper for added strength, and apply a clear sealer to protect and enhance durability. This eco-friendly approach creates unique, stylish jewelry.
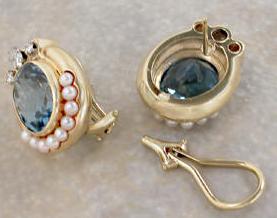
Learn how to fix a broken earring with our quick and easy repair guide. Discover simple steps to restore your favorite earrings and keep them looking beautiful.
Read More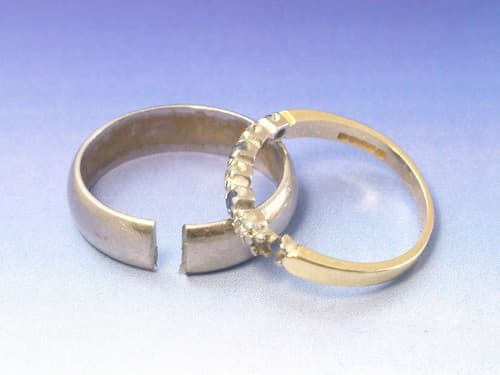
Learn how to fix a broken ring with our step-by-step guide. Discover easy DIY methods and professional repair tips to restore your ring to its original beauty.
Read More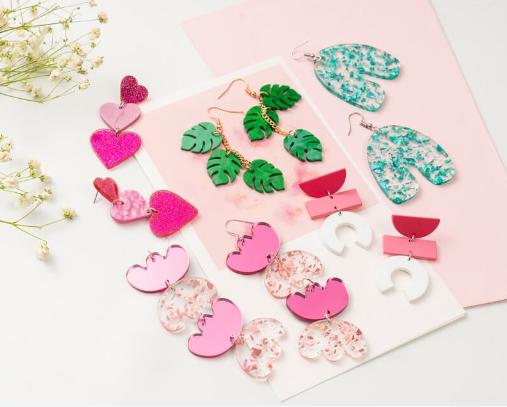
Learn how to make acrylic earrings with our easy step-by-step guide. Discover tips, tools & techniques to create beautiful, custom DIY acrylic earrings at home.
Read More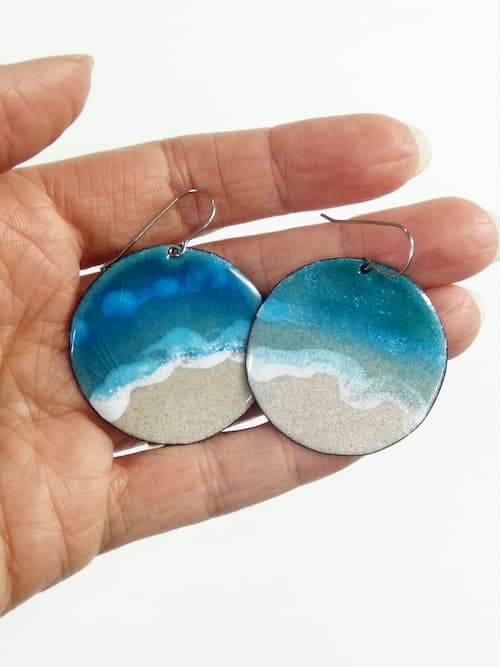
Learn how to make enamel earrings with our step-by-step guide. Discover essential tips, materials & techniques for creating beautiful, custom DIY jewelry at home.
Read More