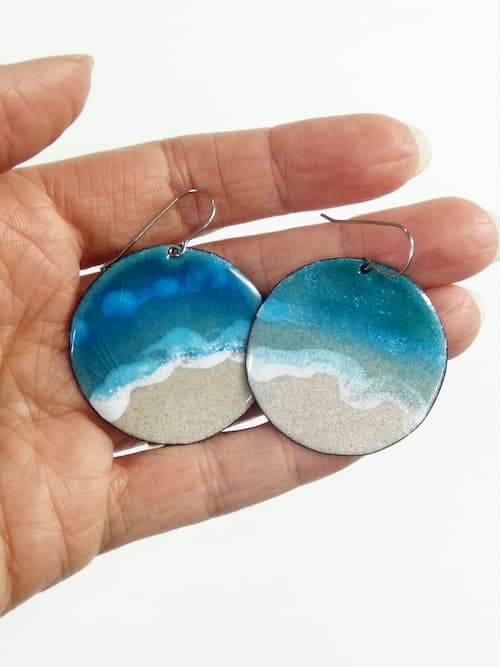
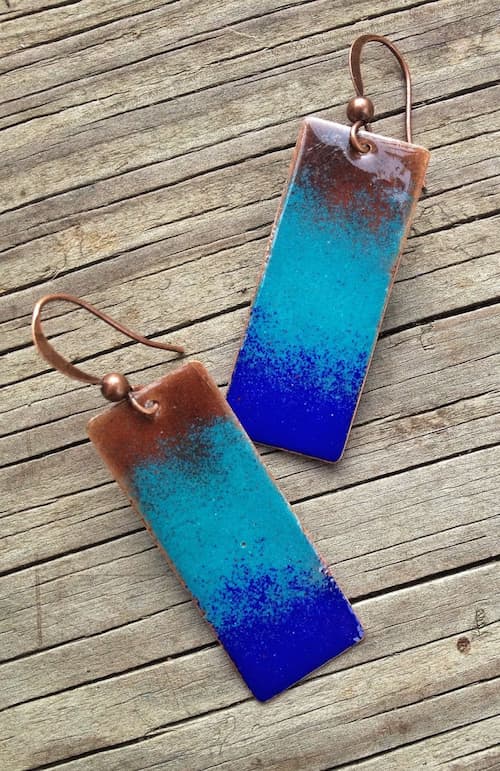
Creating your own jewelry can be a rewarding and creative experience. Enamel earrings, in particular, are a popular choice due to their vibrant colors and unique designs. This guide will walk you through the process of how to make enamel earrings, from understanding what enamel is to gathering the necessary tools and materials, and finally, crafting your beautiful pieces. Whether you're a beginner or looking to refine your skills, this step-by-step guide will help you create stunning enamel earrings. Without further ado, let’s begin and enjoy the journey of creating beautiful enamel earrings!

Enamel is a durable and decorative glass-like coating that is fused to metal, ceramics, or glass surfaces through a high-temperature firing process. It is known for its vibrant colors, glossy finish, and resilience. Enamel is created by melting powdered glass onto the surface of the base material, where it adheres and hardens upon cooling. This coating not only enhances the visual appeal of the object but also provides protection against wear, corrosion, and fading.
Historically, enamel has been used for centuries in decorative arts, jewelry making, and even in architectural applications. It allows for intricate designs and detailing due to its ability to be applied in multiple layers and fired repeatedly to achieve desired effects. Enamel can be found in a wide range of applications, from intricate jewelry pieces to durable cookware and decorative art objects, showcasing its versatility and enduring beauty.

Before you begin making your enamel earrings, you'll need to gather the following tools and materials:
Now that you have all the necessary tools and materials, here are the easy steps on how to make your very own enamel earrings:
Step 1: Preparation
To start crafting enamel earrings, gather the necessary tools and materials as we provided above. Meanwhile, ensure your workspace is clean and well-ventilated for working with enamel.
Step 2: First Baking
Using tweezers, carefully apply enamel powder to the brass piece through the sieve, ensuring an even coating. Place the brass on a baking rack and bake in a preheated oven at 200°C for 8 minutes to fuse the enamel onto the surface.
Step 3: Deoxidation
Soak After baking, immerse the brass piece in the deoxidization solution to remove any residual dirt or oxidation. This step prepares the surface for further enameling.
Step 4: Cleaning
Clean the brass thoroughly with a cleaning agent to eliminate any remaining dirt or contaminants. Ensure the surface is completely dry before proceeding.
Step 5: Second Color Coating
Once cleaned and dried, repeat the enamel powder application process to add a second layer of color to the brass piece. Use the tweezers and sieve to apply the enamel evenly.
Step 6: Second Baking
Place the brass piece back on the baking rack and return it to the oven. Bake at 200°C for another 8 minutes to set the second layer of enamel. This ensures durability and a smooth finish.
Step 7: Creating the Pattern
Allow the brass piece to cool completely. Use specialized tools to create intricate patterns or designs with different colors of enamel powder. This step adds unique detailing and visual interest to your earrings.
Step 8: Final Baking
Once the pattern is set, bake the brass piece again at 200°C for 8 minutes. This final baking step ensures the pattern is securely fused into the enamel surface, creating a lasting finish.
Step 9: Assembly
To complete the earrings, attach earring hooks or studs to the enamel brass eardrop using small jump rings or wire. Ensure all components are securely fastened for durability and wearability.
Step 10: Completion
Congratulations! Your beautifully crafted enamel earrings are now finished and ready to be worn or gifted. Enjoy the unique design and handmade quality of your jewelry creation.
Now that you've learned how to make enamel earrings, you possess the skills to create stunning pieces of jewelry that reflect your creativity and style. Each step, from preparing the materials to applying multiple layers of enamel and baking them to perfection, contributes to the unique beauty of your earrings. So embrace the artistry of enamel work and enjoy wearing or sharing your handmade creations, knowing they are as unique and special as you.
Yes, enamel is safe for earrings. When properly fired and finished, enamel forms a durable, non-toxic coating that is safe for skin contact. It's important to ensure that the enamel is fully fused to the metal and that there are no sharp edges or unfinished areas that could cause irritation.
To care for your enamel earrings, avoid exposing them to harsh chemicals, extreme temperatures, and rough handling. Clean them gently with a soft cloth and mild soap if necessary. Store them in a dry, protected area to prevent chipping or scratching.
Enamel earrings are typically made of metal, such as copper, silver, or gold, coated with a layer of enamel. The enamel itself is a type of glass powder that melts and fuses to the metal surface when heated. This combination creates a durable and colorful piece of jewelry.
Learn how to make leather earrings with our easy step-by-step guide. Discover tips and materials needed to create stylish, custom leather earrings at home.
Read MoreWondering how to make resin earrings? Perfect for DIY enthusiasts, follow our step-by-step guide to create stunning resin earrings. Start your creative craft now!
Read MoreLearn how to make seashell earrings with our step-by-step guide. Perfect for beginners, this DIY tutorial will help you create beautiful, beach-inspired jewelry.
Read MoreLearn how to display jewelry with our 6 effective methods, including display trays, stands, and more. Showcase your pieces beautifully and enhance your sales!
Read More