


Leather earrings are a fantastic addition to any jewelry collection, offering a stylish and versatile accessory that can be customized to fit any taste. But, on one note, how do you make leather earrings in a stylish way? Well, here’s the answer for you. In this comprehensive guide, we'll walk you through everything you need to know to create your own unique leather earrings, from selecting materials to mastering the techniques. Join us to start your creative leather earring journey!
Leather earrings are fashionable accessories crafted from genuine or faux leather. These earrings can be made in various shapes, sizes, and designs, ranging from simple, minimalist designs to more elaborate and intricate pieces, allowing for endless creativity and personalization.
Leather earrings are favored for their durability and the comfortable wear they provide due to their lightness. Lightweight and versatile, leather earrings are often adorned with additional elements like beads, metal accents, or paint to enhance their aesthetic appeal. Their flexibility allows for unique and creative designs, making them popular for both casual and formal wear.
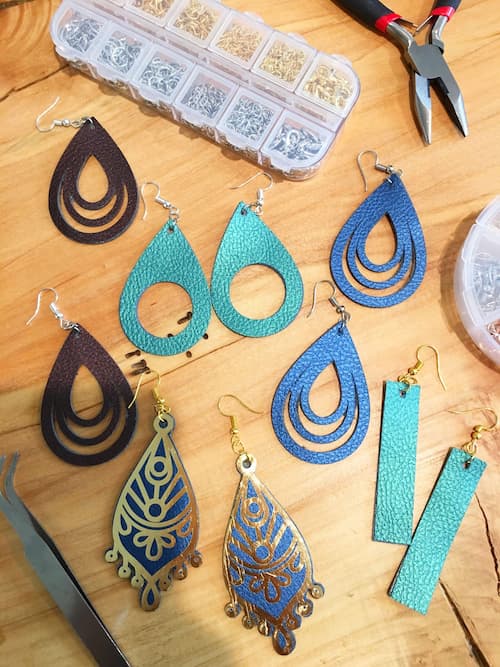
Before you start your journey on how to make leather earrings, it's important to gather all the necessary tools and materials. Here's a list of what you'll need:
Tools
Materials
Now that you've gathered all your tools and materials, let's jump into the step-by-step process of creating leather earrings.
Step 1: Choose Your Leather
To start to make faux leather earrings, select the leather or faux leather you want to use for your earrings. Consider the color, texture, and thickness. Thinner leather is easier to cut and manipulate, while thicker leather can add more dimension to your design.
Step 2: Create a Template
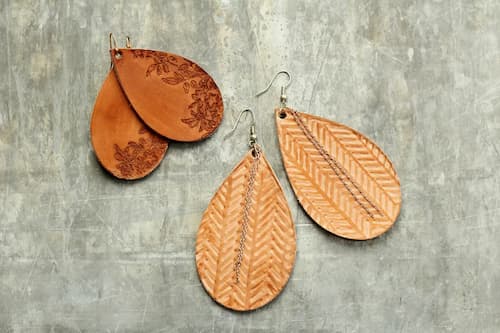
If you don't already have a template, create one by drawing your desired earring shape on a piece of paper or cardstock. You can find many free templates online or design your own. Common shapes include teardrops, feathers, and geometric patterns.
Step 3: Trace the Template
Place your template on the leather and trace around it with a fine-tip marker or pen. Be sure to trace as many pieces as you'll need, including any layers or additional elements for your design.
Step 4: Cut the Leather
Using a precision knife or rotary cutter and a metal ruler, carefully cut out the traced shapes from the leather. Take your time to ensure clean, straight edges. If your design has intricate details, use scissors to cut those out more precisely. For example, if you want to make braided leather earrings, prepare strips and cut them to the desired length using scissors. However, to make leather fringe earrings, you can measure and mark lines on each rectangle, and cut along these lines to form the fringe.
Step 5: Punch Holes
Use a leather punch to create holes where you'll attach the earring findings. Ensure the holes are evenly spaced and sized correctly for the jump rings or hooks you'll be using.
Step 6: Add Embellishments (Optional)
If you want to add texture or designs to your earrings, use embossing tools or stamps to decorate the leather pieces. You can also paint or dye the leather to achieve your desired look.
Step 7: Assemble the Earrings
Using needle nose pliers, open the jump rings and attach them to the punched holes in your leather pieces. Then, attach the earring hooks to the jump rings. Ensure all components are securely fastened.
Step 8: Finish your Jewelry
Inspect your earrings to ensure all parts are securely attached and there are no rough edges or loose elements. Trim any excess leather or threads as needed.
Now that you know how to make leather earrings, you can unleash your creativity and craft unique pieces that complement any style. Whether you prefer simple designs or intricate embellishments, this DIY project offers endless possibilities for personalization. Enjoy the process of designing and crafting your own leather earrings, and share your stylish creations with friends and family. Embrace the art of handmade jewelry and showcase your unique fashion sense with every pair you create.
To put holes in leather earrings, use a leather punch, which is a tool designed specifically for punching clean holes in leather. Choose the appropriate size punch for your earring findings and carefully align it with the spot where you want the hole. Press down firmly to create a clean, precise hole.
Leather earrings can be cut using a precision knife or rotary cutter for straight lines and smooth edges. For more intricate details, a sharp pair of scissors is ideal. Always use a cutting mat to protect your work surface and ensure clean cuts.
For faux leather earrings, use a strong adhesive like E6000 or a similar craft glue designed for use with leather and fabric. These types of glue provide a durable bond and are flexible enough to handle the movement and wear that earrings experience. Apply a thin layer of glue to the areas you want to adhere to, press the pieces together firmly, and allow the glue to dry completely before wearing the earrings.
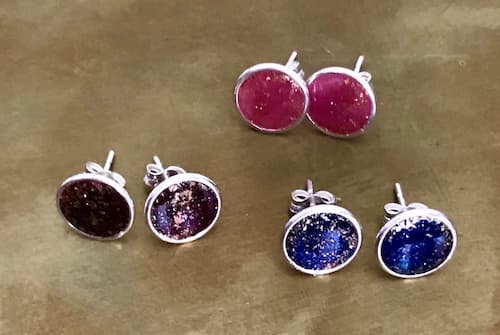
Wondering how to make resin earrings? Perfect for DIY enthusiasts, follow our step-by-step guide to create stunning resin earrings. Start your creative craft now!
Read More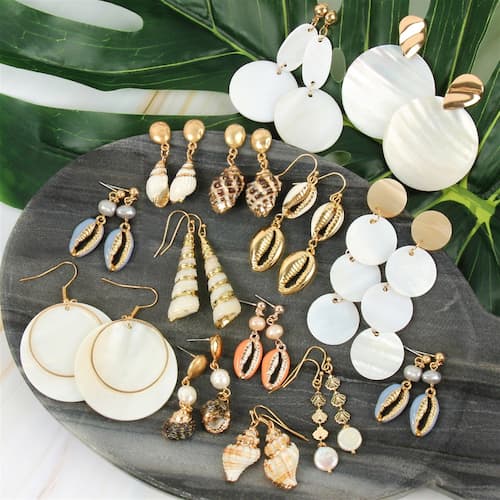
Learn how to make seashell earrings with our step-by-step guide. Perfect for beginners, this DIY tutorial will help you create beautiful, beach-inspired jewelry.
Read More
Learn how to display jewelry with our 6 effective methods, including display trays, stands, and more. Showcase your pieces beautifully and enhance your sales!
Read More
Learn how to make Taylor Swift friendship bracelets with our detailed guide. Discover themed ideas and essential tools and follow our step-by-step instructions.
Read More