


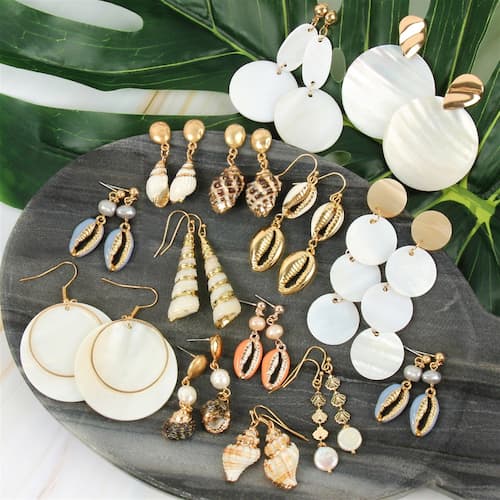
Creating your own jewelry can be a rewarding and enjoyable experience, and seashell earrings are a perfect project for beginners and seasoned crafters alike. With a few basic materials and some creativity, you can transform beautiful shells into unique, stylish accessories. But how to make seashell earrings in easy steps? In this guide, we will walk you through everything you need to know to make your own seashell earrings. Join us to learn more.
Creating seashell earrings offers numerous benefits, making it a worthwhile craft. Here are several reasons why you should consider making seashell earrings:
Seashell earrings are more than just trendy accessories; they carry sentimental and symbolic value. Often reflecting cherished memories of beach vacations or seaside adventures, these earrings can capture the essence of special moments. Crafting your own seashell earrings allows you to design personalized jewelry that resonates with your unique style and experiences, transforming ordinary shells into meaningful keepsakes.
Seashell earrings make thoughtful, one-of-a-kind gifts. Handmade items carry a personal touch that store-bought accessories often lack, making them perfect for friends and family. The effort and care put into crafting these earrings make them a memorable and special gift, highlighting the personal connection and creativity involved.
The process of making your own jewelry is also cost-effective. Instead of spending money on expensive designer pieces, you can create beautiful and unique accessories without a hefty price tag. This approach allows you to enjoy fashionable and customized jewelry without breaking the bank.
Crafting seashell earrings promotes sustainable practices. By repurposing natural materials, you contribute to reducing waste and embracing eco-friendly crafting. This not only benefits the environment but also gives you the satisfaction of turning ordinary shells into stunning, wearable art.
Before you start your project, gather the following materials:
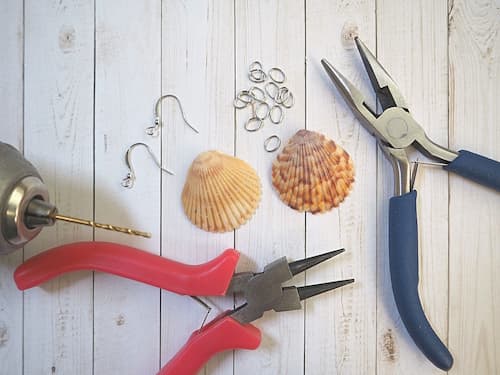
Now that you have all the materials and tools needed, here are the easy steps on how to make earrings with shells:
The first step in making shell earrings is to prepare your workspace by using a 2-inch thick old wooden cutting board. This will prevent the drill from piercing through the shell and damaging your work area. Prioritize safety by wearing protective eyewear, following the drill's instructions, and ensuring that children do not perform this step. Using a pen or marker, mark the center top of each shell, making the marks as equal as possible. Carefully drill the holes, starting from the inside of the shell, and drill slowly to avoid breaking the shells.
Attach jump rings to the beads by first adding one jump ring to each bead, followed by a second jump ring to the first on each bead. Handle the glass beads with care to avoid breaking them, and ensure they are not too large for the jump rings; if you prefer larger beads, use appropriately sized jump rings.
Attach jump rings to the shells by first adding one jump ring to each drilled hole, then adding a second jump ring to the first on each shell. This creates a secure link for the earring components, ensuring that the shells are properly connected and can easily attach to other parts of the earring design.
Secure the fish hook earring fixture to the final jump ring on each shell. This completes the earring assembly, ensuring the shells are firmly attached to the hooks, making them ready to wear as stylish accessories.
Link the bead to the inside of the shell by connecting the jump ring on the shell with the jump ring on the bead, ensuring all jump rings are completely closed. This completes your earrings, resulting in a beautiful pair that will always remind you of a wonderful beach holiday!
Creating your own DIY seashell earrings is a fun and rewarding project that allows you to craft unique, personalized jewelry with sentimental value. This DIY project not only offers a cost-effective and sustainable way to make jewelry but also provides the joy of handmade craftsmanship. With the right materials and a bit of patience and following this step-by-step guide on how to make seashell earrings, you'll have a beautiful pair of seashell earrings to cherish or gift to loved ones. Dive into this creative endeavor and enjoy the satisfaction of making your own seashell earrings!
Many types of shells can be used for jewelry, including conch shells, cowrie shells, scallop shells, and abalone shells. The choice depends on the size, shape, and color you prefer. Smaller, lightweight shells are typically best for earrings to ensure comfort and wearability.
To clean seashells for jewelry, soak them in a mixture of equal parts water and vinegar for a few hours. After soaking, gently scrub the shells with a soft brush to remove any remaining debris. Rinse thoroughly with clean water and allow them to dry completely before using them in your jewelry projects.
In many cultures, shells are symbols of protection, love, and fertility. They are often associated with the ocean, which is seen as a source of life and transformation. Shells can also represent the journey of life, with their spiral shapes symbolizing growth, expansion, and the cycle of life and rebirth.
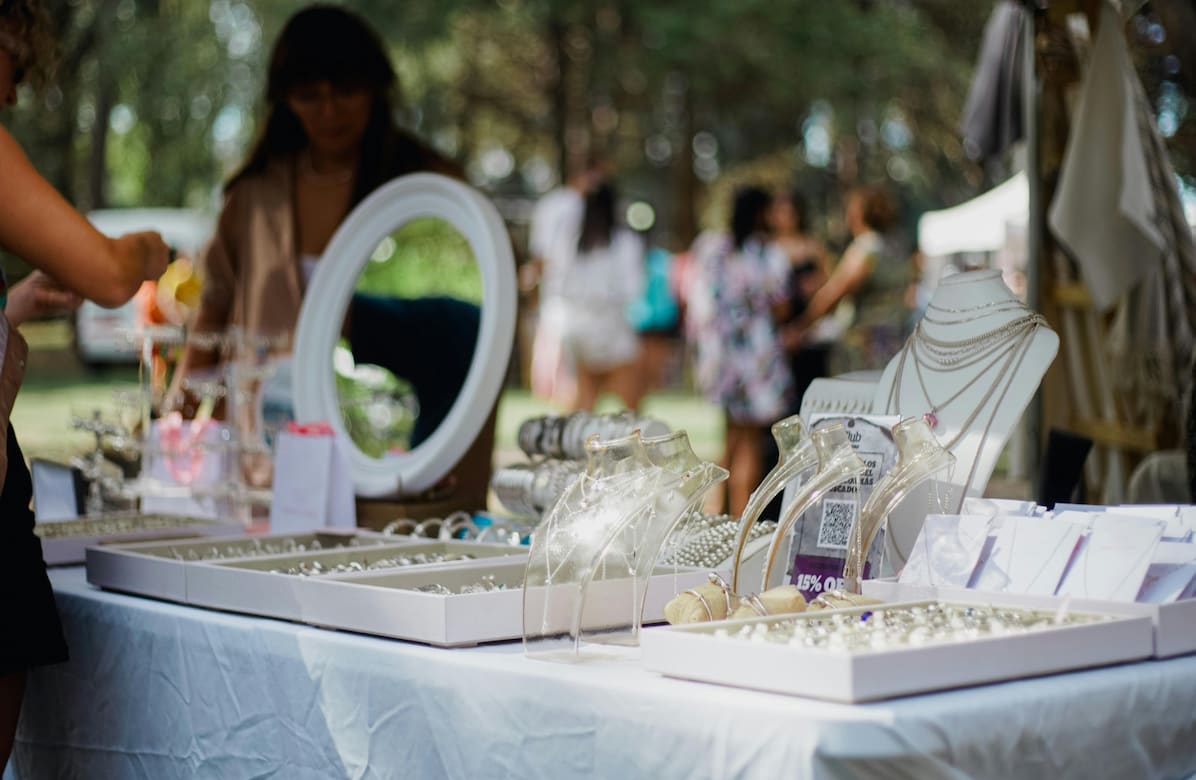
Learn how to display jewelry with our 6 effective methods, including display trays, stands, and more. Showcase your pieces beautifully and enhance your sales!
Read More
Learn how to make Taylor Swift friendship bracelets with our detailed guide. Discover themed ideas and essential tools and follow our step-by-step instructions.
Read More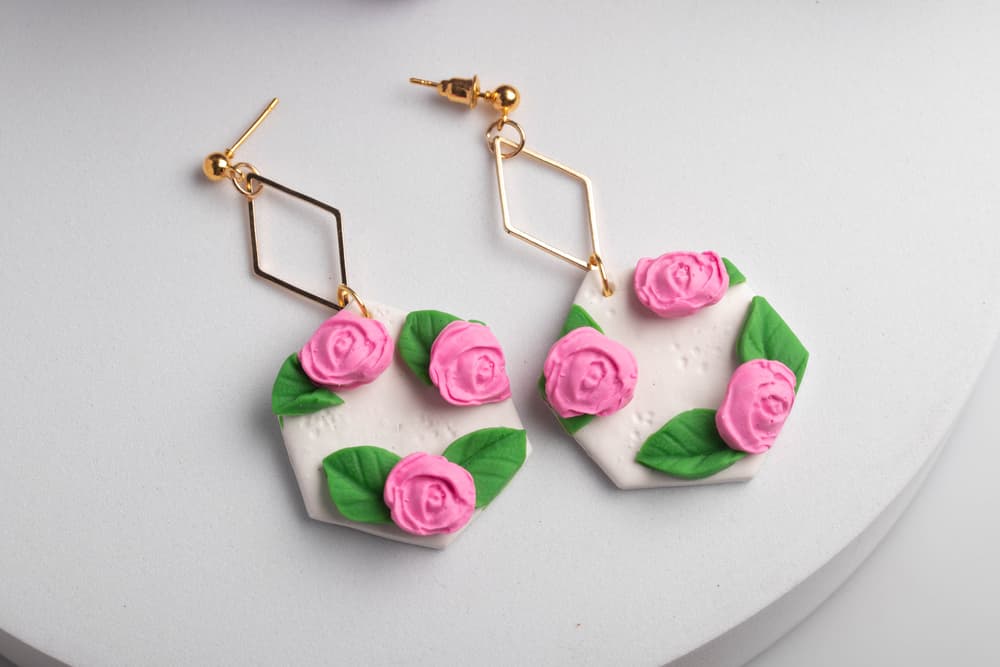
Learn how to make clay jewelry with our DIY guide, from selecting the right materials to mastering the crafting process. Start your creative journey today!
Read More
Learn how to start a jewelry business here. From market research to branding and marketing, follow our steps to kickstart your own jewelry venture successfully.
Read More