


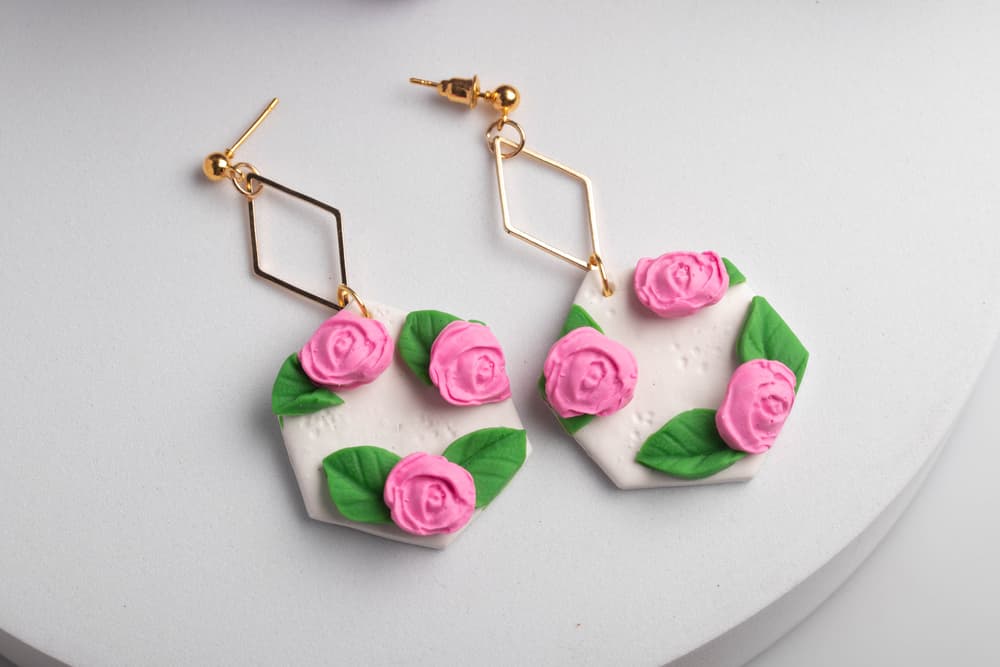
Have you ever wondered how those vibrant, intricate pieces of clay jewelry are made? Well, you're in the right place! This guide will walk you through the ins and outs of how to make clay jewelry, transforming simple materials into stunning, personalized pieces. From understanding the basics of polymer clay to mastering the art of shaping and curing it into beautiful adornments, we'll cover all you need to know to start creating beautiful, wearable art.
Polymer clay is a type of modeling clay based on the polymer polyvinyl chloride (PVC). It comes in a myriad of colors and can be mixed to create a vast range of hues and effects. Unlike traditional earthen clays that need to be fired in a kiln, polymer clay hardens when baked in a regular home oven, making it a highly accessible and versatile material for crafting and jewelry-making.
The texture and consistency of polymer clay make it exceptionally pliable and easy to work with. It can be molded, shaped, and sculpted into detailed designs that retain their form and color after baking. This unique feature makes it a favorite among both hobbyists and professional artisans who are drawn to its simplicity and the professional-quality results it delivers.
Finding polymer clay is as easy as it is fun to work with. Here's where you can find this versatile crafting material:
When embarking on your creative journey with polymer clay, choosing the right brand can significantly impact the ease of use and the quality of your final products. Here are some of the most renowned brands in the polymer clay market:
Creating your own polymer clay jewelry is a rewarding process that blends creativity with technique. Here's a comprehensive guide on how to make clay jewelry for beginners:
Before we delve into the process of making polymer clay jewelry for beginners, ensure you have the right materials and tools. You will need:
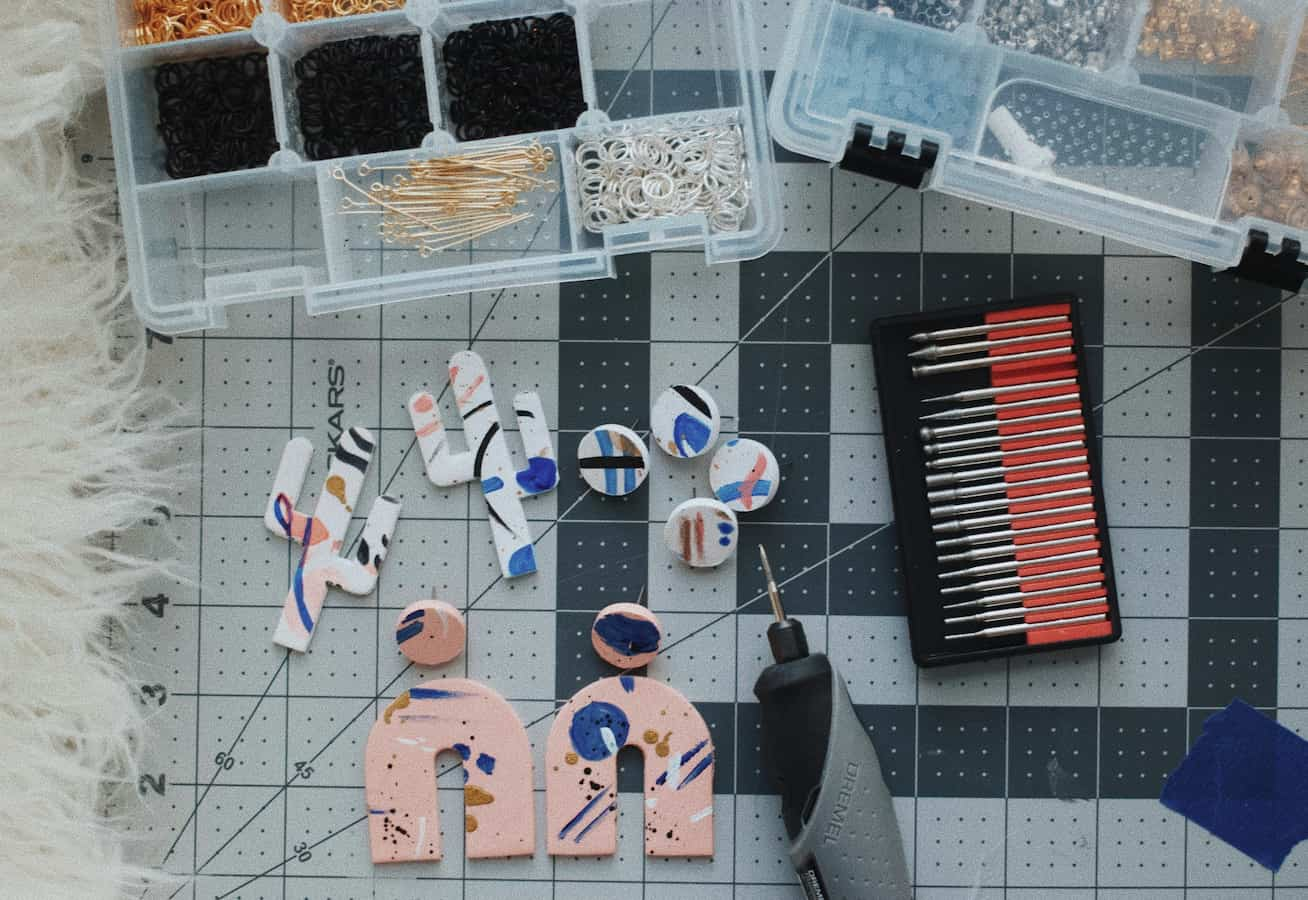
Now that you have the necessary tools and materials ready, follow these step-by-step instructions on how to make clay for jewelry:
1.Prepare Your Workspace: Clear a space on a non-porous surface such as glass or marble. Gather all necessary tools and materials as listed above.
2.Condition the Clay: Take the polymer clay and knead it with your hands or run it through a pasta machine multiple times until it becomes more flexible. This is crucial as it prevents the clay from cracking when you're shaping it.
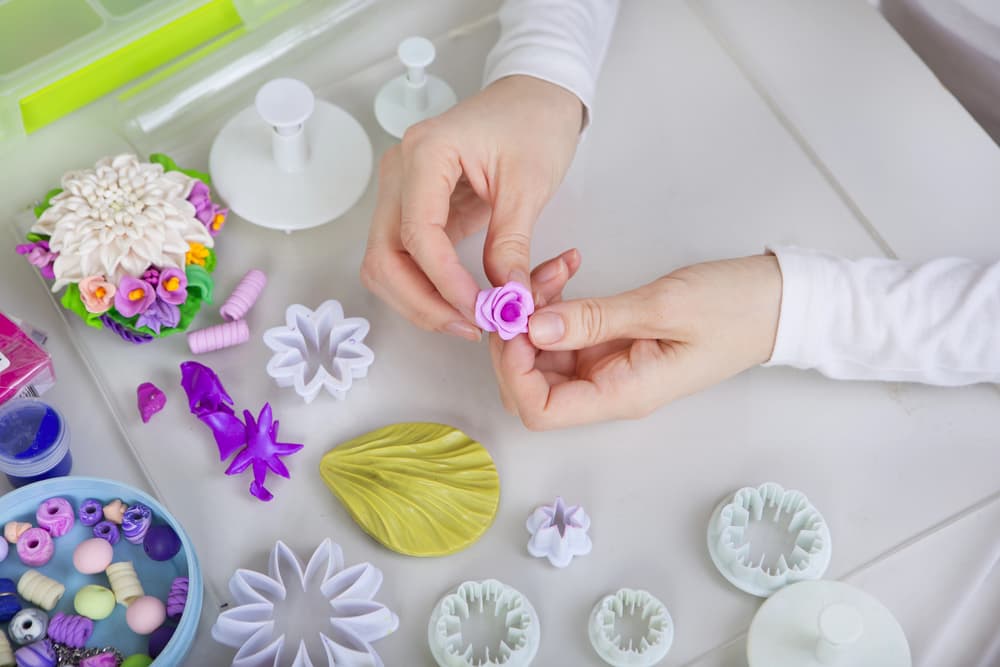
3.Shape the Clay: Flatten the clay to your desired thickness using a rolling pin or a pasta machine. Use shape cutters or craft knife to cut out the desired shapes for your jewelry. You can create anything from flat charms for bracelets and necklaces to beads for earrings.
4.Add Details and Textures: Impress patterns or textures onto the surface of the clay using stamps, fabric, or textured sheets. Use a needle or toothpick to make holes in beads or to add fine details. Combine different colors of clay to make intricate designs or marbled effects.
5.Cure the Clay: Preheat your oven according to the clay manufacturer's instructions. Place your shaped clay on a parchment-lined baking tray and bake for the recommended time, usually about 30 minutes for every 1/4 inch of thickness at 275°F (135°C). Be sure not to overbake as it can cause discoloration or burning.
6.Cool and Sand: Allow the baked clay pieces to cool completely before handling. Use fine-grit sandpaper to smooth any rough edges or surfaces, ensuring a professional finish.
7.Apply Finish: Apply a layer of glaze or varnish to protect your jewelry and enhance the colors. This step is optional but recommended for a glossy finish and added durability.
8.Assemble the Jewelry: Attach the finished pieces to jewelry findings such as earring hooks, necklace chains, or jump rings. Use pliers to open and close the metal findings, securely attaching each polymer piece.
Learning how to make clay jewelry opens up a world of creativity and personal expression. Throughout this post, we've covered the fundamental aspects, from understanding what polymer clay is and where to find the best supplies, to following a detailed step-by-step guide on crafting your own pieces. The key to mastery is practice and experimentation. Don't hesitate to mix colors, try new techniques, and let your creativity flow. With time and effort, you'll be able to create beautiful, one-of-a-kind polymer clay jewelry pieces that you can wear proudly or give as gifts.
Polymer clay is the most popular choice for making jewelry. It is a versatile, durable, and easy-to-use material that comes in various colors. Polymer clay can be baked in a standard home oven, making it accessible for most people. Brands like Sculpey, Fimo, and Premo are commonly used by crafters.
To make clay earrings for beginners, start by conditioning your polymer clay until it is soft and pliable. Roll out the clay to your desired thickness using a rolling pin. Use clay cutters or a craft knife to cut out the shapes for your earrings and drill holes for earring hooks. Add texture or details using clay tools or stamps. Bake the pieces according to the manufacturer's instructions. Once baked and cooled, you can sand the edges for a smooth finish and seal the earrings with a glaze or varnish. Attach the earring findings to complete your earrings.
Sealing clay jewelry is important to protect the pieces and add shine. After baking and cooling your polymer clay jewelry, apply a thin coat of glaze or varnish using a soft brush. Choose a finish that suits your preference, such as matte, satin, or glossy. Apply multiple thin coats, allowing each layer to dry completely before adding the next. This helps to prevent drips and ensures an even finish.
Learn how to start a jewelry business here. From market research to branding and marketing, follow our steps to kickstart your own jewelry venture successfully.
Read More
Discover what to do with old jewelry. Explore creative ways to repurpose them into new crafts or consider selling, donating, or recycling for a fresh start.
Read More
Why does jewelry turn skin green? Learn the causes with our guide and discover effective methods to prevent this common issue and keep your skin clean.
Read More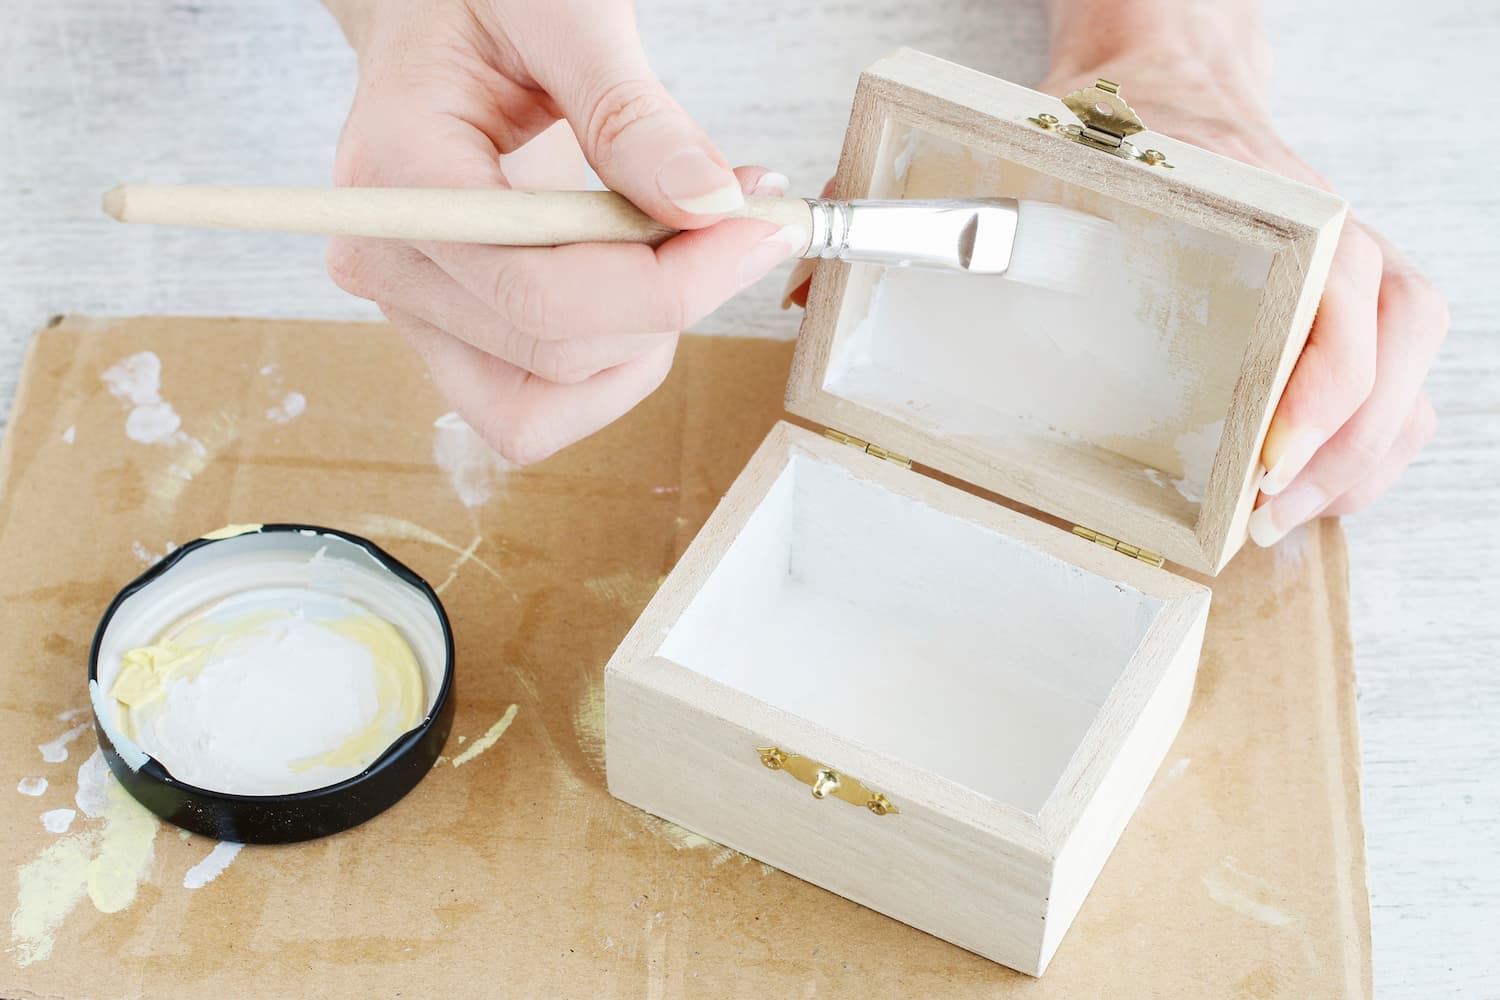
Learn how to make a jewelry box from scratch. Discover the tools needed, step-by-step instructions, and creative ideas to craft a personalized jewelry box.
Read More