


Are you a Swiftie planning to attend the next concert or host a fan get-together? Learning how to make Taylor Swift friendship bracelets is not only a fun craft activity but also a fantastic way to express your admiration and add a personalized touch to your style.
This guide will walk you through everything from the history of these iconic bracelets to a step-by-step tutorial on how to make Taylor Swift bracelets of your own. So, grab your crafting tools, and let's get started on creating something that shouts your fandom in style!

So, what are the bracelets at Taylor Swift concert? Taylor Swift friendship bracelets are more than just simple accessories; they are a symbol of connection and affection among fans of the iconic singer-songwriter. Originating from the tradition of exchanging handmade bracelets as tokens of friendship, these bracelets have been adopted by Swifties worldwide as a way to celebrate their favorite artist.
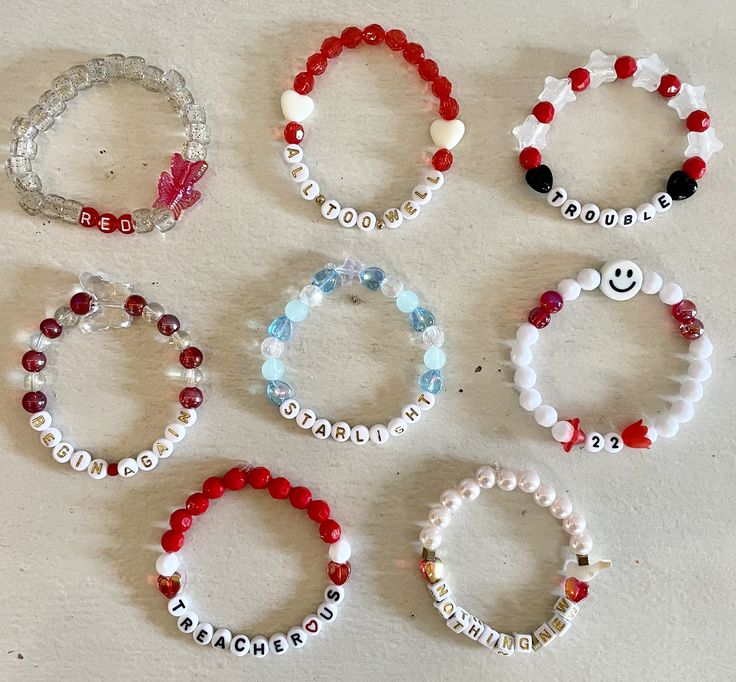
Typically vibrant, adorned with beads, charms, and often featuring lyrics or themes from Taylor Swift's music, these bracelets are a popular trend at concerts, fan meet-ups, and across social media platforms. They are not only a fashion statement but also a medium through which fans express their creativity, share personal messages, and display their dedication to Taylor's ever-evolving musical journey.
Now that you know why Taylor Swift fans make friendship bracelets, you might be wondering "How did this trend start?" Well, the tradition of Taylor Swift friendship bracelets began with the inspiration from her song "You're on Your Own, Kid," from her album "Midnights", where she sings, "Make the friendship bracelets, take the moment and taste it." Fans took this lyric to heart, crafting and exchanging beaded bracelets as a symbol of community and connection at her concerts.
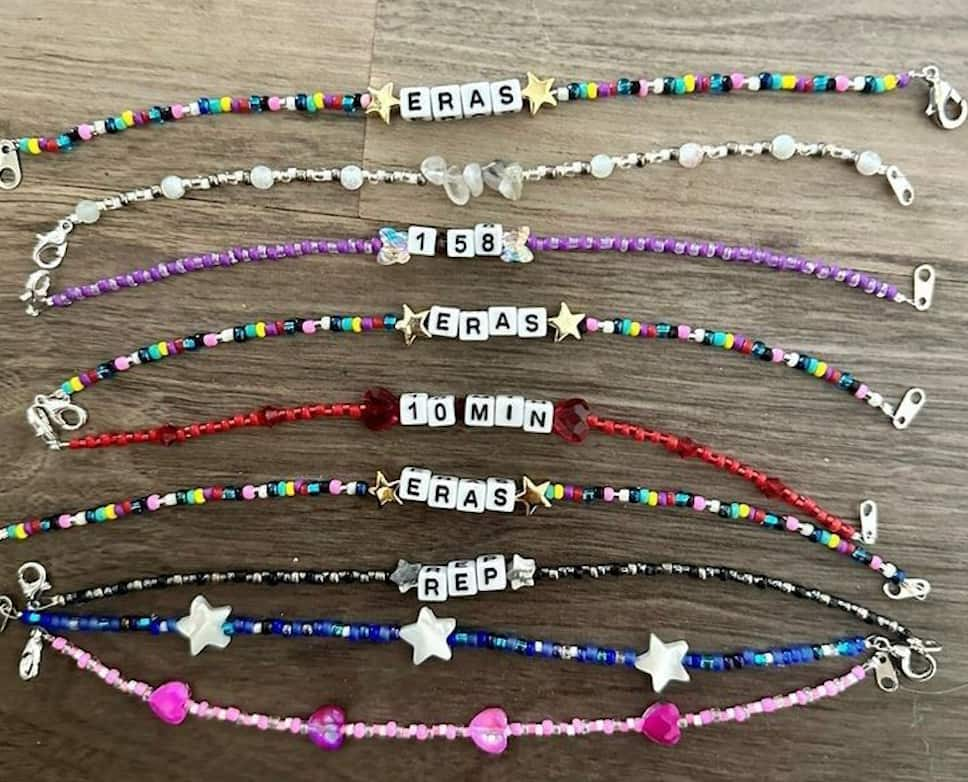
This practice gained immense popularity during her "Eras Tour" in 2023, with concert-goers bringing handmade bracelets to swap with other fans. The act of making and trading these bracelets has become a cherished part of the concert experience, fostering a sense of unity and camaraderie among Swifties. This trend echoes the nostalgic tradition of making friendship bracelets, infusing it with a modern twist and a shared love for Taylor Swift's music.
When designing a Taylor Swift friendship bracelet, the possibilities are as limitless as the themes and imagery found in her music. After all, what are taylor swift friendship bracelets if not reflections of your favorite lyrics, album titles, or iconic symbols associated with her?
Here are some ideas on what to include to make your bracelet uniquely Swift-inspired:
From choosing the perfect Taylor Swift song for inspiration to selecting materials and personalizing the design, each step plays a part in bringing your customized bracelet to life. Below is the process of how to make friendship bracelets for Taylor Swift concerts or fan meet-ups, step by step:
Before you start, choose a theme or "Era". Here are some ideas for inspiration:
Fearless Era:
Red Era:
Reputation Era:
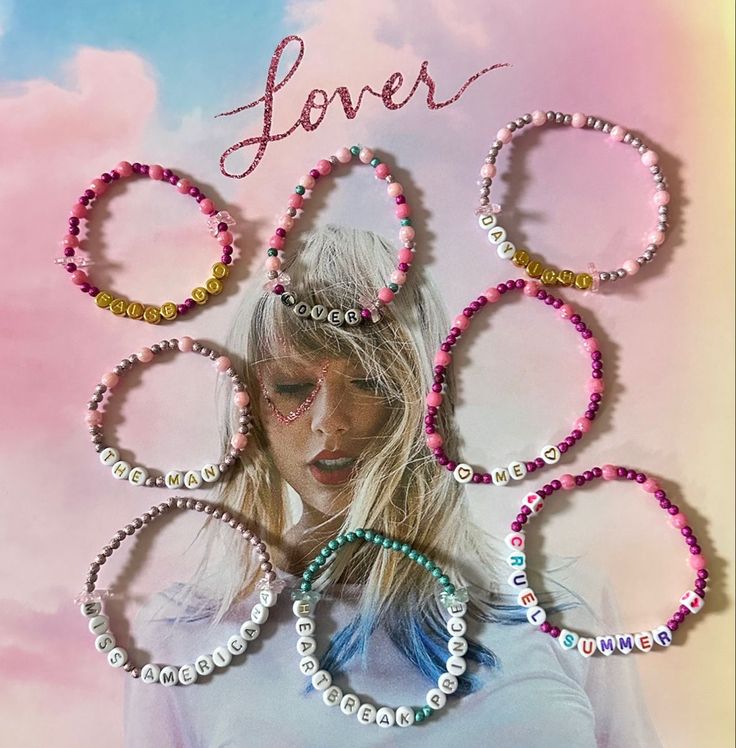
Lover Era:
Folklore/Evermore Era:
To begin crafting your Taylor Swift friendship bracelet, gathering the right materials and tools is essential. Here's what you'll need:
Here's a step-by-step guide to help you through the process:
1.Preparation: Measure your wrist to determine the total length needed for the bracelet, adding about six extra inches for ease of tying knots or adding clasps. Cut the elastic cord or jewelry wire accordingly.
2.Design Your Pattern: Lay out your beads and charms in the design pattern you prefer before stringing, arranging them to best display Taylor Swift-inspired themes or lyrics. Experiment with different patterns, colors, and sizes to achieve the desired aesthetic.
3.String Beads and Charms: Start stringing beads onto your cord or wire. If using elastic cord, a needle might be helpful for small or tightly holed beads. Add charms intermittently to enhance the theme. Position them between beads where they can stand out.
4.Securing the Bracelet:
5.Final Adjustments: Trim any excess wire or cord. Adjust the placement of beads and charms to ensure the bracelet looks balanced and cohesive.
Learning how to make Taylor Swift friendship bracelets can be a delightful and rewarding experience. From selecting themes that resonate with Taylor's songs to choosing the right materials and crafting the bracelet, each step allows you to express your admiration for Taylor Swift in a unique and creative way. Whether you're making these bracelets for yourself, as gifts for friends, or to trade with other fans at concerts, they're a perfect way to celebrate your connection to Taylor and her music.
When deciding what to write on Taylor Swift bracelets, consider lyrics, song titles, or meaningful phrases from her songs. You can also personalize them with your favorite Swiftie inside jokes or quotes. The key is to choose something that resonates with you and reflects your love for Taylor Swift's music.
For Taylor Swift friendship bracelets, consider using beads in colors that represent different eras of her music, such as pastels for the "Lover" era or bold reds for the "Red" era. Additionally, you can incorporate charms or beads that symbolize themes from her songs, like hearts for love songs or stars for her journey through fame.
To tie a Taylor Swift Fearless bracelet, wrap it around your wrist so that the decorative part faces outward. Cross the left end over the right and loop it under to tie a simple knot. You can use a double knot or a square knot for added security. Trim any excess string and adjust the bracelet to ensure a comfortable fit.
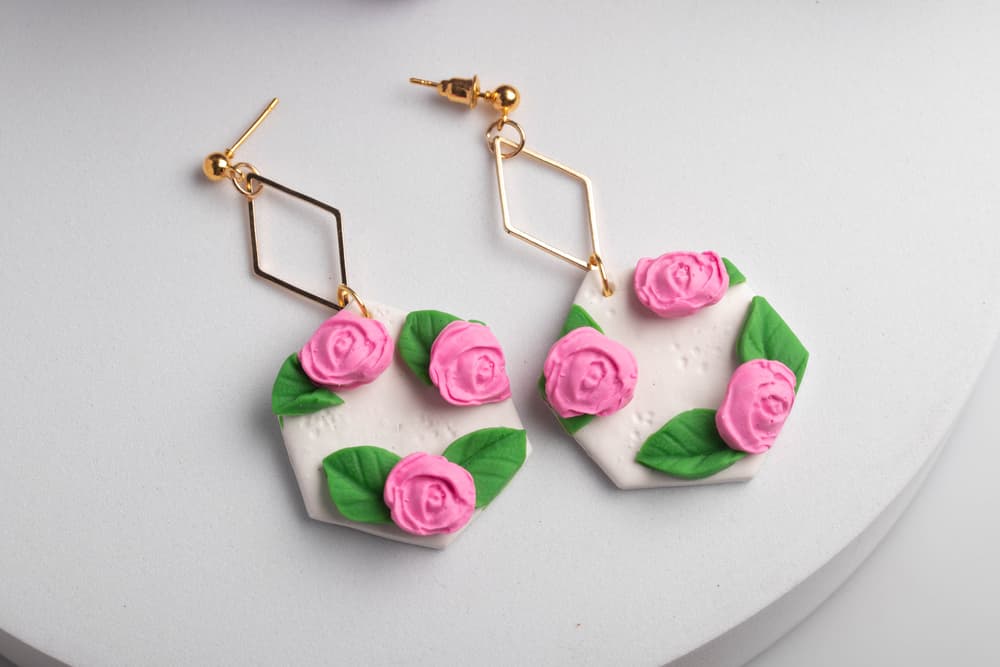
Learn how to make clay jewelry with our DIY guide, from selecting the right materials to mastering the crafting process. Start your creative journey today!
Read More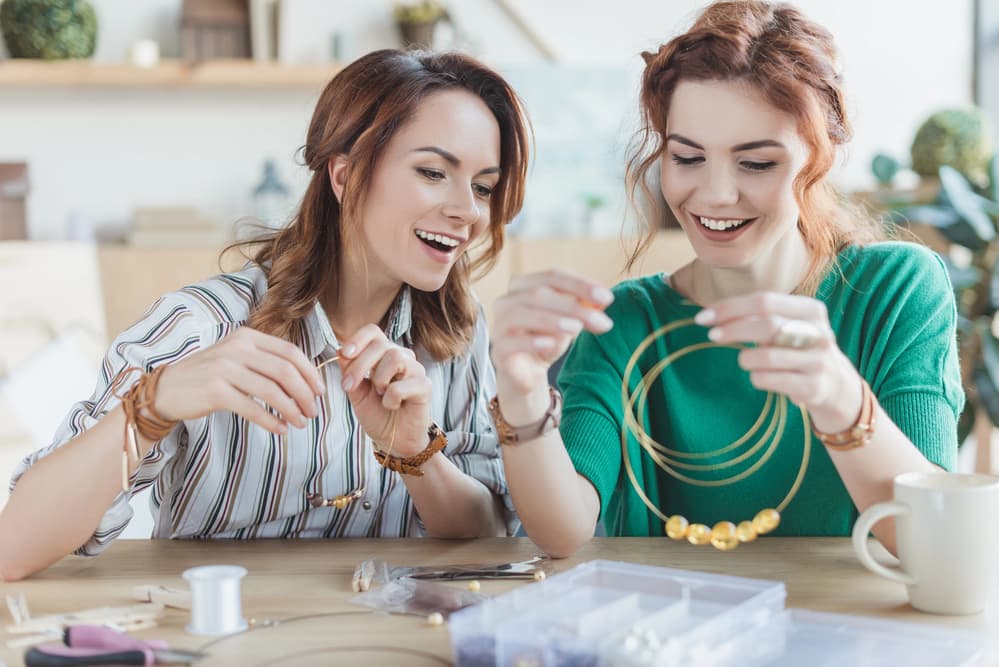
Learn how to start a jewelry business here. From market research to branding and marketing, follow our steps to kickstart your own jewelry venture successfully.
Read More
Discover what to do with old jewelry. Explore creative ways to repurpose them into new crafts or consider selling, donating, or recycling for a fresh start.
Read More
Why does jewelry turn skin green? Learn the causes with our guide and discover effective methods to prevent this common issue and keep your skin clean.
Read More