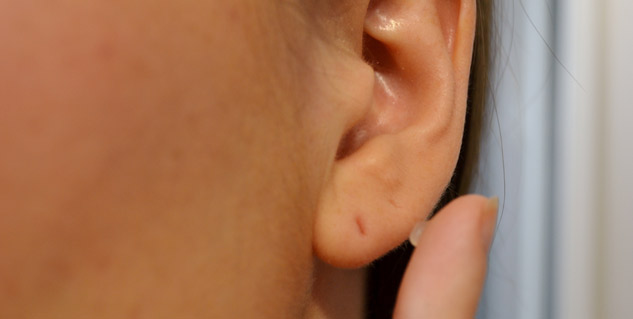
Ever wondered about that odd smell after you take off your earrings? This issue, often called "ear cheese," is more common than you might think and isn't always linked to poor hygiene. So why do my earring holes smell? It's usually due to many reasons. Don't worry, though!
In this article, we'll dive into the science behind why does earring hole smell and provide practical tips to keep your earrings—and your piercings—smelling fresh. So, let's get started on maintaining your jewelry and ensuring your comfort. Stick around for some expert advice on keeping things clean and odor-free!

Now let’s come to the point and learn why does my earring hole smell. Actually, you're not alone in this issue. Here are the common reasons resulting in smelly earring holes:
Now we know why does my earring hole smell like poop or cheese sometimes. So it's essential to clean your earring holes effectively to help eliminate and prevent that odd odor. Here’s how you can keep things fresh:
Before touching your earring holes, thoroughly wash your hands with soap and water to prevent introducing additional bacteria to the area.
Gently remove your earrings to allow for a more thorough cleaning. Handle them carefully to avoid irritating the earring holes.
Soak your earrings in a solution of warm water and mild soap for a few minutes. Use a soft toothbrush to gently scrub away any dirt or residue. Rinse them well and dry them with a clean cloth.
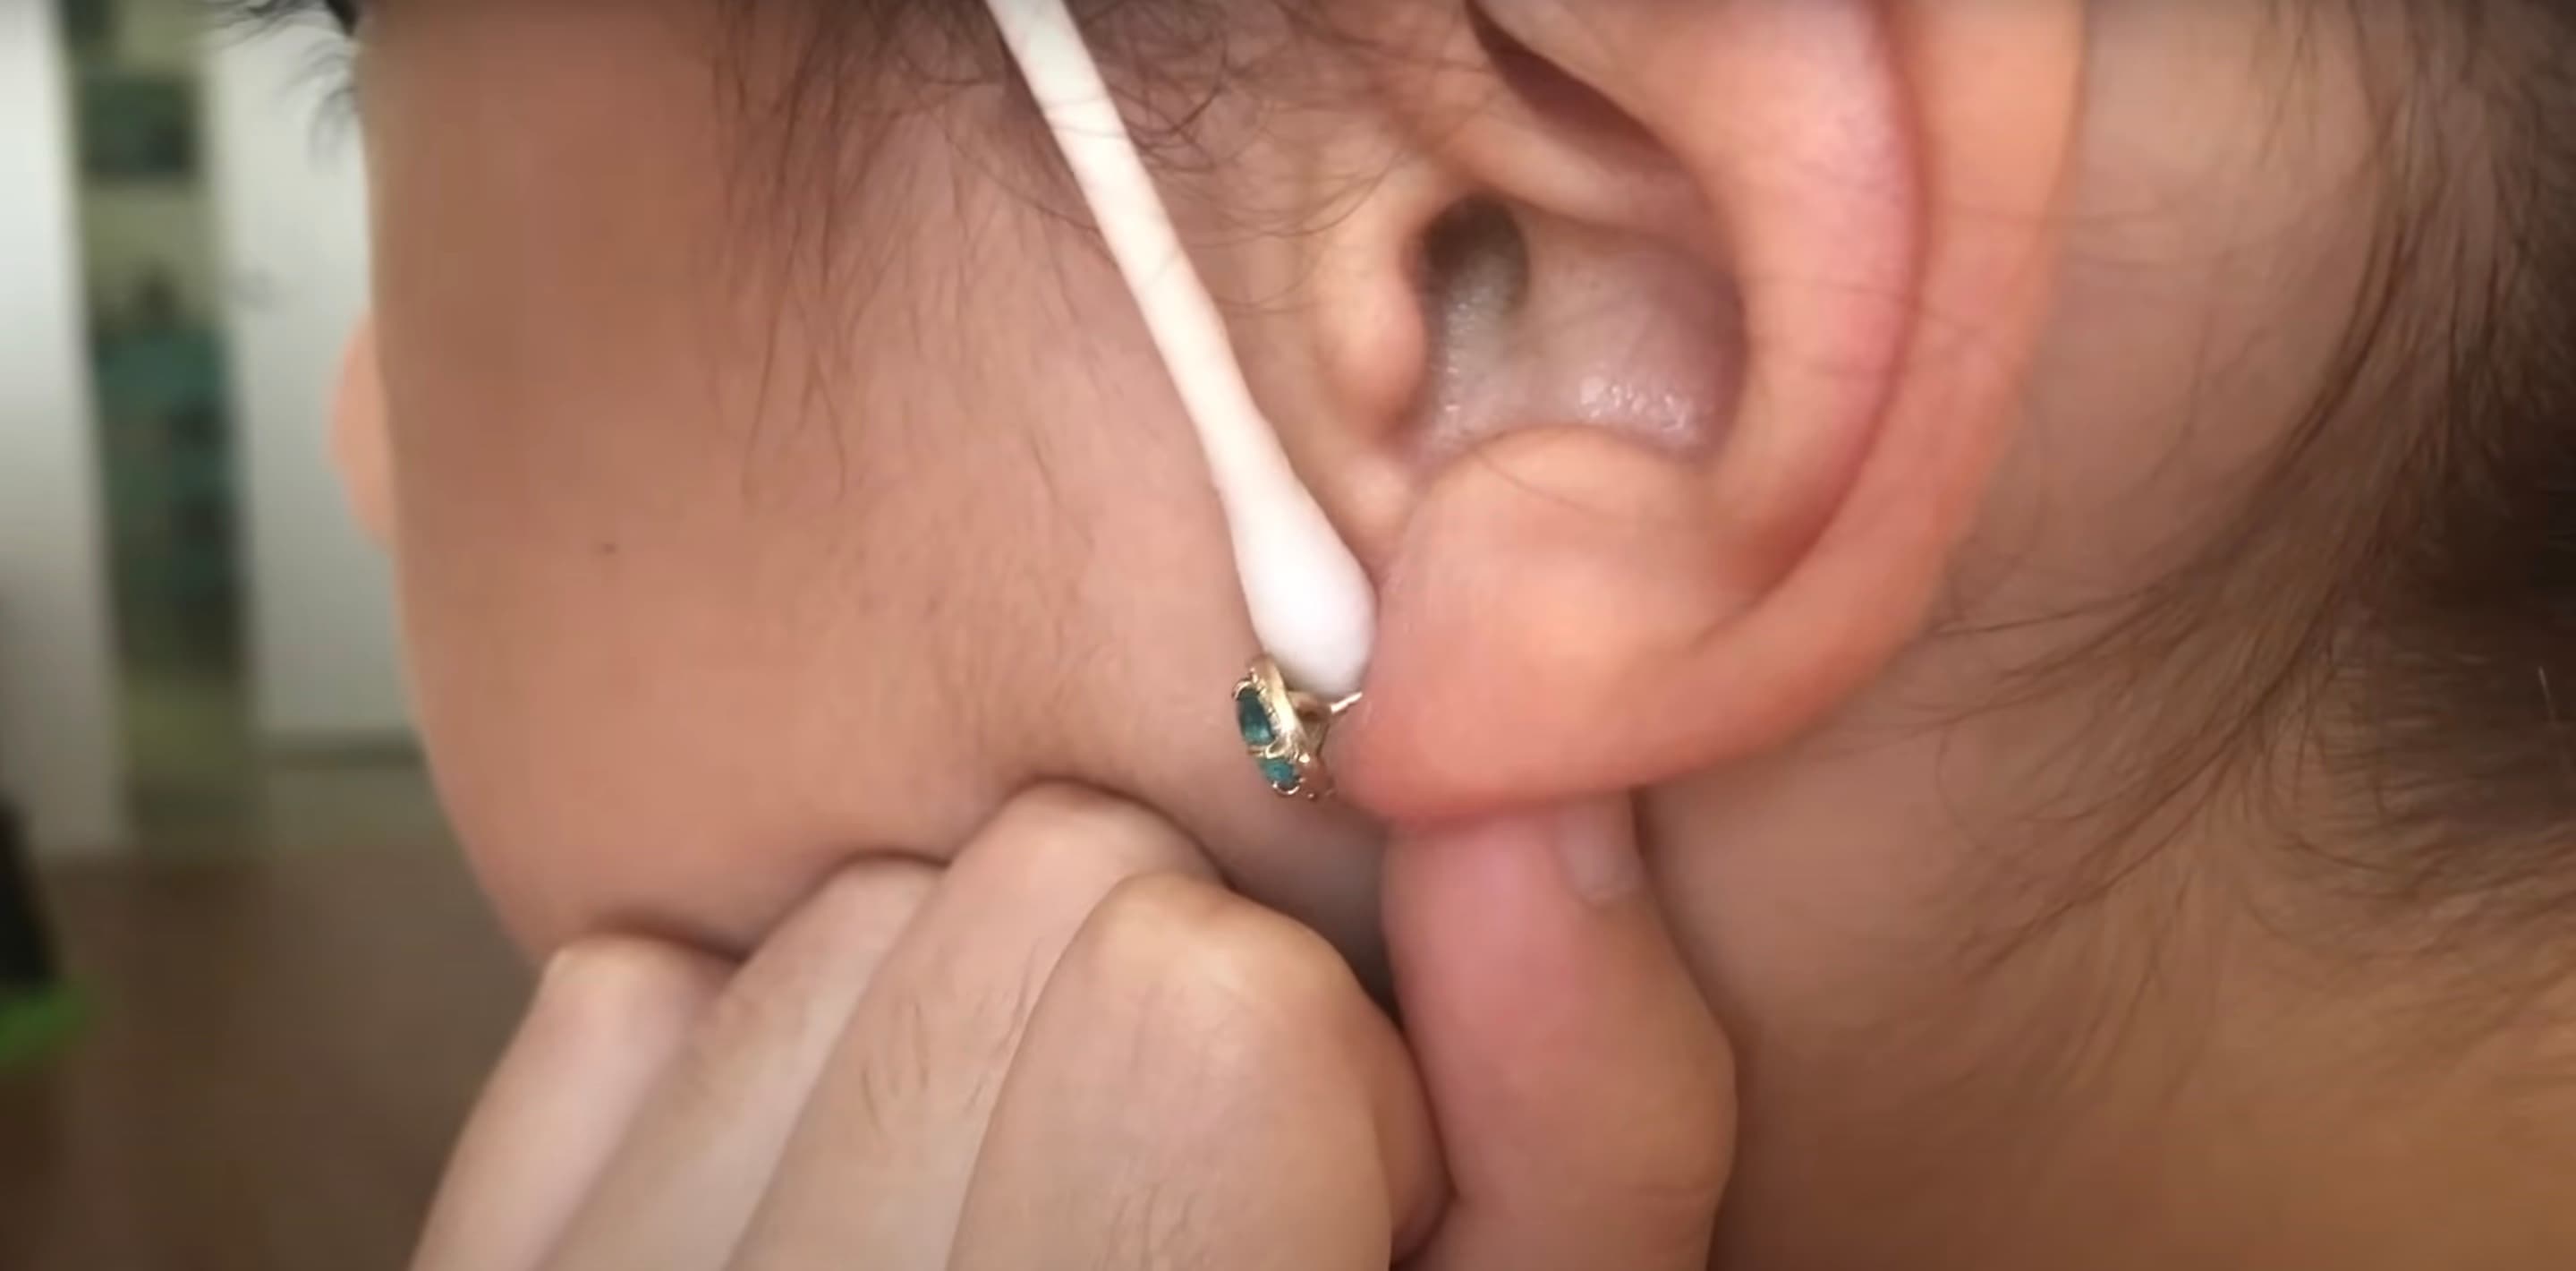
Use a cotton swab dipped in a saline solution (a mixture of salt and warm water) to clean around the earring holes. The saline solution helps to disinfect the area and remove any build-up of dead skin cells and oils. Gently wipe around the hole, ensuring you don't push any debris into the piercing.
If the odor persists, you can use an antibacterial solution such as rubbing alcohol or hydrogen peroxide. Dampen a cotton ball with the solution and gently dab it around the earring holes. Be cautious with these solutions as they can be drying and may cause irritation if used excessively.
After cleaning, apply a small amount of a gentle, fragrance-free moisturizer or healing ointment to keep the skin around the earring holes hydrated and healthy.
Occasionally leaving your earrings out can help the piercing breathe and prevent bacteria build-up. Make sure to reinsert clean earrings to keep the hole from closing.
Maintaining earring hygiene is essential to prevent infections and unpleasant odors. Here are some best practices to keep your earring holes clean and healthy:
1. Regular Cleaning: Clean your earrings and earring holes regularly, especially if you wear earrings daily. Aim to clean them at least once a week to prevent the build-up of oils and bacteria.
2. Choose the Right Earrings: Opt for hypoallergenic earrings made from materials like surgical steel, titanium, or gold to reduce the risk of allergic reactions and infections.
3. Be Mindful of Hair Products: Hair sprays, gels, and other products can build up around earring holes. Make sure to protect your ears when using such products, and clean your earring holes regularly to remove any residue.
4. Avoid Tight Earrings: Tight earrings can trap bacteria and debris, causing irritation and odor. Choose earrings that allow air circulation and don’t squeeze the earlobe.
5. Clean Earrings Before Use: Before putting on earrings, especially if they haven’t been worn for a while, clean them to remove any dust or residue that may have accumulated.
6. Monitor for Infections: Keep an eye on your earring holes for signs of infection, such as redness, swelling, pain, or discharge. If you notice any of these symptoms, clean the area thoroughly and consult a healthcare professional if it doesn’t improve.

Now you know why do earring holes smell. Understanding and addressing this common issue is key to maintaining good ear hygiene and health. Remember, tackling the question of why your earring holes smell isn't just about odor - it's about keeping your ears healthy and comfortable. By following these best practices, you can maintain healthy earring holes and prevent unpleasant odors and infections, ensuring that your ears stay comfortable and your earrings look their best.
No, a smelly piercing does not always indicate an infection, but it can be one of the signs. The odor may stem from a buildup of bacteria, dead skin cells, and oils, which aren't necessarily harmful. However, if accompanied by redness, swelling, pain, warmth, or discharge, it could suggest an infection. It's important to monitor any changes and consult a healthcare professional if you notice these symptoms.
Yes, you should gently clean the crust off your ear piercing. The crust is typically dried lymph fluid that your body produces during healing. Removing it is crucial as it can harbor bacteria and contribute to infection. Use a saline solution or mild soap and water to soften and remove the crust carefully without using excessive force, which could irritate the piercing.
No, it is not necessarily bad to leave earrings in all the time, but this depends on a few factors. For new piercings, it is essential to keep the initial earrings in for the full recommended healing period, specific to the piercing's location.
For fully healed piercings, it is generally safe to leave earrings in continuously, particularly if they are made of hypoallergenic materials like titanium or surgical steel. However, it is advisable to regularly remove and clean both your earrings and ears to prevent buildup of debris and bacteria, which could lead to odor or infection.
Learn how to make a bead loom bracelet with our easy-to-follow guide. Discover the materials, designs & steps on crafting stunning bead loom bracelets.
Read MoreDiscover stunning bead crochet bracelet patterns for your next DIY project. Explore unique designs and step-by-step tutorials for beautiful jewelry creations.
Read MoreLearn step-by-step instructions and tips on how to crochet a beaded bracelet with our beginner-friendly guide. Start crafting beautiful accessories today.
Read MoreDiscover stunning Heishi beads bracelet ideas and find your perfect style. Learn how to choose material & how to make it to get ready for your next jewelry project.
Read More