


Crocheting beaded bracelets is a delightful craft that combines the timeless art of crochet with the elegance of beaded jewelry. So curious to try to crochet a bracelet with beads at home yourself? In this comprehensive guide, we'll walk you through everything you need to know on how to crochet a beaded bracelet. From gathering your supplies and customizing your designs to the specific steps and expert tips, we've got you covered every step of the way. So let's go!
Before you start putting your how to make a crochet beaded bracelet tutorial into action, it's essential to gather all the necessary supplies. Here's what you'll need:
Now that you have your supplies, let's go into the step-by-step process of how to make beaded crochet bracelets:
Start by choosing your beads and thread. Ensure that the beads fit comfortably on the thread. Use a beading needle to string all your beads onto the thread. The number of beads depends on the desired length of your bracelet and the pattern you plan to create.
Make a slip knot at the end of your thread and place it on your crochet hook. This will be the starting point of your crochet work.
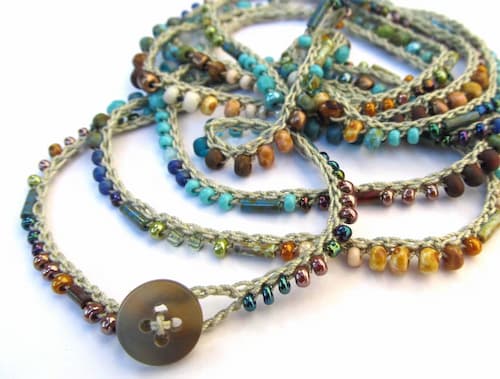
Begin crocheting a chain stitch. Slide a bead close to the hook, then yarn over and pull through the loop on the hook, securing the bead in place. Continue this process, adding one bead per chain stitch until you reach the desired length of your bracelet.
After stringing the beads, you can create the base of the bracelet. This is usually done by working single crochet stitches (or another stitch of your choice) back along the beaded chain, incorporating beads as needed according to your design.
To crochet beads on a bracelet, push a bead close to the hook, yarn over, and pull through the loop, including the bead in the stitch. Continue crocheting, following your desired pattern and ensuring the beads are distributed evenly.
Once the bracelet reaches the desired length and bead pattern, finish off the crochet work by cutting the thread and pulling it through the final loop to secure it. Use a needle to weave in any loose ends, ensuring the bracelet is neat and secure.
To finish your bracelet, attach a clasp to each end. Use the crochet thread to sew the clasp parts to the bracelet, ensuring they are securely fastened. You may need to use jump rings to attach the clasp parts if they are not designed to be sewn directly.
Inspect the bracelet for any loose beads or threads. Adjust and secure as necessary. Finally, try on your bracelet to ensure it fits comfortably and the clasp functions properly.
Now that you've mastered the basic technique of how to make crocheted beaded bracelets, here are some expert tips for customizing your designs:
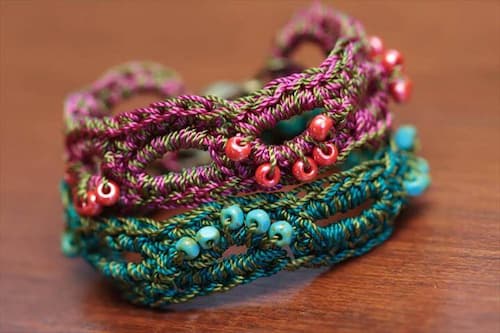
Mastering how to crochet a beaded bracelet opens up a world of creativity and self-expression. By following the step-by-step guide and customizing tips provided here, you can craft stunning bracelets just like the elegant Wigspedia Crochet Bead Bracelet that reflects your unique style and personality. So, gather your supplies, let your imagination soar, and embark on your journey to create beautiful beaded crochet bracelets that will adorn your wrist with elegance and charm.
To determine the length of your bracelet while crocheting, measure your wrist and add 1 to 2 inches for a comfortable fit. Use a flexible tape measure or a piece of yarn to wrap around your wrist, noting the length. Ensure your crochet piece matches this measurement before fastening it off.
To read crochet bead patterns, first understand the symbols and abbreviations used, which are usually explained in a key or legend. Follow the pattern instructions step-by-step, noting where beads need to be added. Typically, beads are pre-strung onto the yarn before you start crocheting. Pay attention to stitch counts and bead placements to ensure accuracy.
While prior crochet experience is helpful, it's not essential for making a beaded bracelet. With patience and practice, beginners can learn the basic crochet stitches and bead placement techniques needed to create beautiful bracelets.
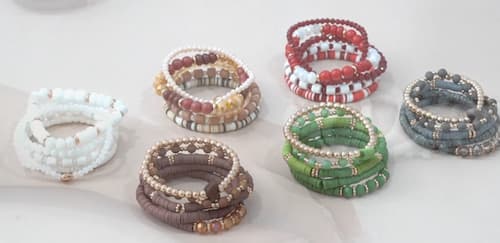
Discover stunning Heishi beads bracelet ideas and find your perfect style. Learn how to choose material & how to make it to get ready for your next jewelry project.
Read More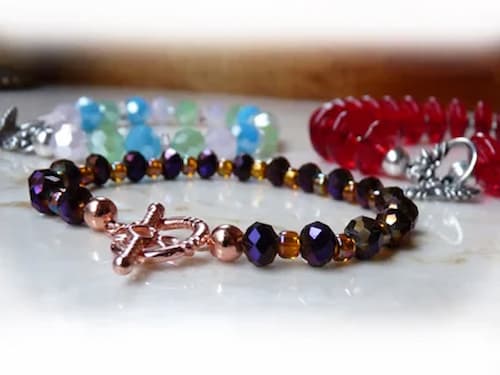
Learn how to make a beaded bracelet with clasps in this ultimate guide. From materials to step-by-step instructions, create your personalized jewelry with ease.
Read More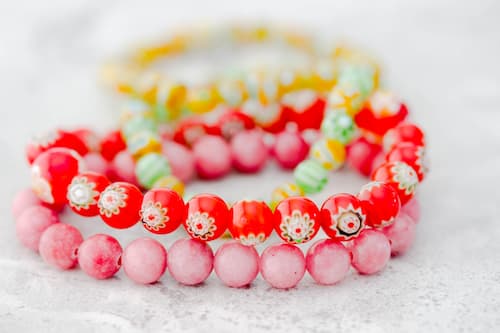
Learn how many beads for a bracelet you need for different designs and sizes. Discover the perfect bead count, steps and tips to make your bracelet today!
Read More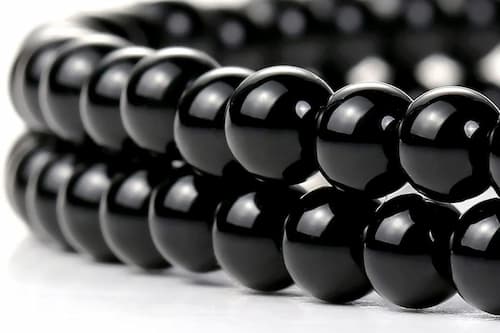
Discover the detailed black bead bracelet meaning. Learn about their popularity, symbolism, healing properties, and role in modern fashion. Find out more here!
Read More