


Crafting beaded bracelets is a delightful and rewarding hobby that allows you to create personalized accessories. Adding a clasp not only enhances the bracelet's functionality but also adds a professional touch to your creation. But how to make a beaded bracelet with clasps and what materials do you need? In this guide, we will take you through the step-by-step process of how to make a bracelet with beads and clasps and the required materials to help you create outstanding beaded bracelets with clasps for yourself, your friends, or your family members.
Before we start out on how to make a bead bracelet with clasps, you need to gather these essential materials:
Now that you have all your materials ready, let's start the process of how to finish a beaded bracelet with a clasp:
Step 1: Design Your Bracelet
Begin by laying out your beads on a bead board or mat. This helps you visualize the final design and allows you to make adjustments before stringing the beads. Arrange the beads in your desired pattern, considering color, size, and texture. Using a bead board with measurements can help you ensure the bracelet will fit perfectly once completed. Experiment with different arrangements until you are satisfied with the design.
Step 2: Cut the Beading Wire
Once you have your design ready, cut a piece of beading wire that is about 6 inches longer than your wrist size. This extra length will give you enough room to comfortably attach the clasp and handle the wire during the beading process. For example, if your wrist measures 7 inches, cut a piece of wire that is 13 inches long. However, if you're using a stretch cord, cut it to the measured length. Use wire cutters to make a clean cut to prevent fraying.
Step 3: Attach One End of the Clasp
Now let's see how to add a clasp to a beaded bracelet. To begin, slide a crimp bead onto the end of the beading wire, followed by one-half of the clasp (such as the ring part of a toggle clasp or the hook of a lobster claw clasp). Loop the wire back through the crimp bead, creating a small loop that secures the clasp in place. Use crimping pliers to flatten the crimp bead, ensuring it holds the wire securely. Make sure the loop is small and tight, but with enough space for the clasp to move freely.
Step 4: String the Beads
Now it's time to start stringing your beads. Begin threading the beads onto the wire in the pattern you laid out earlier. As you add each bead, push it down to the crimp bead at the end. Continue adding beads until you reach about an inch from the end of the wire. This remaining space will be used to attach the other half of the clasp. Take your time to ensure the beads are evenly spaced and the pattern looks as you intended.
Step 5: Attach the Other End of the Clasp
When you have finished stringing the beads, slide a crimp bead onto the wire, followed by the other half of the clasp (such as the bar part of a toggle clasp or the ring of a lobster claw clasp). Loop the wire back through the crimp bead and a few of the nearest beads. Pull the wire tight to ensure there is no slack, and the beads fit snugly together. Use crimping pliers to flatten the crimp bead, securing the clasp in place. Trim any excess wire using wire cutters, being careful not to cut too close to the crimp bead to avoid weakening the loop.
Step 6: Finishing Touches
Finally, inspect your bracelet for any loose beads or wire ends. Ensure that all crimp beads are securely fastened and that the clasp operates smoothly. If you notice any gaps or loose beads, make the necessary adjustments to tighten the bracelet. Once you are satisfied with the fit and appearance, your beaded bracelet with a clasp is ready to wear. Enjoy your new piece of handmade jewelry, or consider making more as gifts for friends and family.
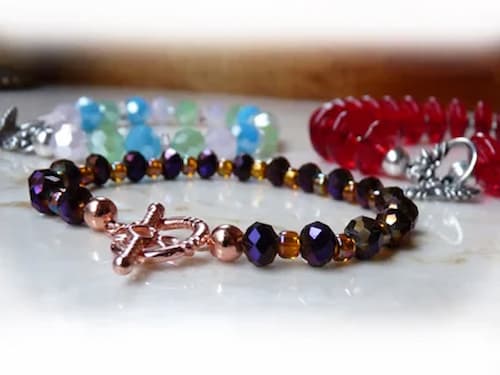
Mastering how to make a beaded bracelet with clasps opens up a world of creative possibilities. By following this step-by-step guide and utilizing quality materials like beads, clasps, and stringing material, you can craft stunning bracelets just like the nice GAVU Clasp Beaded Bracelet that reflects your unique style and personality. From selecting beads to securing the clasp, each step is essential in creating a professional-looking piece of jewelry. Happy crafting!
For beginners, lobster claw and toggle clasps are the easiest to use. They are straightforward to attach and secure, providing reliable closure for your bracelet. Magnetic clasps are also beginner-friendly due to their ease of use, but ensure they are strong enough to prevent accidental opening.
To make a clasp beaded bracelet tighter, ensure there is minimal slack when attaching the clasp. Pull the wire snugly through the crimp bead and the nearest beads before securing it. You can also add a few extra beads or remove some length if the bracelet is too loose.
A clasp-beaded bracelet should fit comfortably around your wrist without being too tight or too loose. Ideally, it should have a slight drape without sliding over your hand. Aim for a snug fit that allows for some movement but doesn’t pinch or restrict your wrist.
Learn how many beads for a bracelet you need for different designs and sizes. Discover the perfect bead count, steps and tips to make your bracelet today!
Read More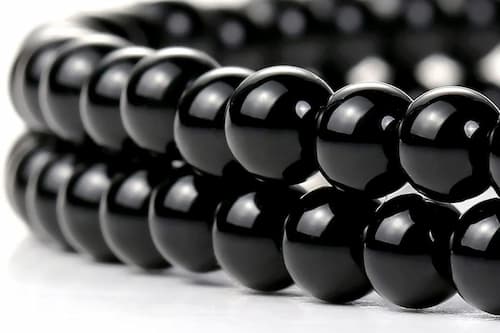
Discover the detailed black bead bracelet meaning. Learn about their popularity, symbolism, healing properties, and role in modern fashion. Find out more here!
Read More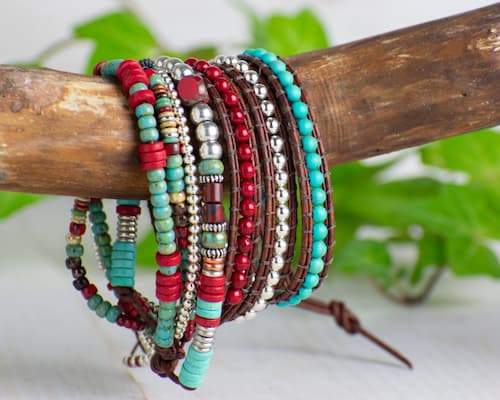
Discover step-by-step instructions on how to make leather bracelets with beads with our practical guide. Learn expert techniques for crafting your unique designs!
Read More
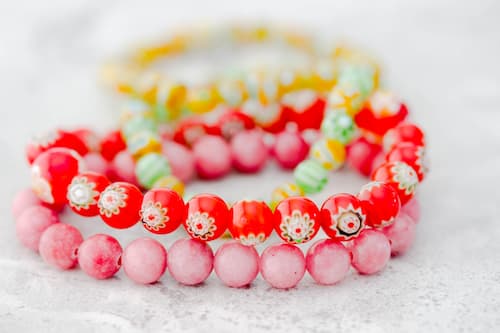
Discover a treasure trove of creative free beaded bracelet patterns for your unique jewelry! Dive into our collection and start creating stunning jewelry today.
Read More