


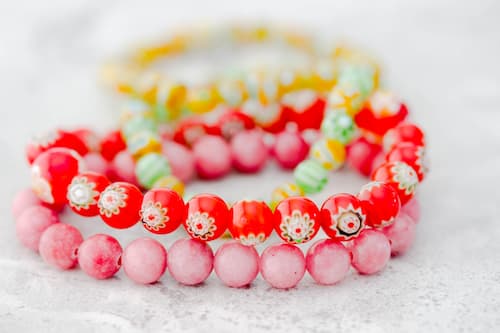
Bracelets are not just accessories; they’re statements of style, personality, and creativity. Creating your own beaded bracelet can be a fun and rewarding experience, whether you’re a beginner or an experienced crafter. However, one of the most common questions when starting a new bracelet project is, "How many beads do I need to make a bracelet?"
Don't worry. This guide will help you determine the right number of beads, explore essential tools and materials, and provide a step-by-step tutorial for making your first beaded bracelet. By the end, you'll have all the knowledge you need to create beautiful, custom bracelets that fit perfectly.
When asked how many beads to make a bracelet, it depends on various factors, including the design, size, and desired aesthetic. Here are some key considerations to ponder:
Determining how many beads does it take to make a bracelet involves a bit of math and a touch of artistic intuition. While there’s no one-size-fits-all answer, here’s a general guideline based on common bead sizes and an average wrist size of 7 inches:
4mm beads: Approximately 44-46 beads
6mm beads: Approximately 28-30 beads
8mm beads: Approximately 21-23 beads
10mm beads: Approximately 17-19 beads
To calculate more precisely, measure the wrist circumference, and add about 1 inch for comfort if necessary. Then, divide the total length by the diameter of the bead size you’re using. For example, for how many 6mm beads in a 7-inch bracelet, let’s say this equation:
Given:
Bead size = 6mm
Convert the length into mm (7 inches) = 177.8mm
Bracelet length/bead size = Bead count
177.8/6= 29.6 or rounding to the nearest whole number of 30 pcs beads
Similarly, for varied bead patterns, apply the same principle, adjusting the count based on the pattern repeat and desired fit same as to how many beads in a friendship bracelet. Utilize tools like bead boards or rulers for non-uniform bead arrangements, ensuring accurate bead placement during design. So now you may know how to decide how many 10mm beads per bracelet by yourself. However, always remember to take the charms, spacers, or other additional elements into account when you do any bead count calculation.

After we know exactly how many beads do you need to make a bracelet, let’s prepare to make a beaded bracelet. Please ensure you have the necessary tools and materials at hand before starting:
Now that you have your materials ready, let’s start crafting your first beaded bracelet:
Begin by measuring your wrist with a measuring tape. Wrap the tape around your wrist to measure its circumference. To ensure a comfortable fit that is neither too tight nor too loose, add approximately 1 inch if necessary.
Cut the stringing material to the appropriate length based on your wrist measurement, including the added inch. If you are using beading wire, cut a bit extra to allow for crimping and securing the ends. Gather all your beads, clasps, crimp beads, and other necessary tools.
Thread the beads onto your stringing material, following your desired pattern or design. Ensure that the beads are evenly distributed and check the length periodically to confirm it matches your measurement.
Depending on the type of stringing material you are using, secure the ends accordingly:
For Elastic Cord: Once all the beads are strung, tie a secure knot at the end. To ensure the knot stays in place, apply a drop of jewelry glue. Allow the glue to dry completely before wearing the bracelet. For Beading Wire: Slide a crimp bead onto the wire, thread the wire end through the clasp loop, and then pass it back through the crimp bead. To achieve a neat finish, use crimping pliers to flatten the crimp bead and secure the wire. Then, trim any excess wire.If you are using a clasp, attach it by threading the stringing material through the clasp loop, securing it with a crimp bead, and trimming any excess. Ensure the clasp is securely fastened to prevent the bracelet from coming apart.
Inspect the bracelet for any gaps or uneven spacing between the beads. Make any necessary adjustments to ensure a polished and professional look. Check that all knots and crimps are secure and that the bracelet fits comfortably on your wrist.
Overall, creating your own beaded bracelet is a delightful and creative endeavor whether it's a crystal stretchable WRCXSTONE Beaded Bracelet or bohimian seed bead bracelet. By understanding how many beads for a bracelet are needed and using the right tools and techniques, you can craft beautiful and personalized pieces of jewelry. Whether you're making bracelets for yourself, as gifts, or to sell, the satisfaction of creating something unique and meaningful is immensely rewarding. Happy crafting!
The most popular bead sizes for bracelets are 6mm and 8mm. These sizes are versatile, comfortable to wear, and work well with various bracelet designs and patterns. However, the choice ultimately depends on personal preference and the desired aesthetic of the bracelet.
Yes, mixing different sizes of beads can add visual interest and texture to a bracelet. You can experiment with various bead sizes to create unique designs and patterns but remember to ensure the overall balance and fit of the bracelet are maintained.
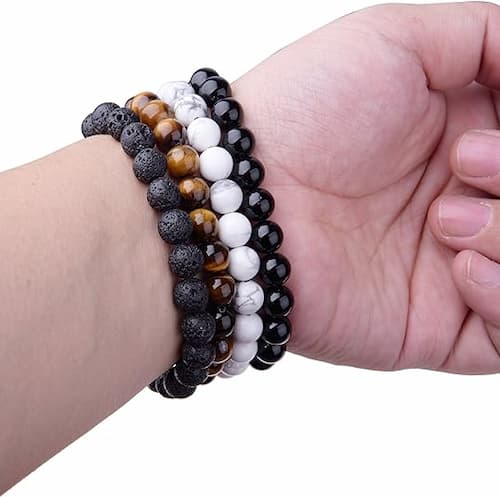
A beaded bracelet should fit comfortably around the wrist without being too tight or too loose. Ideally, you should be able to slide one or two fingers between the bracelet and your wrist without discomfort.
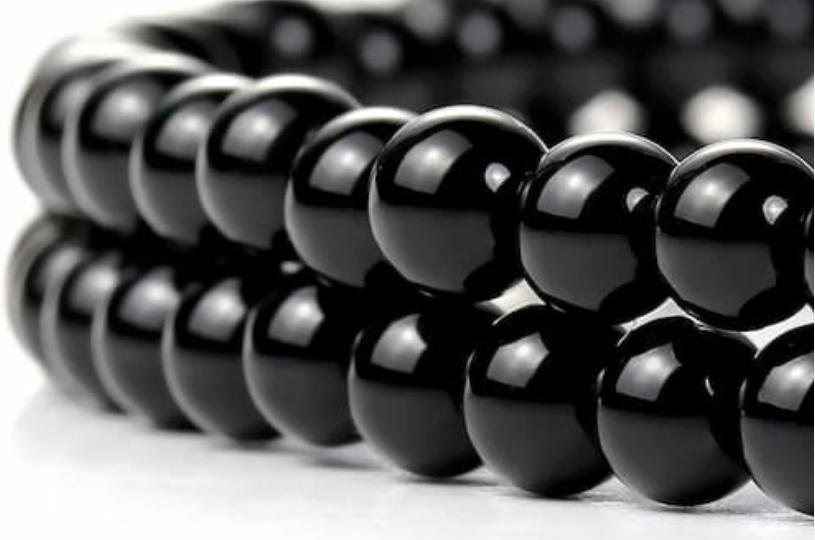
Discover the black bead bracelet meaning with our guide. Explore symbolism, cultural history, and the reasons these elegant bracelets remain loved worldwide.
Read More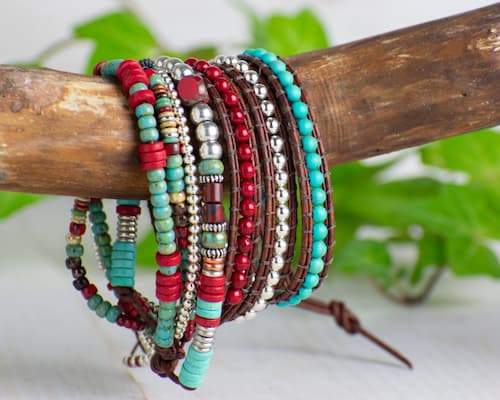
Discover step-by-step instructions on how to make leather bracelets with beads with our practical guide. Learn expert techniques for crafting your unique designs!
Read More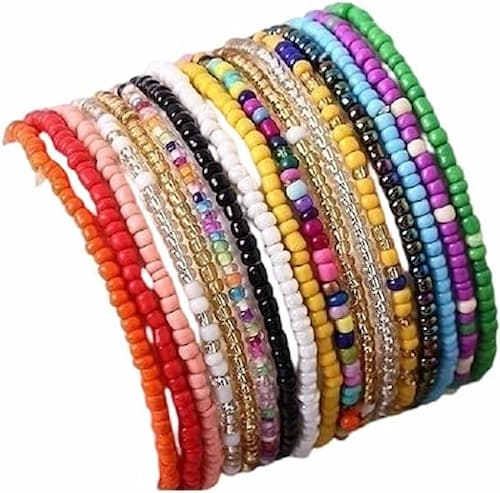
Discover a treasure trove of creative free beaded bracelet patterns for your unique jewelry! Dive into our collection and start creating stunning jewelry today.
Read More
Learn how to clean gold jewelry with our guide. Maintain the luster and beauty of your gold items with simple, proven techniques for cleaning and care.
Read More