


Are you intrigued by the idea of crafting your own unique jewelry? Resin jewelry is a fantastic medium to start with. Its versatility and simplicity make it perfect for beginners, while the endless styles and variations offer ample room for creativity. In this guide, we'll walk you through everything about how to make resin jewelry. We'll start by defining what resin jewelry is and then introduce you to the crafting process with clear, step-by-step instructions. Dive in and discover the fun and rewarding world of resin jewelry making!

Resin jewelry is a type of accessory made from synthetic resin, a durable and versatile material that can be molded into various shapes and forms. Resin is a liquid compound that, when mixed with a hardener, undergoes a chemical reaction to form a solid, glass-like substance. This process, known as curing, results in a clear or colored material that is lightweight, durable, and customizable.
One of the key attractions of resin jewelry is its versatility. It can be used to create a wide range of items, from simple rings and earrings to intricate pendants and bracelets. Resin can be colored with dyes and pigments, embedded with objects like dried flowers, glitter, or small charms, and even layered to create complex designs.
Moreover, resin jewelry is extremely easy to make. As you’ll soon discover, you can craft a decent piece of resin jewelry on your own by following through a few simple steps.
So how to make jewelry with resin step by step? Worry not, here are the clear steps of how to make resin jewelry with molds or bezels.
The very first step of how to make jewelry from resin is to gather the essential items. Typically, you’ll need the following items:
Bezels or Molds: Bezels are open-backed settings that hold the resin in place, while molds come in various shapes and sizes for casting the resin. Choose based on the type of jewelry you want to create.
Resin and Hardener: Most resin jewelry kits come with two components: the resin and the hardener. These need to be mixed in specific ratios as per the manufacturer’s instructions.
Embellishments: These can include dried flowers, glitter, small charms, beads, or other small decorative items that you want to embed in your resin jewelry.
Measuring Cup: Accurate measurement is crucial for the resin and hardener to cure properly. Use a measuring cup with clear markings.
Mixing Sticks: Wooden or plastic sticks for mixing the resin and hardener thoroughly.
Disposable Gloves: Resin can be sticky and messy; gloves protect your hands.
Protective Surface Covering: Newspaper, plastic sheet, or silicone mat to protect your work surface.
Cover your work surface with newspaper or a plastic sheet to protect it from spills. Ensure your workspace is well-ventilated.
Put on your gloves and follow the manufacturer's instructions to measure the resin and hardener accurately. Pour them into a mixing cup and stir slowly with a mixing stick. Stirring too quickly can introduce air bubbles.
Next, pour the first layer of mixed resin into your molds or bezels. Start by filling the mold or bezel to the desired thickness for your base layer. Be sure to pour slowly and steadily to minimize the introduction of air bubbles.
Once the first layer of resin is poured, it's time to add your chosen embellishments. Carefully place items such as dried flowers, glitter, small charms, or beads into the resin. Use a toothpick or tweezers to position them precisely where you want.
After the first layer has cured, pour additional layers into your mold or bezel. There is no set rule regarding the number of resin layers required in resin jewelry making. Typically, 2 or 3 layers are the most common.
After the final layer has fully cured (typically 24-72 hours, depending on the resin used and environmental conditions), carefully remove your piece from the mold. Gently flex the mold to release the resin. If the resin sticks, you can use a release spray before pouring, or warm the mold slightly to help loosen the piece. For bezels, there is no need to remove the resin as it will be set within the bezel itself.
The final step of how to create resin jewelry is to turn your cured resin piece into a complete jewelry item. This involves adding fixtures such as:
With fixtures neatly added, it is time to proudly wear your handmade resin jewelry piece and let your style and creativity shine!
We’ve mentioned before that resin is a versatile chemical in jewelry making. This versatility is duly reflected in the diversity of the types of resin jewelry. Here are a few examples:
Colored resin jewelry offers a diverse range of vibrant options, achieved by blending pigments into the resin mixture. With an endless array of colors available, colored resin jewelry serves as a powerful medium for artistic expression, allowing designers to evoke various emotions and memories through their work.
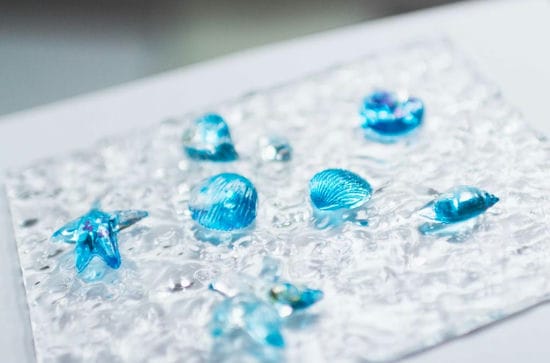
Jewelry featuring resin coating provides both aesthetic appeal and protection. The resin layer not only imparts a glossy finish but also acts as a shield for delicate components underneath. The result is not only increased visual and tactile experience but also long-term preservation of the jewelry piece.
Leaf skeleton jewelry showcases the intricate beauty of nature through delicate designs. The resin gently encases the intricate veins and delicate structure, creating a captivating display of organic artistry. Whether worn as pendants, earrings, or bracelets, leaf skeleton jewelry adds a touch of natural charm to any ensemble.
Now you know how to make resin jewelry at home? Creating resin jewelry at home is a fun and rewarding craft that can be summed up in three simple steps: mix, embed, and wait. With just a few basic materials and some creativity, you can craft stunning pieces that not only passers-by but also jewelers will envy. Happy crafting!
For jewelry making, epoxy resin is often considered the best choice. The epoxy resin cures to a clear, glass-like finish, allowing for the preservation and showcasing of embedded elements. Additionally, epoxy resin is resistant to yellowing over time, maintaining the clarity of the jewelry. Furthermore, its low viscosity allows for easy pouring and minimal air bubble formation, facilitating smooth and flawless finishes.
It depends on the resin type. While UV resin exists and offers rapid curing with ultraviolet light exposure, it's not the only option for making resin jewelry. Epoxy resin, another popular choice, typically cures through a chemical reaction between its components and doesn't require UV light.
Yes, sterling silver can be embedded in resin to create unique jewelry pieces. However, there are considerations to ensure successful results:
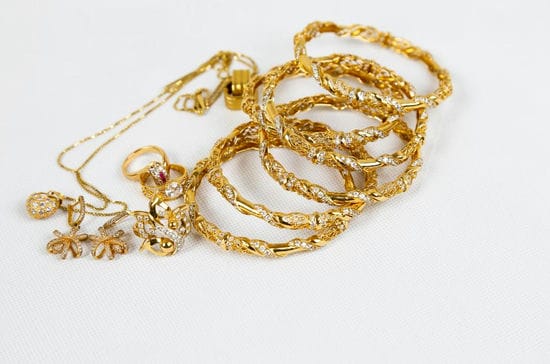
What is gold filled jewelry? Find the answer in our blog. We cover the pros & cons, water resistance, tarnish resistance, etc., of gold filled jewelry.
Read More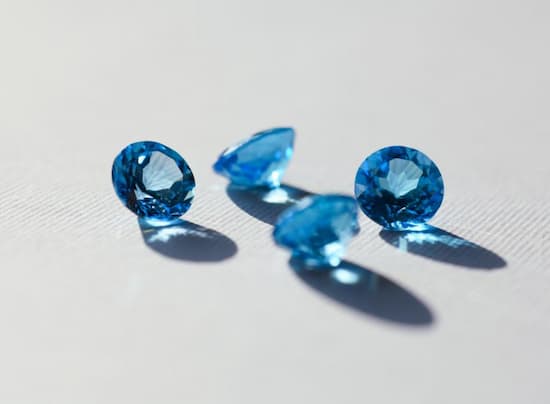
Learn the blue bead bracelet meaning, history, and symbolic significance with our instructive blog. Get expert insights on wearing and styling your bracelet.
Read More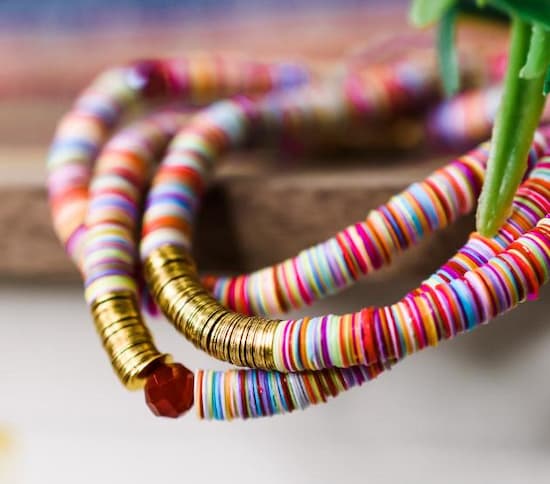
Learn how to make a Heishi bead bracelet & embark on a journey of self-expression. Discover the intricate artistry behind crafting these timeless accessories.
Read More
Discover how to make Perler bead bracelets & unlock your inner artist. Follow our step-by-step guidance and create stunning beadwork that's uniquely yours.
Read More