


Perler bead bracelets have captured the hearts of many as beloved wrist adornments. These easy-to-make accessories infuse vibrancy and personal flair into any ensemble. But have you wondered how to make Perler bead bracelets?
In this blog, we delve deep into the question of how to make a bracelet with Perler beads, unraveling the intricacies from essential supplies to the meticulous step-by-step crafting process. Whether you're a novice or a seasoned crafter, our comprehensive guide on how to make bracelets with Perler beads ensures you're equipped with all the knowledge needed to embark on this creative journey. Get started!
Crafting the perfect Perler bead bracelet requires a few key supplies to ensure smooth sailing from start to finish. Let's delve into the essentials:
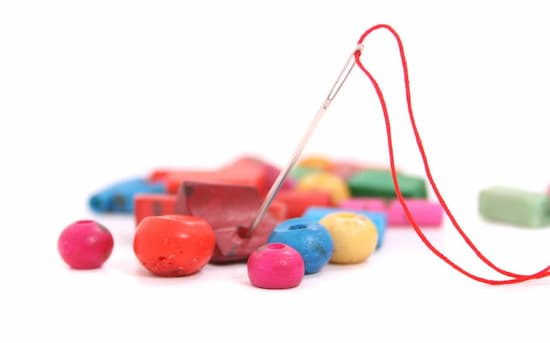
Perler Beads: At the heart of every Perler bead bracelet lie the beads themselves. These tiny, vibrant beads come in a multitude of colors, allowing you to unleash your creativity and bring your designs to life.
Elastic Thread: To string your Perler bead creations into wearable bracelets, the elastic thread is an indispensable tool. Its stretchy nature ensures a comfortable fit while providing the flexibility needed to accommodate various wrist sizes.
Beading Needle: While Perler beads are larger than traditional seed beads, a beading needle can still come in handy, especially when working with intricate designs.
Scissors: Use scissors to cut your elastic thread to the desired length, trim any excess, or snip away stray threads with precision.
Jewelry Glue: A dab of Jewelry glue is used to strengthen the knot as part of the process of tying off.
Tape: A small piece of tape is used to stick the cord onto the working surface, increasing stability during the crafting process.
Crimp Bead Covers (Optional): Crimp bead covers are used to conceal knots and create a more refined look for your handicraft.
Jewelry Pliers (Optional): Jewelry pliers are handy tools when it comes to closing crimp bead covers.
The journey of crafting your own Perler bead bracelet begins with designing the pattern. Start by experimenting with various hues and combinations until you achieve the perfect aesthetic for your bracelet. Once you've discovered the pattern that speaks to you, transfer your vision onto paper, sketching out the intricate details with care and precision.
To elevate your design further, consider infusing it with personal elements or meaningful symbols. This ensures that your bracelet becomes a unique expression of your individuality.
Crafting your own Perler bead bracelet is a delightful journey of creativity and skill. Follow these steps on how to make a bracelet out of Perler beads to bring your bracelet to life:
To start, gather your cord and beads. Secure the middle of the cord to your work surface using a small piece of tape. This will keep it steady as you begin stringing your beads.
Now it's time to string the beads onto the cord.
Begin by deciding the width of your bracelet; for this guide, we'll make it three beads wide. String three beads onto the cord, then thread the other end of the cord through a beading needle. Carefully guide the needle through the three beads, creating a loop that secures them in place. Continue this process (thread on 3 beads, guide the needle through them, thread on 3 beads, guide the needle through them, and so forth.) according to your design plan until you reach your desired bracelet length.
Once you've strung the beads onto your bracelet according to your design plan, it's time to tie off the ends to secure your creation. Follow these steps to ensure your bracelet stays intact:
Our Perler bead bracelet is essentially complete at this point. However, for those seeking a more polished look and an extra touch of elegance, covering the knot is an additional step that is worth doing.
To hide the knot, begin by selecting a crimp bead cover that matches the aesthetic of your bracelet. Place the cover over the knot, ensuring it completely encases the knot within its interior. Then, gently press the crimp bead cover closed using a pair of jewelry pliers. Once the cover is closed, trim away any excess cord protruding from the cover. Exercise caution when trimming, ensuring not to cut too close to the knot to prevent it from coming undone.
Crafting DIY Perler bead bracelets is not just a creative endeavor, but a journey of self-expression and personal style. From designing intricate patterns to stringing beads and tying them off with precision, each step is a testament to your craftsmanship and imagination. By following our guidance on how to make Perler bead bracelets, you can create stunning bracelets that reflect your unique personality and add a pop of color to any outfit. Happy crafting!
Perler beads, also known as fuse beads, typically melt at temperatures between 350-400°F (177-204°C). This melting point allows them to fuse together when heated with an iron, creating a solid and durable bond.
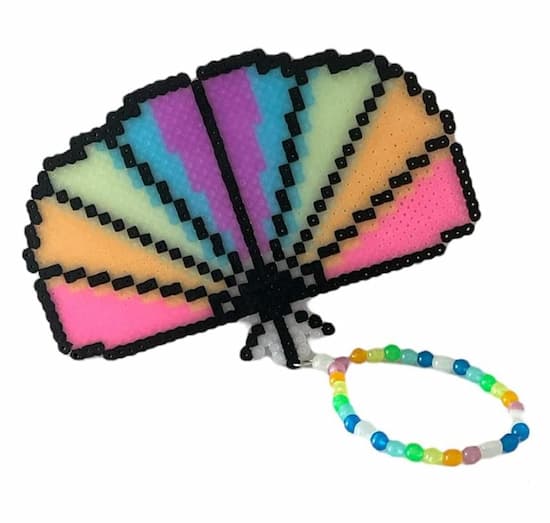
The time it takes to make a Perler bead bracelet varies depending on factors such as the complexity of the design, the size of the bracelet, and the crafter's skill level. A simple bracelet with a basic pattern may take as little as 30 minutes to an hour to complete, while bracelets with more intricate designs such as the Byte Size Kandi Perler Kandi Hand Fan Bracelet can require several hours or even multiple sessions to finish.
Absolutely. Perler beads can be incorporated into friendship bracelets. Crafters can thread Perler beads onto embroidery floss or other stringing materials, incorporating them into traditional friendship bracelet patterns.
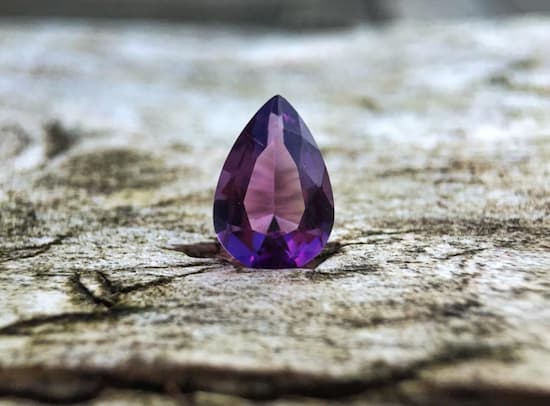
Unravel the amethyst bracelet meaning and its spiritual significance. Learn to choose, wear, and maintain an amethyst bracelet & let it guide your soul.
Read More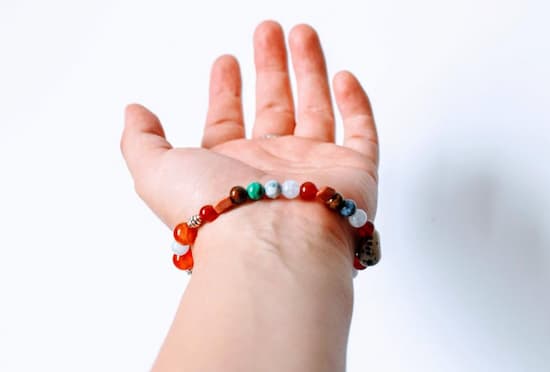
Master how to fix an elastic bracelet & restore its previous snug fit with us. Diagnose the problems with your bracelet and learn effective ways to fix them.
Read More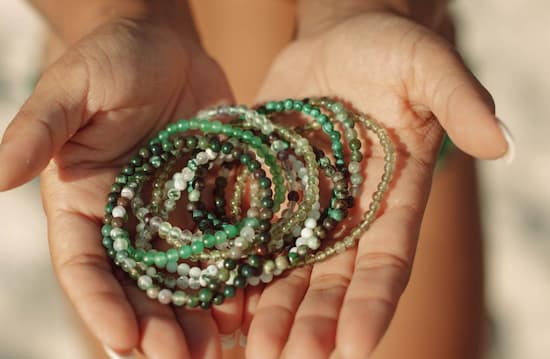
Unravel the green bead bracelet meaning & embark on a journey of spirituality. Embrace the healing qualities of green bead bracelets & enhance emotional well-being.
Read More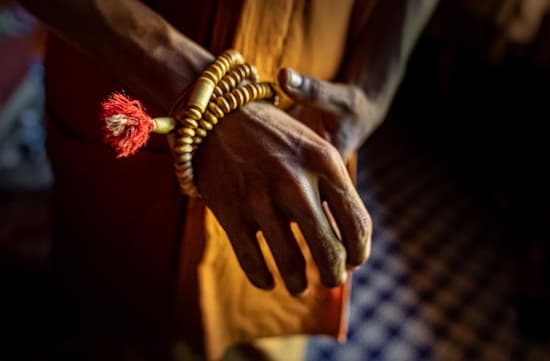
Dive into the Buddha bracelet meaning & unravel its symbolism. Learn the meaning of beads of different colors & choose the right one for your spiritual journey.
Read More