The Ultimate Guide on How to Make Lanyard Bracelet: From Basics to Brilliance

Making a lanyard bracelet is a great way to show your creativity and showcase your skills at the same time. With its unique design and functionality, this DIY project is definitely worth a try! In this article, we'll explore the different aspects of how to make a lanyard bracelet, providing you with all the necessary materials and tools, a step-by-step guide for beginners, and some advanced techniques to take your designs to the next level. Let's get started!

Colorful Lanyard Bracelet

What Is a Lanyard Bracelet and Why You Should Make One?

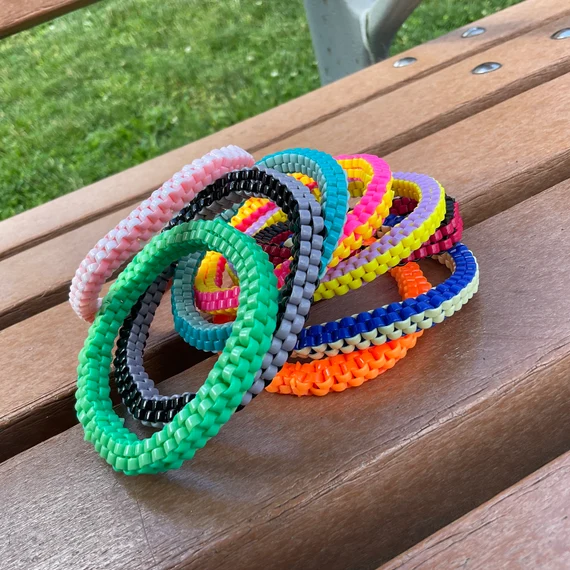
A lanyard bracelet is a unique piece of jewelry crafted using different materials, most often nylon, cotton, or satin strands woven together in striking patterns. This creative form of expression allows for endless personalization with the incorporation of beads, charms, and various knotting techniques to develop intricate designs.

Making your own lanyard bracelet is an engaging, creative process that offers several benefits. Not only does it provide a therapeutic way to pass the time, but it also encourages you to express your artistic side. These bracelets are excellent for showcasing your individual style with personalized color palettes, chosen beads, specially-selected charms, and crafted patterns. Moreover, a handmade lanyard bracelet makes a thoughtful, personalized gift for loved ones.

Essential Materials and Tools for Lanyard Bracelet Making

Before we go on to the lanyard bracelet tutorial, let's first gather what we will need. Here are the essential materials and tools to start crafting your own lanyard bracelets:

  • Lanyard Material: You can choose from various options such as nylon, satin, or cotton depending on your preference.
  • Beads and Charms: Pick your beads in various shapes, sizes, colors, and materials. Charms could be metal or playful ones depending on the personality you want to infuse into your bracelet.
  • Closure Options: Choose a reliable closure option—this could be lobster clasps, magnetic clasps, or toggle clasps.
  • Scissors: For cutting your materials to the correct lengths.
  • Tape Measure: To ensure the correct measurement of your materials.
  • Clipboard or Safety Pin: These tools will hold your bracelet steady while you're working on it.
  • Ribbon, Tassels, or Leather Cords: These are optional and can be added for extra embellishment.

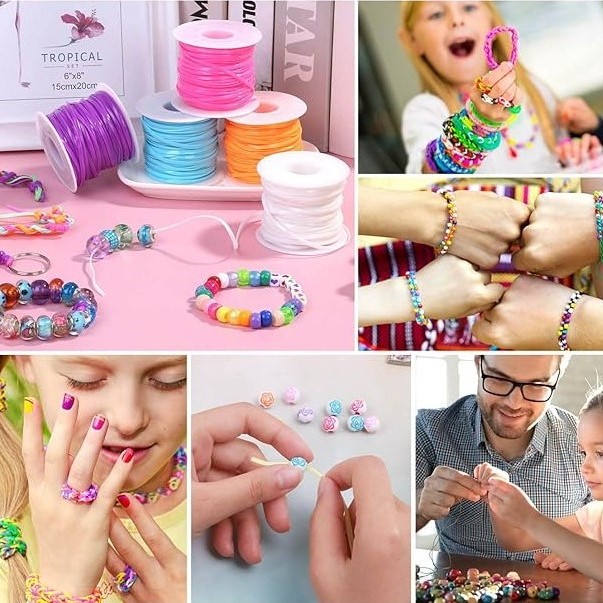
Looking for an easy option for materials? Try a bracelet kit like the Cridoz Lanyard String Kit and unleash your creativity with its colorful strings! This crafting set is packed with six vibrant shades that promise to revive your cherished childhood memories. Made from soft, durable PVC plastic material, each cord has a bright and toxin-free texture that is environmentally friendly. Ideal for all ages, this kit's 20-yard rolls are perfect for handcrafting unique bracelets, keychains, and more. It's a fun and safe way to bond and create, ensuring that both fun and imagination are woven tightly into every DIY project!

Cridoz Lanyard String Kit

Step-by-Step Guide to Making Your First Lanyard Bracelet

Want to know how do you make lanyard bracelets? Here is a step-by-step guide on how to make one:

  • Preparation: Begin by acquiring plastic lace and a metal clasp. The choice of colors can be according to personal preference or to match specific outfits. After this initial step, you are now ready to start on how do you make a lanyard bracelet.
  • Cutting the Lace: Evenly cut two strands of the plastic lace to about 8 feet in length each. This ensures you have enough material to work with without running out.
  • Forming the Initial Cross: Slide your metal clasp to the middle of one plastic strand. Lay this strand perpendicular across the second strand, forming a cross-like shape. This serves as the foundational structure for the bracelet.
  • Starting the Box Stitch: Begin the box stitch by folding strand D (the bottom of the cross) over the other strands to the left.
  • Continuing the Stitch: Proceed by taking strand A (the top of the cross) and folding it down over the previously moved strands, integrating it into the emerging pattern.
  • Further Stitch Development: Fold strand B (right side of the initial cross) over the others to the right, following the established weaving sequence.
  • Securing the Stitch: Take strand C (the left side of the initial cross), fold it up over strand B, and then thread it underneath the loop created by strand D, effectively locking the stitch together.
  • Tightening the Weave: Pull all four strands outward simultaneously, tightening the box stitch. This forms the first segment of your lanyard bracelet's chain.
  • Repeating the Process: Continue repeating the box stitch process, tightening each segment consistently to form a long chain. The rhythm becomes more intuitive as you progress.
  • Checking the Fit: Periodically measure the bracelet around your wrist to ensure it's developing to the desired length. An 8-inch bracelet typically fits a small woman's wrist comfortably.
  • Finishing the Bracelet: Once you've reached the desired length, finalize the bracelet by sliding the other end of the clasp onto one of the laces. Secure all four strands together with a simple, tight knot.
  • Trimming the Excess: Trim the ends of the plastic laces to about an inch from the knot to maintain a neat appearance.
  • Securing the Bracelet: Fasten the bracelet around your wrist using the metal clasp. Adjust snugness as necessary to wear it comfortably.

Tips and Techniques for Advanced Designs

For advanced design work, pushing the boundaries of creativity while maintaining practicality is key. Here are some tips and techniques:

  • Incorporate More Colors: Adding more strands in different colors can introduce vibrant patterns into your designs. Be mindful of the thickness each additional strand adds.
  • Experiment With Stitches: Beyond the box stitch, explore spirals, triangles, and diamonds. Each stitch adds a unique texture and pattern to your bracelets.
  • Adjusting Thickness: For a thicker, more robust bracelet, use more strands or thicker plastic lace. Conversely, for delicate designs, opt for fewer strands or thinner lace.
  • Adding Beads or Charms: Integrate beads or charms into your bracelet for additional personalization. Thread them on one or more strands between stitches.
  • Combining Techniques: Create segments with different stitches or colors for a patchwork effect. This mixed-method approach results in uniquely captivating designs.

Conclusion

In conclusion, creating a lanyard bracelet is not only a fun DIY project but also a way to express your unique style and sense of creativity. With just a few simple materials and following this simple guide on how to make a lanyard bracelet, you can make a cherished keepsake or a thoughtful gift. So, let your imagination run wild, and start weaving your story of skill, flair, and individuality. Your hands hold the promise of countless beautiful creations to come!

FAQ

Here are some commonly asked questions on how to make a lanyard bracelet.

What is the easiest lanyard stitch?

The easiest lanyard stitch to learn for beginners is the box stitch. It is straightforward and involves intertwining strands in a perpendicular fashion, creating a square or box-like pattern. This stitch requires minimal setup and is a great starting point for those new to lanyard crafting.

What are common lanyard bracelet sizes?

Common lanyard sizes typically range in width from 1/2 inch to 1 inch and in length from 36 to 40 inches for a standard adult size.

How can I ensure my lanyard bracelet is durable and long-lasting?

To ensure your lanyard bracelet is durable and long-lasting, choose high-quality materials such as thick nylon or polyester cord, and tighten all stitches evenly throughout the craft. Moreover, applying a small bead of clear nail polish or fabric glue to the ends of the cord can prevent fraying, extending the life of your bracelet.

Featured Articles
What Is Permanent Jewelry? (Definition, Types & Cost)
2024-03-22

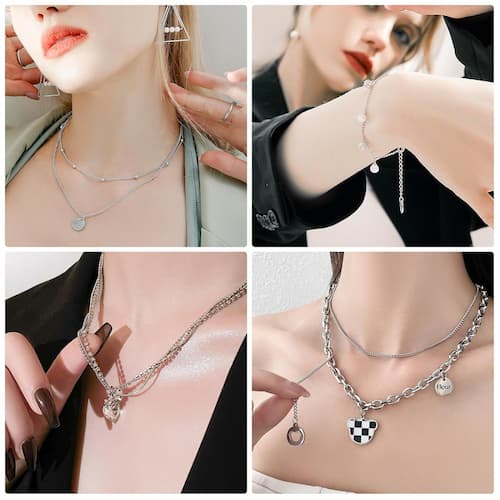
Explore what is permanent jewelry, and learn its workings, types, costs, and DIY options, alongside the benefits and considerations for an informed choice.

Read More
How to Tell If Gold Is Real? 7 Tips You Should Know
2024-03-22

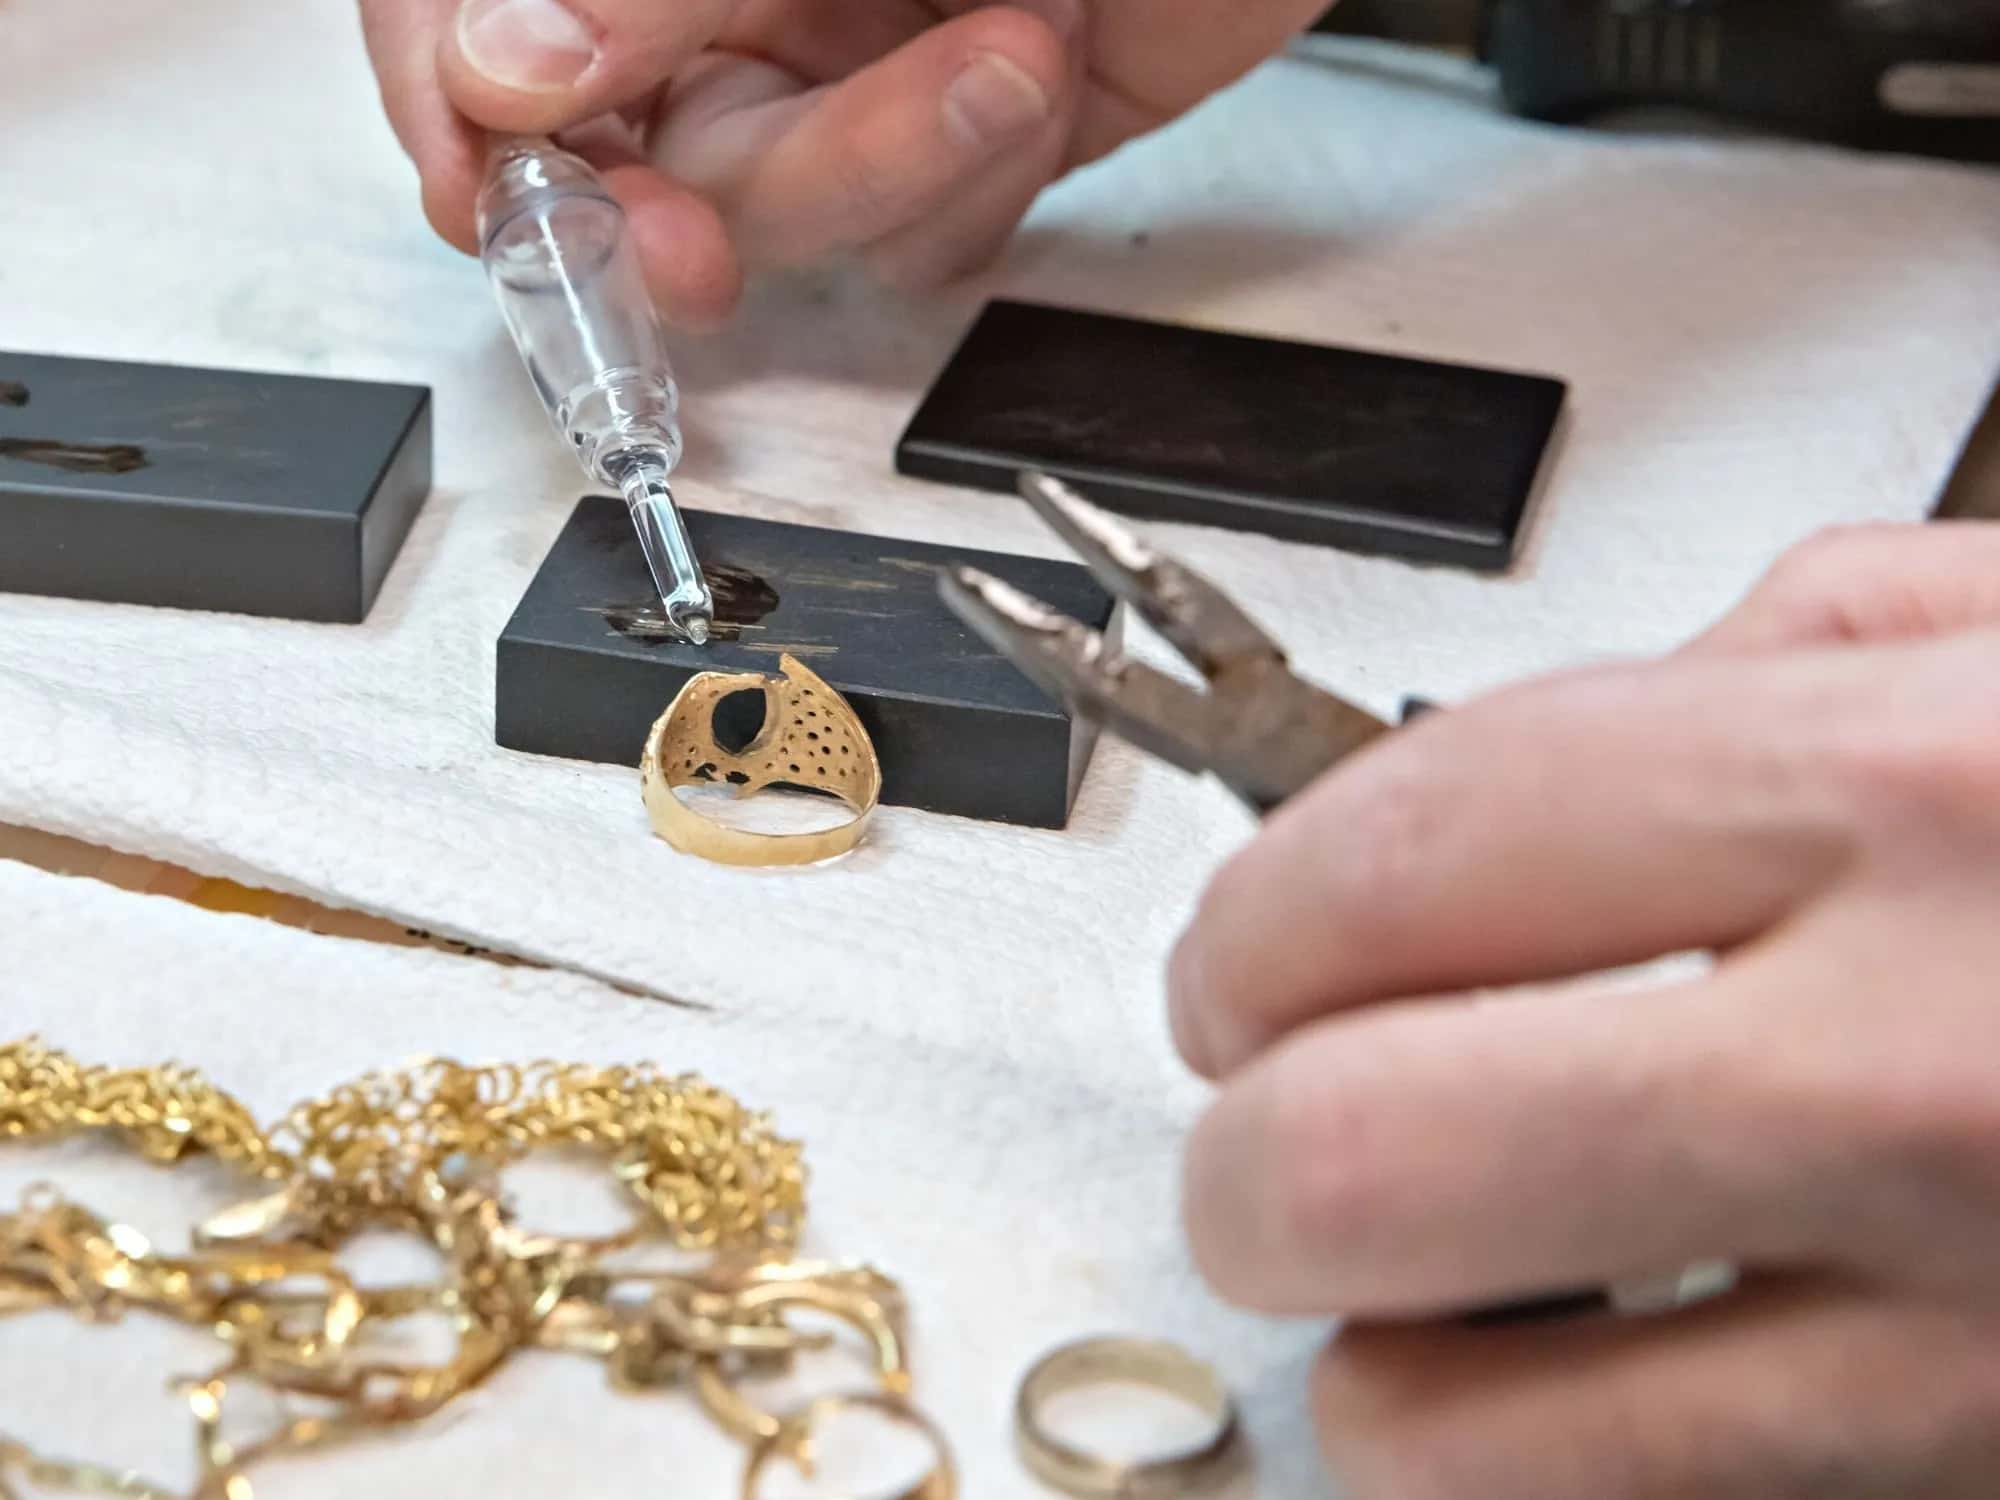
Discover the authenticity of your gold with these 7 essential tips! Learn how to tell if gold is real with expert insights and safeguard your investments.

Read More
A Comprehensive Guide about How to Fix a Broken Bracelet
2024-03-22

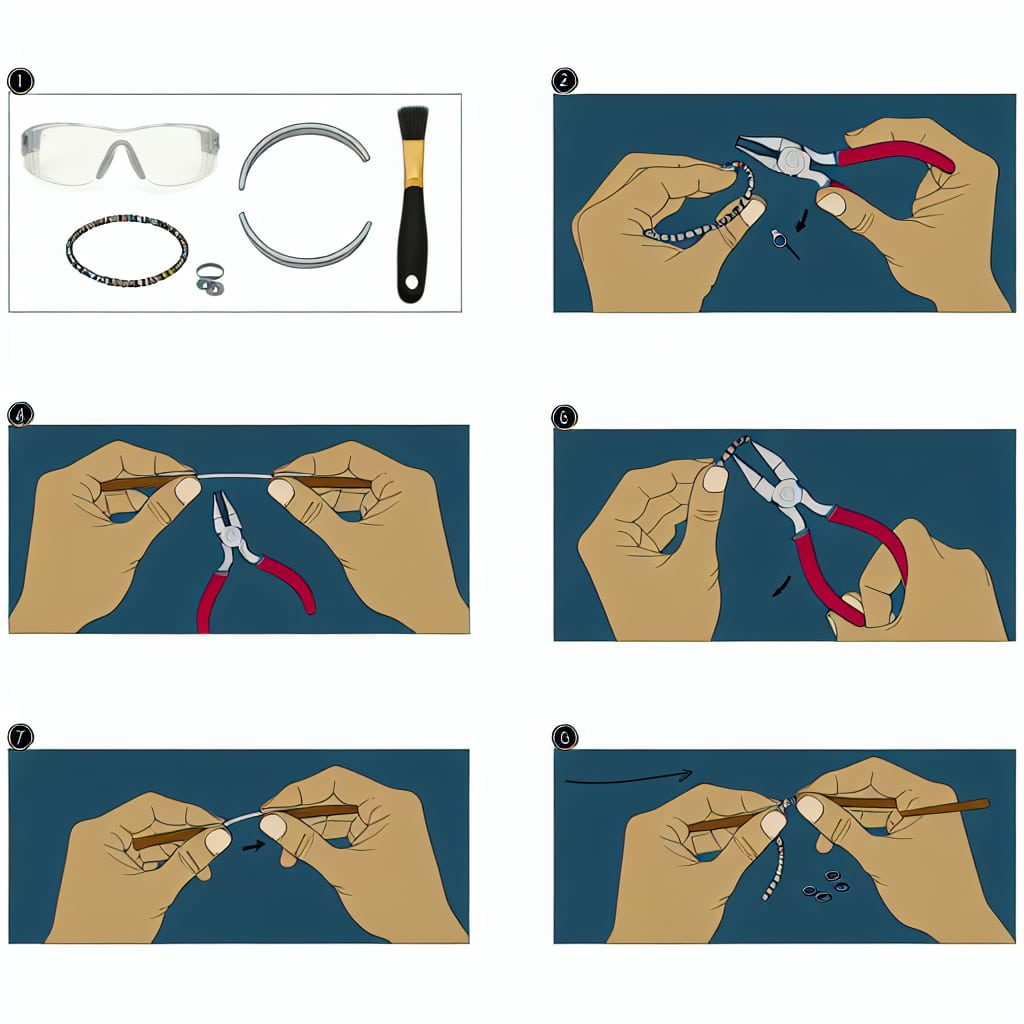
Explore the art of bracelet restoration with our guide on how to fix a broken bracelet. Discover expert tips and step-by-step solutions for lasting repairs.

Read More
How to Make Rainbow Loom Bracelets? A Step-by-step Guide
2024-03-22

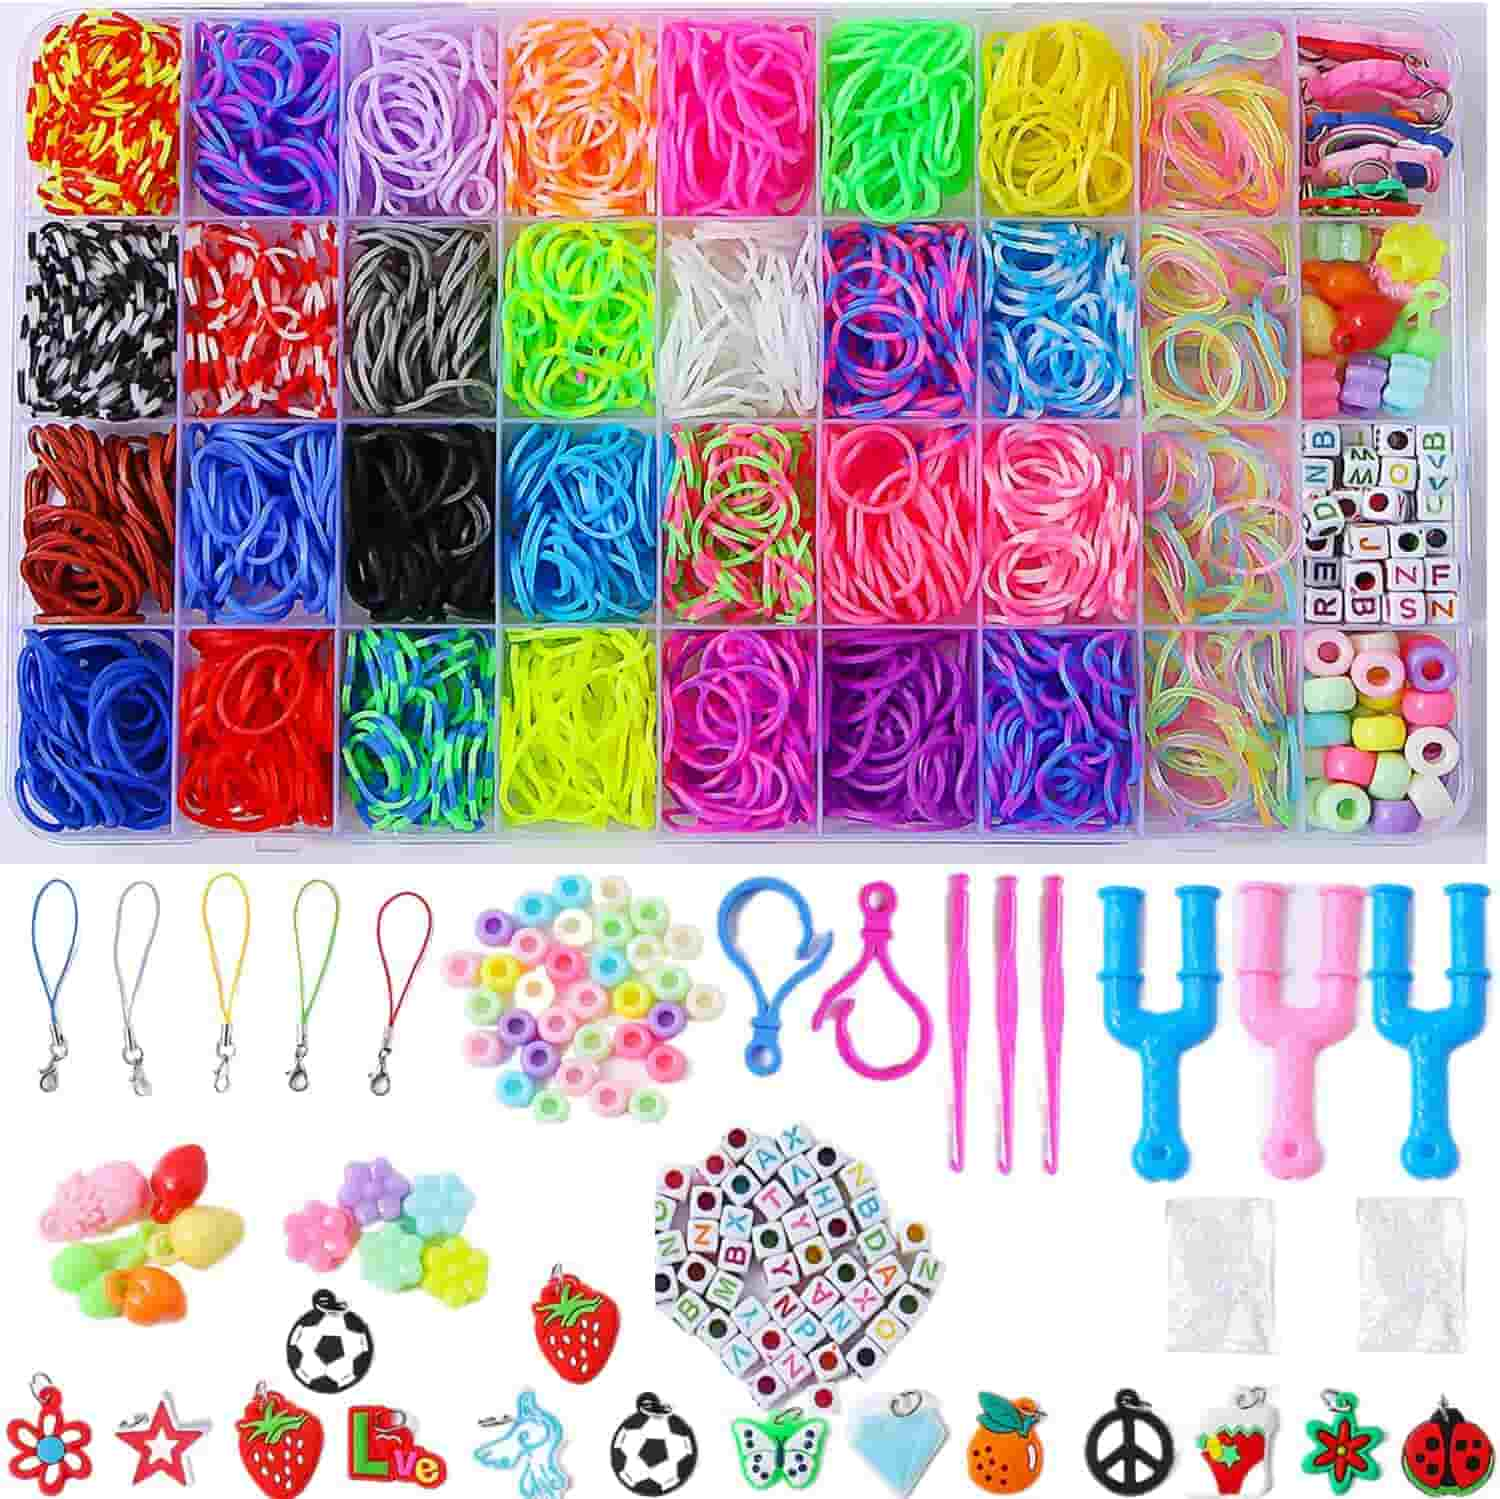
This article unveils how to make rainbow loom bracelets effortlessly. Read on and the detailed tutorial is perfect for beginners and seasoned crafters alike.

Read More