Rainbow loom bracelets are not just vibrant accessories; they are a testament to creativity and craftsmanship. If you are interested in these colorful creations, you come to the right place. We will guide you through the process of how to make rainbow loom bracelets, including the knowledge to craft intricate designs that showcase your unique style and ensure your enjoyable and rewarding journey into this artistic endeavor.
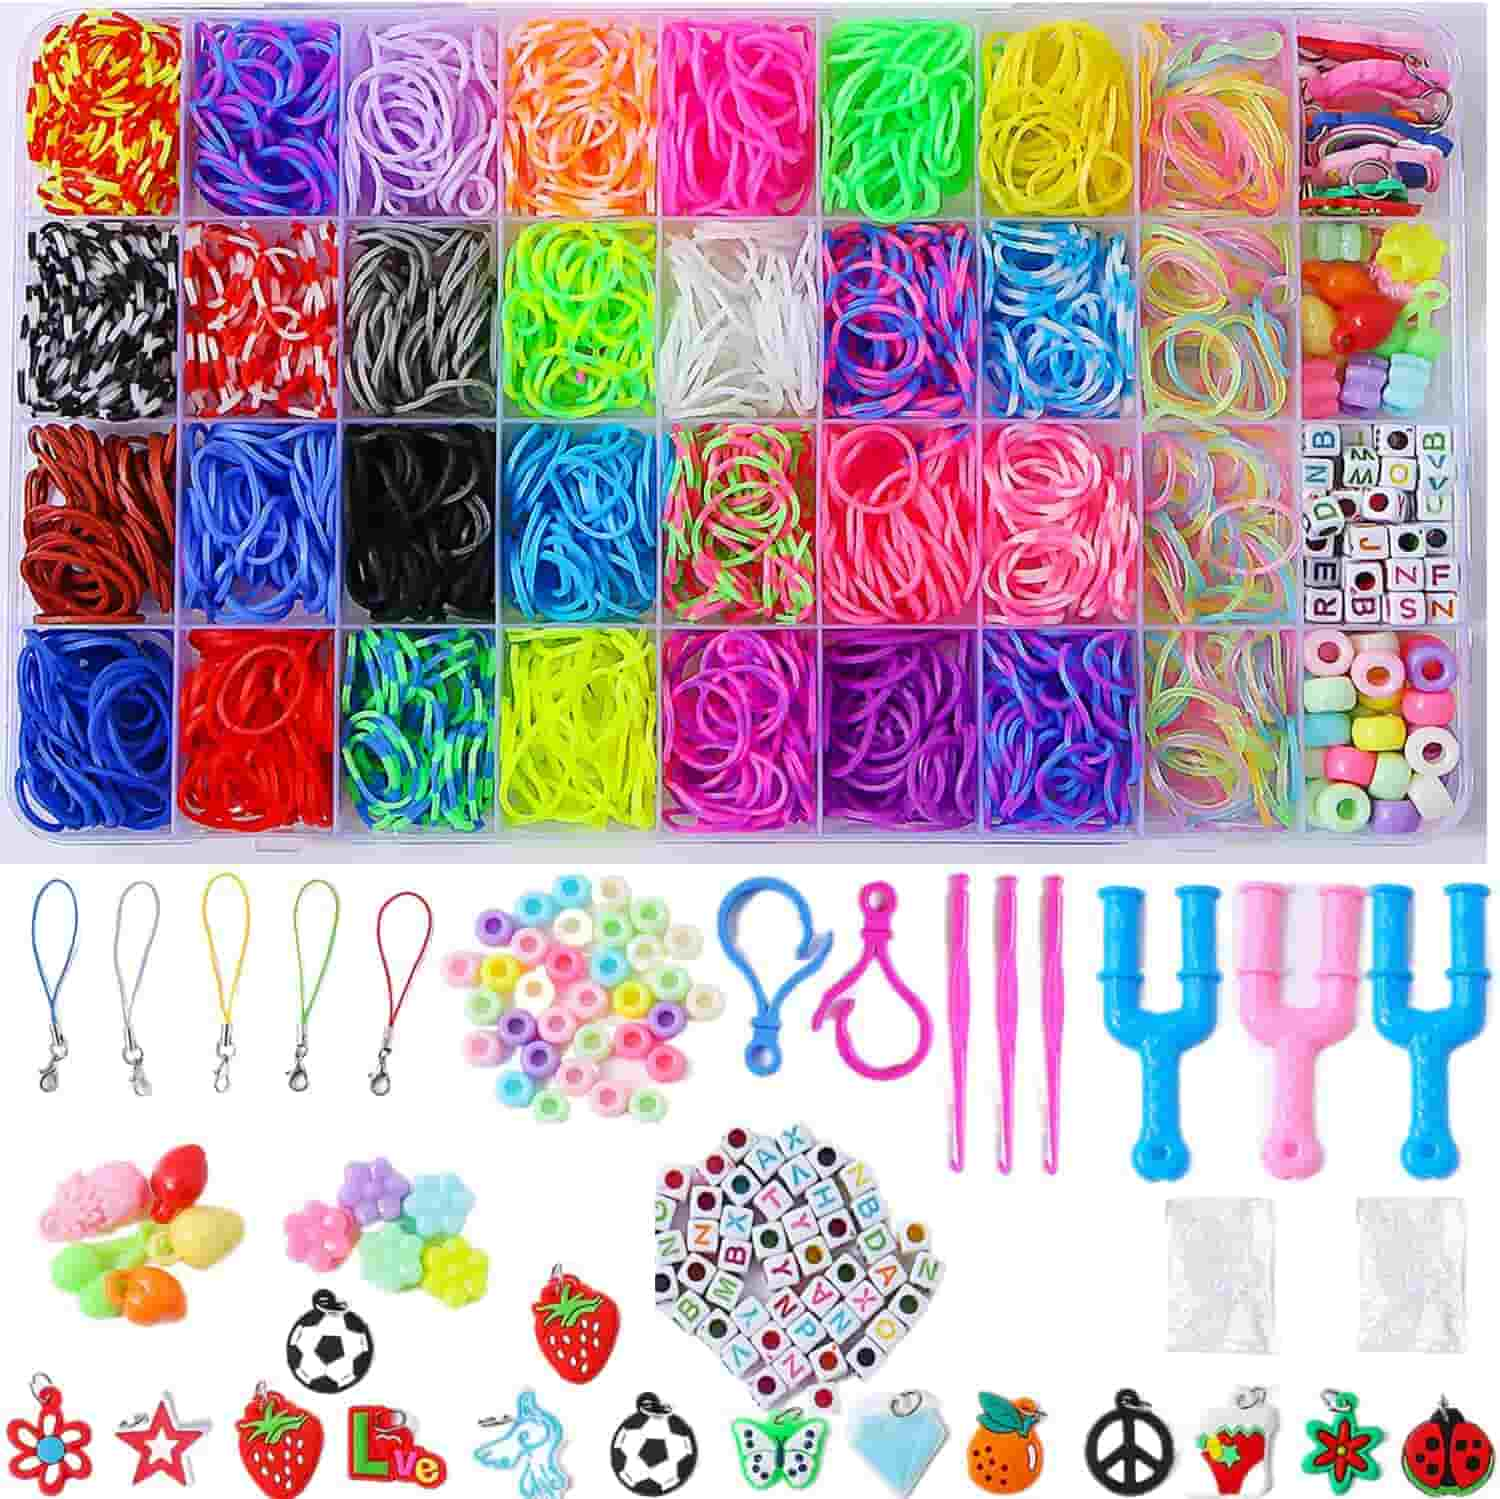
Before you get going on your bracelet-making journey, you should assemble the essential materials. To be honest, there are countless materials needed to make a rainbow loom bracelet, but the most basic are the following:
To facilitate the consumers, the ZenBeya Rubber Band Bracelet Kit is introduced to be a versatile and reliable option, which provides you with a spectrum of possibilities. This craft kit includes 2500+ rubber bands, slingshot holders, cartoon flower pieces, hooks, various kinds of beads, and a variety of DIY accessories. Besides, you don't even worry about its management because each accessory is stored in separate compartments in an organizer. It not only provides high-quality, elastic, soft, and durable bands but also encourages creativity and concentration, perfect for strengthening communication and interaction with friends. This kit is a perfect gift, ensuring 100% safe and non-toxic materials, free of latex, lead, and phthalates. Grab these essential materials and get ready to create colorful braided rubber band bracelets step by step.
Get your tools ready and this comprehensive guide will walk you through how to make a rainbow loom bracelet with this kit, and add a charming touch. These rainbow loom bracelet instructions equip you with the skills to create personalized rainbow loom bracelets.
Here is a step-by-step guide to making a rainbow loom bracelet using the rainbow loom kit.
1. Start with the Slingshot Bracket
Begin by picking up the slingshot bracket. Place the first rubber band in the shape of an "8" on the bracket, securing it in place.
2. Parallel Bands
Add the second and third rubber bands to the bracket in parallel. Then, pick up the first rubber band and loop it onto the third one. This creates the initial structure.
3. Repeat Parallel Bands
Continue the process by repeating step 2. Add another rubber band parallel to the top and continue knitting, creating a layered effect.
4. Continue Knitting
Keep repeating steps 2 and 3 in unison. Each time, add a rubber band parallel to the existing ones and interlace them as you progress. This repetitive pattern forms the body of your bracelet.
5. Reach Desired Length
Continue knitting until your bracelet reaches the desired length. The repetition of parallel bands and interlacing creates a visually appealing design.
6. Secure and Finish
Once you achieve the desired length, carefully clip the ends together. This ensures the bracelet stays intact.
7. Wear Your Creation
With the bracelet securely clipped, it's ready to wear! Slide it onto your wrist, and showcase your handcrafted slingshot bracelet with pride.
If you think your bracelet is too simple and don't know how to make rainbow loom bracelet with a charm, you should:
1. Choose Charms
Select charms like beads or pictures from the kit or acquire one separately to add a personal touch.
2. Attach Them to the Loom Bracelet
If you have a loom, open an S-Clip, attach the charm, and secure it onto the desired section of the bracelet.
3. Integrate with Finger-Woven Bracelet
If you wave it with your fingers, use a jump ring. Open the jump ring, slide the charm onto it, and close it around the bracelet.
To further showcase your intricate craftsmanship and unique creativity in making rainbow loom bracelets, it's essential to continually explore popular designs. Infusing your bracelets with a burst of color and innovation will elevate your creations, keeping them fresh and appealing. Let's explore some examples:
The double helix design involves intertwining two sets of bands, creating a captivating double-helix effect reminiscent of a DNA structure.
l Features: The interwoven bands not only showcase a play of vibrant colors but also provide a dynamic and eye-catching design, making it a favorite among those seeking a unique bracelet.
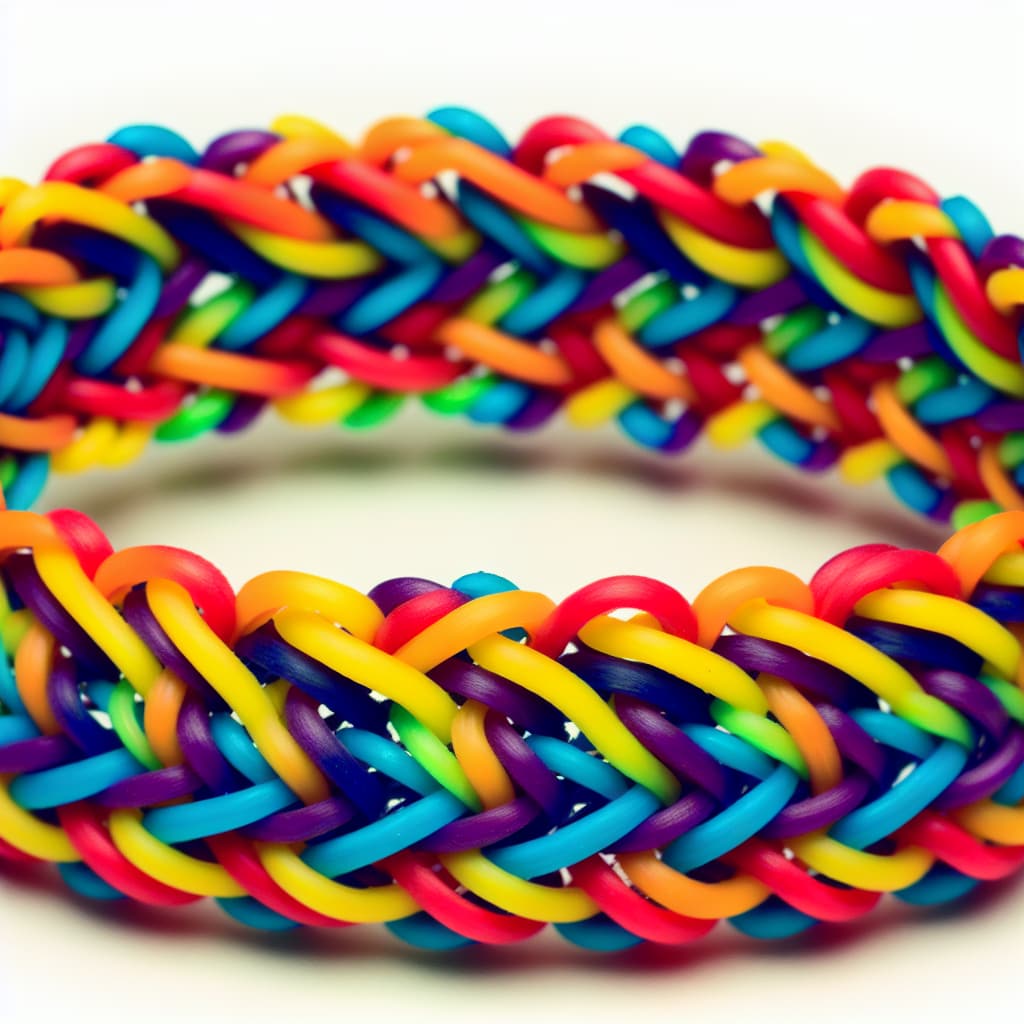
A creative twist on the classic fishtail pattern, the inverted fishtail involves flipping the design for a fresh and distinctive look.
l Features: This variation introduces a unique visual element by altering the orientation of the fishtail, showcasing creativity and innovation.

Its design focuses on creating a burst of color arranged in a diamond-shaped pattern. It utilizes a structured diamond layout to enhance the overall aesthetic.
l Feature: Its refined appearance makes it an excellent choice for those who appreciate detailed and well-defined patterns in their rainbow loom bracelets.
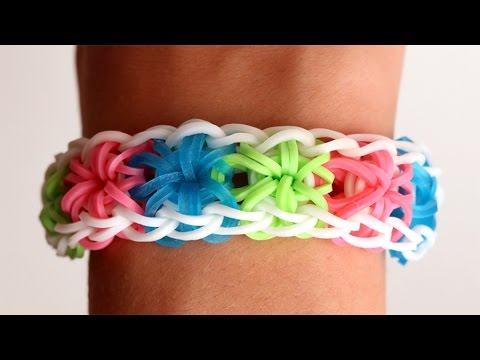
Its design is an advanced pattern that involves weaving multiple layers of bands to form a hexagonal pattern.
l Feature: Known for its complexity, it demonstrates a high level of craftsmanship, intricate weaving techniques, and attention to detail, and is thus suitable for those who enjoy a challenge.
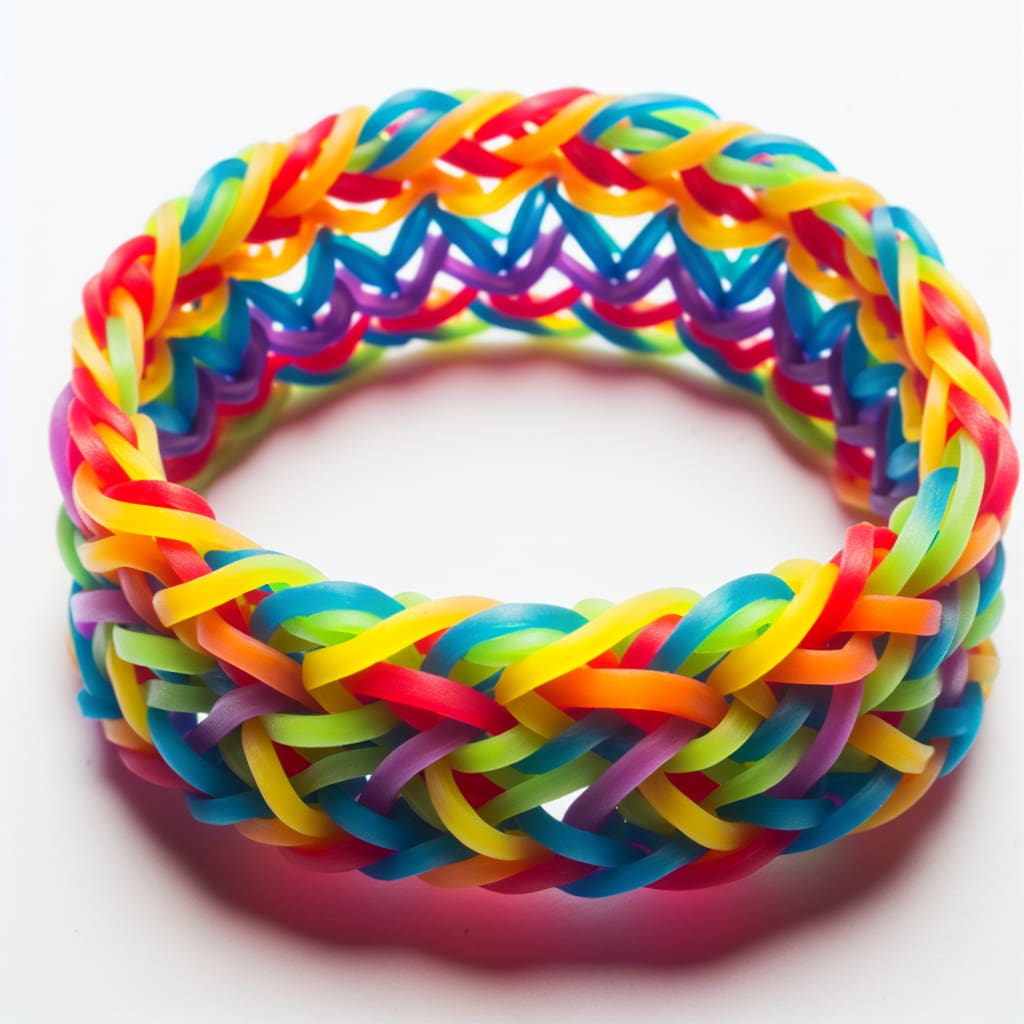
Its design features interlocking chains that create a dynamic zigzag effect.
l Feature: It is popular for its playful appearance, offering a bracelet that stands out with its dynamic pattern and interconnected chains, providing a sense of vibrancy and movement.
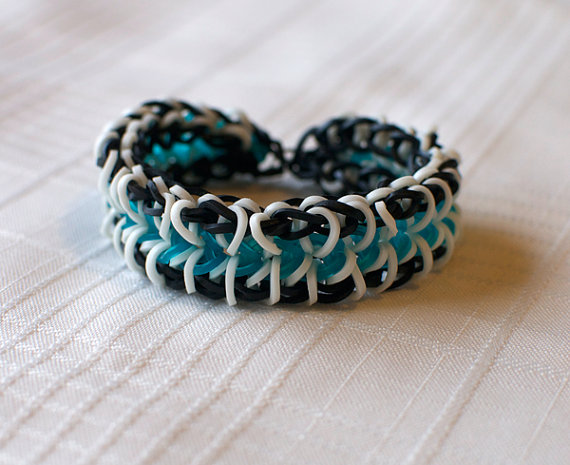
These advanced bracelet designs showcase the versatility of the craft and empower individuals to express their creativity through unique and intricate patterns. As you explore the unknown designs, you can refer to our insights on how to make rainbow loom bracelet designs that captivate with complexity and innovation.
In wrapping up, this rainbow loom bracelet tutorial has led you through the colorful world of rainbow loom bracelets, from the initial setup using the ZenBeya Rubber Band Bracelet Kit to crafting your very first bracelet, and exploring more complex designs. Each step of the journey enhances your creativity and dexterity, allowing you to produce vibrant, intricate pieces. Continue to experiment with new patterns and colors, and let your imagination guide you to create unique, eye-catching accessories.
Rainbow loom is suitable for a wide range of age groups, from children as young as 6 years old to adults. Its versatile designs and patterns allow individuals of all ages with different preferences and skill levels to enjoy the craft.
Yes, you can make Rainbow Loom bracelets without a loom by using your fingers or simple tools like pencils or forks to weave the bands. This method involves looping and pulling bands to create various patterns, offering a more hands-on approach to crafting these colorful bracelets.
The number of bands required depends on the complexity and size of your chosen design. On average, a simple bracelet may require around 100 bands, but intricate designs may demand more. You can experiment with colors and patterns to find your perfect balance or browse our instructions for rainbow loom bracelets above.
Wondering what is a bolo bracelet? Learn its meaning, origin, styles, recommendations, and tips to wear and care for in this ultimate guide.
Read MoreAre you still confused about how to make a leather bracelet? Read on and explore techniques, tools, materials, and tips for creating timeless accessories.
Read MoreLearn how to organize earrings and what to use at home or for travel to save your accessories with this guide. Discover the art of earring organization!
Read MoreLearn how to make a stretch bracelet with our step-by-step guide. Create stylish and personalized accessories effortlessly.
Read More