


Learning how to make a bracelet, is not just about making an accessory. It's an art that lets you pour your personality, your mood, and your individuality into something tangible and beautiful. Whether you're aiming to craft a one-of-a-kind gift or something special for your own jewelry collection, this guide is your companion on a journey from simplicity to sophistication in making bracelet.
Creating a bracelet entails gathering several components, and different designs can require specific materials. However, there are some standard materials you'll need as a beginner for easy bracelet making. Here’s a list of key items:
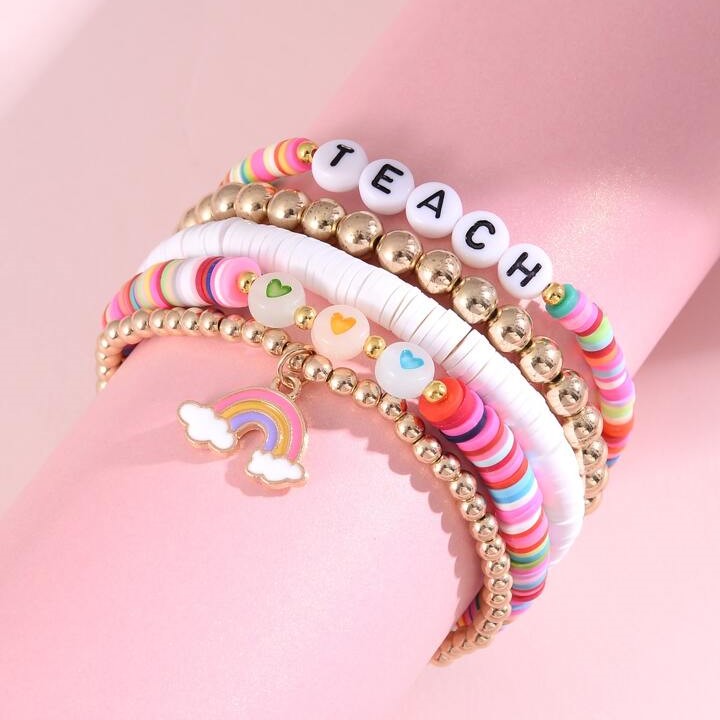
· Beads: This is the fun part of bracelet making where you can unleash your creativity—you can choose from various sizes, colors, and shapes according to your preference.
· Cord or String: This depends on the type of bracelet that you are making. Beading thread, leather cord, elastic cord, waxed cotton cord are among the types you can use.
· Clasps: Clasps are used to securely fasten the ends of bracelet.
· Crimp Beads: Crimp beads are used to secure the clasp to the string and prevent the beads from sliding off the ends.
· Jump Rings: These are small metal rings used to attach the clasp to the end of the bracelet.
· Crimping Tool/Wire Cutters: Tools used to attach and secure the crimp beads, and to cut the cord.
· Tape Measure: To measure the length of your wrist, or whoever will be wearing the bracelet.
· Bead Mat: This helps to keep your beads from rolling off the table as you work.
· Beading Needle: This can make it easier to string the beads, especially if they have small holes.
· Charm(s) (optional): You can add charms to your bracelets for added personality.
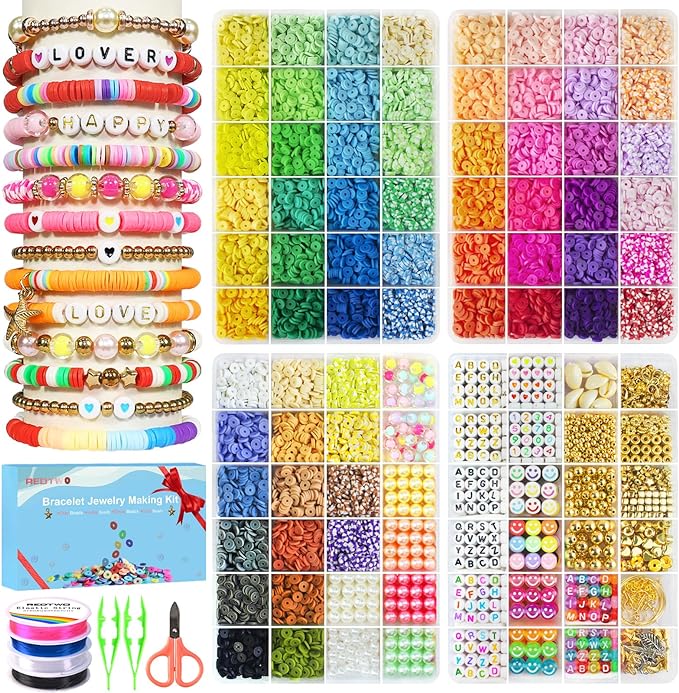
If you are looking for an easy all-in-one bracelet-making kit, consider the Redtwo 5100 Clay Beads Bracelet Making Kit, which is your perfect starter in jewelry crafting. Offering a wide range of about 4600 flat polymer clay beads and a versatile 500-piece charms kit, it ensures you have everything you need on your bracelet-making journey.
Each bead is crafted with integrity and stewardship in mind, with a focus on safety and eco-friendliness that makes it perfect for crafters young and old. What's more? The sky is the limit with creativity, as this kit is also perfect for crafting necklaces, earrings, anklets and more, keeping children entertained and fostering their creativity.
Here is a step-by-step guide on how to make a bracelet for beginners:
Step 1: Choose your Material and Beads
The first step on how to make bracelet is choosing the materials you want to use for your bracelet. Choose the beads that appeal to you most and match them with a string or cord that complements your bead choice. Purchase clasps, crimp beads and jump rings that match your cord and beads.
Step 2: Measure
Measure your wrist and then add another half inch to allow for the clasp and comfort. Cut your cord to this length.
Step 3: Thread the Needle
If you are using a beading needle, thread it at this stage.
Step 4: Start Beading
Start placing the beads on the cord in an order that appeals to you. You could follow a pattern or make it random; this is where your creativity comes into play.
Step 5: Secure the First End
Once your beads are strung, take one of the crimp beads and thread it onto the cord. Follow this by adding a jump ring and then thread the cord back through the crimp bead. Using your crimping tool or pliers, compress the crimp bead so it secures the jump ring and beads in place.
Step 6: Attach the Clasp
Attach one half of the clasp to the jump ring. Use your pliers to securely close the jump ring.
Step 7: Repeat for the Other Side
Repeat steps 5 and 6 for the other side of the bracelet, but remember to add the other half of the clasp this time.
Step 8: Finish the Bracelet
Once both ends of your bracelet are secure and the clasp is attached, your bracelet is ready. You can now polish and/or adjust the beads as needed before wearing or gifting it.
Bracelet making can seem complex at first, but once you get the hang of it, it is a lot of fun and very rewarding.
As you grow more comfortable with basic bracelet-making, you might want to explore more advanced techniques and designs. Here are some to consider:
1. Macramé: This is a method of fabric crafts that emphasizes the use of knots rather than traditional knitting or weaving techniques. It's ideal for crafting intricate, lace-inspired bracelets.
2. Wire Wrapping: A technique that involves twisting and turning wire around beads or gems, creating complex and beautiful patterns.
3. Loom Beading: This method includes weaving beads together on a loom to create intricate patterns. It can be time-consuming but produces splendid results.
4. Chain Mail: This technique involves interlocking metal rings in a pattern to form a mesh resembling classic medieval chainmail.
5. Soutache: A form of braiding, usually flat, with loops and curves that define the pattern. Typically used to make jewelry and accessories.
6. Bead Lacing: This technique includes patterns of lacing beads in intricate designs that often have a 3D effect.
So, there you have it! You now have the tools and tricks on how to make a bracelet. Imagine your special touch bringing bursts of color and life to wrists everywhere. Each little choice you make—every twist, knot, and bead—is the next big step in your journey of creativity. Take what you've learned and let your imagination run wild. A sprinkle of grit is all it takes to craft something truly extraordinary and who knows? You might just become the next big trendsetter!
Here are some commonly asked queries on how to make a bracelet.
A DIY bracelet should typically be around 7 to 9 inches long. This length is generally considered as an average bracelet size, but it can vary depending on the wearer's wrist size. Measuring the person's wrist before beginning the crafting process is recommended to ensure optimal comfort and fit.
Yes, it can be cheaper to make your own bracelet, especially if you already own the tools needed for crafting. However, the cost can rise depending on the types of materials or beads you choose to incorporate into your bracelet.
Definitely yes! Mixing different types of beads in one bracelet is a great way to create a unique design. It allows for a blend of textures, sizes, and colors letting you achieve a distinct look that caters to your personal taste and style.
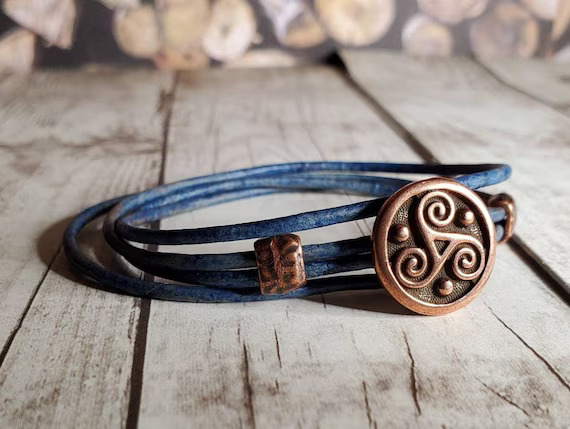
Get essential tips on how to tie a bracelet knot with our guide, covering everything from material selection to advanced adjustable and sliding knots.
Read More
Master how to make friendship bracelets with our guide on popular patterns, material selection, and care tips. Create lasting memories & bonds today!
Read More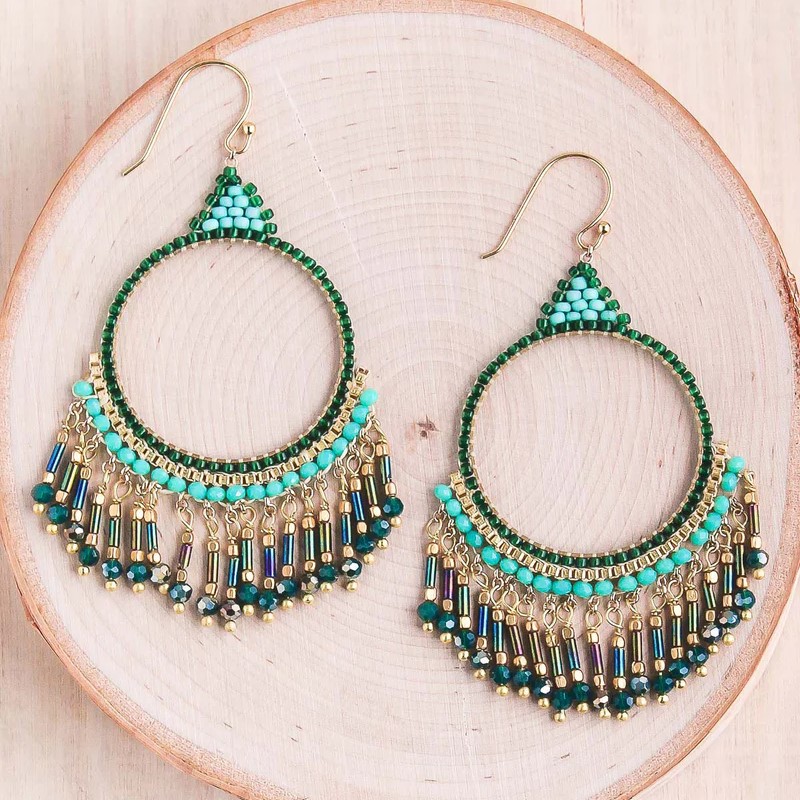
Get a complete guide on how to make beaded earrings. Find out essential supplies and follow our easy step-by-step instructions. Read on to know more!
Read More
Master how to make clay earrings with our guide. Get essential tool insights, materials, and a step-by-step process for crafting unique dangle pieces.
Read More