


If you're into making your own bracelets, you may find that knowing how to tie a bracelet knot is key. This guide covers everything you need to know, from picking the right materials to mastering advanced techniques like adjustable knots. Follow along step-by-step and let your creativity run wild as you craft beautiful, one-of-a-kind bracelets for yourself and your friends. So, without further ado, let’s get started!
Before diving into the steps of how to tie a bracelet knot, you need to know some essential knots that you can use for making bracelets:
1. Overhand Knot: An Overhand Knot is the foundation of jewelry making. It's essentially a simple loop tightened by pulling the ends. This knot is versatile, used for securing beads on stringing projects, preventing fraying, and as a decorative element.
2. Pretzel Knot: Also referred to as the Josephine Knot, this intricate design is eye-catching and often serves as the focal point in macramé projects. It stands out particularly well when using cords of contrasting colors.
3. Lark's Head Knot: Exceptional for attaching pendants or clasps, the Lark's Head is simple yet secure. It wraps around an object, creating a fixed point that is aesthetically pleasing and practical for highlighting focal pieces in your jewelry.
4. Surgeon's Knot: When working with elastic or slippery materials, the Surgeon's Knot is invaluable. Its additional twists provide durability and security, ensuring that the pieces stay together without sliding apart.
5. Square Knot: Ideal for braided bracelets or incorporating beads with a rhythmic pattern, the Square Knot involves alternating the knot tying to create flat or spiral designs. This knot is strong and adaptable, suitable for various stringing materials like hemp, leather, or satin.
6. Half-Hitch Knot: A mainstay in bead weaving, the Half-Hitch Knot is employed for both practical assembly purposes and decorative flourishes. It's often used to start and end weavings, making it a crucial knot for securing your work.
7. Sliding Knot: For adjustable bracelets or necklaces, the Sliding Knot is the go-to. It creates a resizable piece without the need for clasps, accommodating different wrist sizes and ensuring a comfortable fit.
Gathering the right supplies is a critical first step for exploring bracelet-tying methods. The materials needed can vary widely depending on the design and style you're aiming for. Here's a list of common materials used in bracelet making:
· Cord or String: Options include waxed cotton, leather, hemp, nylon, and silk. Your choice should be based on the bracelet design and the desired durability.
· Beads: Glass, wood, metal, and plastic beads add color and personality to your bracelet.
· Clasps and Fasteners: These are necessary for non-adjustable bracelets and can include lobster clasps, toggle clasps, and button clasps.
· Charms and Pendants: Perfect for adding a focal point or personal touch to your bracelet.
· Tools: Scissors, a tape measure, and a lighter (for burning the ends of synthetic cords).
With all preparations in place, it's time to delve into the process of knotting a bracelet. We'll explore three different techniques on how to tie bracelet knot:
This basic overhand knot is the foundation of many bracelet designs and can be modified for a variety of uses. Here's how to tie a knot for a bracelet:
1. Measure and Cut the Cord: Cut a piece of cord at least 12 inches long to ensure you have enough length to work with and tie off.
2. Create a Loop: Fold the cord in half to form a loop, leaving the two ends free.
3. Bring the Ends Over: Cross the free ends over the loop.
4. Through the Loop: Now, bring those ends under and up through the loop you created.
5. Pull Tight: Hold the ends and the base of the loop and pull tight. Adjust the loop size before fully tightening if necessary. And there you go! That's how to knot a bracelet in just a few minutes.
Wondering how to tie an adjustable bracelet? Adjustable knots are ideal for bracelets as they allow the wearer to change the tightness of the bracelet easily. Here's the step by step how to tie a bracelet knot:
1. Start with Two Strands: Cut two pieces of cord, each about 24 inches long. Lay them parallel to each other.
2. Tie an Overhand Knot on One Side: Using one cord, tie an overhand knot around both cords, positioning it a few inches from the end. Pull tight.
3. Repeat on the Other Side: Repeat the process on the other side with the second cord, ensuring both knots are at the same distance from the ends.
4. Test the Adjustability: Pull the two main cords apart. The knots should slide along the cords, making the loop size adjustable. If the knots are too tight or too loose, adjust the tension and try again.
What about how to make a sliding knot bracelet? A sliding knot is a more advanced technique that creates an easily adjustable bracelet without the need for additional clasps.
1. Prepare Your Bracelet: Start with your bracelet already made, leaving long ends of the cord at both ends.
1. Form a Loop: Lay one end of the cord alongside the bracelet and form a loop that lays over the main part of the bracelet.
2. Wrap the End: Take the end of the cord you just looped and start wrapping it around the loop and the bracelet's main section, moving towards the loop's base.
3. Thread Through the Loop: After several wraps, thread the end of the cord through the loop you initially created.
4. Pull Tight: Pull on the tail end of the cord that was used for wrapping, which will pull the loop (and the end threaded through it) underneath the wrapped cords. This secures the knot.
5. Repeat for the Other Side: Perform the same steps on the other side of the bracelet for a fully adjustable bracelet.
6. Finishing Touches: Adjust the knots for the desired fit and trim any excess cord. Use a lighter to carefully melt all the ends of synthetic cords to prevent fraying.
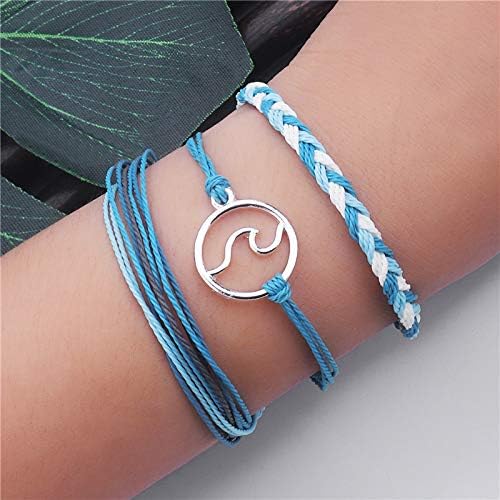
Additionally, the market offers a variety of adjustable bracelets for purchase. The JczR.Y VSCO String Wave Bracelets stand out as a prime choice, blending fashion with coastal vibes. Designed to accommodate nearly every wrist size, these bracelets can also be worn as anklets. Crafted from robust, water-resistant waxed strings and adorned with alloy sea wave charms, these bracelets are engineered to maintain their hue and luster, even when subjected to aquatic activities. Packaged in an elegant blue gift bag, they make an ideal gift for any event.
Expressing your unique style and creating personalized gifts for loved ones is easy with DIY bracelets and knowing how to tie a bracelet knot. With the right materials and basic knotting techniques, you can craft beautiful, adjustable, and durable bracelets. Remember, practice makes every craft perfect, so don't be afraid to experiment with different styles and techniques. Start your bracelet-making journey today and discover the endless creative possibilities that await you!
Here are some commonly asked queries on how to tie a bracelet knot.
The Square Knot (Reef Knot) is ideal for beginners due to its simplicity and functionality. It's easy to learn and serves as a foundation for more complex knots, making it perfect for starting your journey into knot-tying.
To make your bracelet knots more secure, tighten each knot firmly as you go, and consider applying a small drop of clear nail polish or glue to the final knot. This will lock the knot in place without affecting the bracelet's appearance.
Adjusting the size of your bracelet after tying the knot is tricky but possible with sliding knots. If you've used adjustable sliding knots, you can simply slide to adjust. Otherwise, you might need to untie and re-tie the knots, considering the desired length adjustment.

Master how to make friendship bracelets with our guide on popular patterns, material selection, and care tips. Create lasting memories & bonds today!
Read More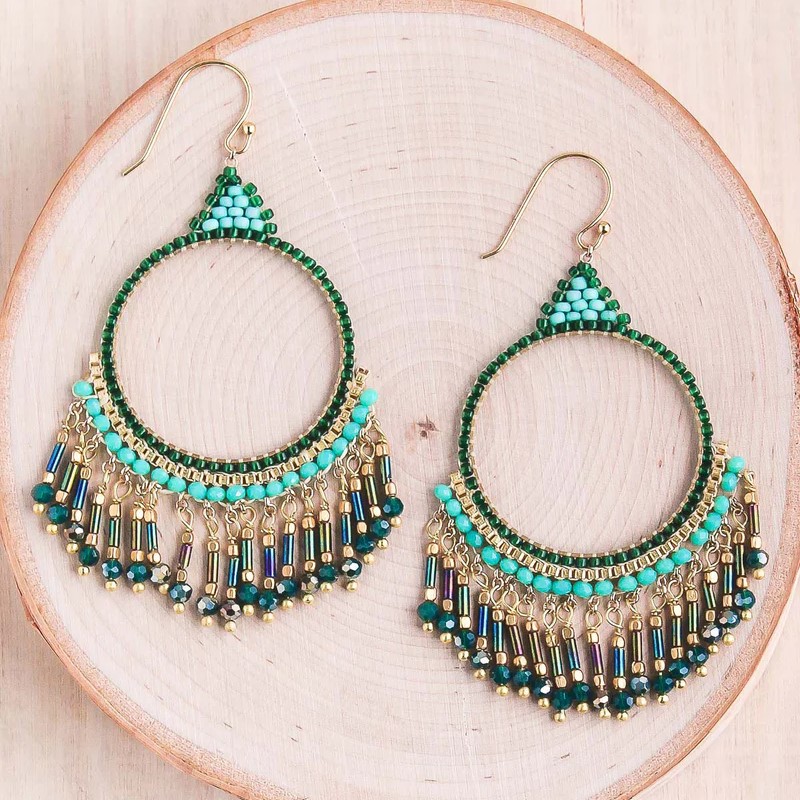
Get a complete guide on how to make beaded earrings. Find out essential supplies and follow our easy step-by-step instructions. Read on to know more!
Read More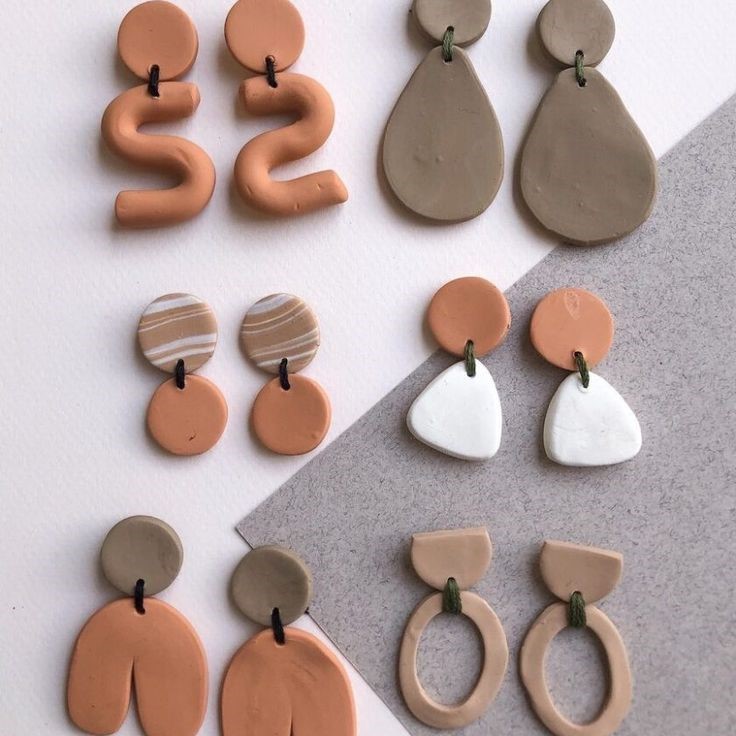
Master how to make clay earrings with our guide. Get essential tool insights, materials, and a step-by-step process for crafting unique dangle pieces.
Read More
Discover where to buy earrings! Find the best one for any occasion. Shop the latest trends online or in-store and complete your look with the ideal pair today.
Read More