Weaving a bracelet is a delightful way to tap into your creativity and add a personal touch to your accessory collection. If you're a complete novice, you come to the right place. This guide is tailored for beginners and will help you master the basics of bracelet weaving.
From selecting the right materials to understanding the basics of weaving, we'll walk you through each step with clear, easy-to-follow instructions. By the end of this tutorial, you'll have the skills to create beautiful woven bracelets and the confidence to explore more intricate designs and patterns. Prepare to go out on a creative and self-expression trip on weaving a bracelet!

Choosing the right materials and tools is crucial for a successful woven bracelet tutorial. Here's a breakdown of what you'll need:
Now that you have your materials, let's dive into the step-by-step process of how to make a woven friendship bracelet:
Step 1: Choose Your Colors
Select 3 to 6 colors of embroidery floss. The more colors you choose, the more colorful and complex your bracelet can be.
Step 2: Cut the Floss
Cut about 24 to 30 inches of each color. The length may vary depending on how thick or long you want your bracelet to be.
Step 3: Knot the Strands
Gather all the strands together, align them, and tie a knot about 1.5 inches from the top. This will serve as the starting point of your weaving.
Step 4: Secure the Strands
Tape the knot to a flat surface, or clip it to a clipboard. This keeps the strands steady as you weave.
Step 5: Start Weaving
Arrange the strands side by side in a preferred order. Start with the strand on the far left, and weave it over and under each of the other strands moving to the right. When it reaches the far right, return to the left side and repeat the process.
Keep the tension consistent but not too tight, as this could cause the bracelet to bunch up or become misshapen.
Step 6: Adding Beads
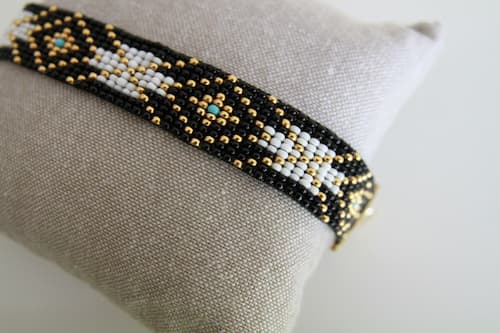
For a more decorative bracelet, you can make a woven beaded bracelet by threading beads onto the floss at various points in your weaving for a unique touch.
Step 7: Finish the Bracelet
Once the bracelet reaches the desired length, tie all the strands together with another knot to secure the weave. You can add a button or a loop at the end for closure, or simply tie the bracelet ends together when wearing.
Step 8: Trim the Excess
Cut off any excess floss beyond the knots, leaving enough to comfortably tie the bracelet around your wrist.
For those looking to elevate their bracelet weaving skills, explore advanced patterns to create intricate designs:
1. Chevron Pattern
A classic favorite, the Chevron pattern creates sharp, zigzag stripes. Cut 4 strands per color (4+ colors) of embroidery floss, each 60 inches. Fold, knot at the midpoint. Secure to a clipboard. Group strands by color, creating a mirror image. Knot adjacent strands, moving inward from both sides in "V" shapes, then mirror outward to form arrows, alternating the dominant color to create a zigzag pattern.
2. Arrowhead Pattern
The Arrowhead pattern needs detailed knotting, perfect for a dynamic, pointed design. Start with a base of 6 strands, knotting in pairs. Knot left over right, then right over left to form the base row. For the arrowhead, alternate the direction of your knots by rows, converging to the center from both sides. This forms a distinct arrow-like pattern as you progress.
3. Spiral Knot Pattern
The Spiral Knot pattern uses a series of simple half knots to create a twisted effect. Choose three colors of embroidery floss, cut them to 60 inches, and secure them at the top. Make consecutive half knots with the rightmost strand over the others, gradually rotating the bracelet to form a spiral. Keep tension even for a uniform twist.
4. Fishbone Pattern
The Fishbone pattern creates an intricate, spine-like design with knots. Use multiple floss colors, each cut to 60 inches. Tie a central backbone with one color, then alternately tie left and right knots tightly against it with the other colors, pulling the knots diagonally across to mimic a fish's skeleton.
5. Ladder Pattern
The Ladder pattern is great for adding beads into your bracelet for an elegant look. Thread beads onto each strand of embroidery floss before starting. Knot between beads, pulling adjacent strands outward to form a 'rung', then inward to secure the bead in place, creating a ladder-like sequence.
6. Macramé Pattern
Ideal for a bohemian style, the Macramé pattern uses basic macramé knots to create textured designs. Start with groups of four strands, using square knots and alternating square knots (right over left, then left over right) to form a detailed grid-like pattern. Add beads or switch colors for variety.
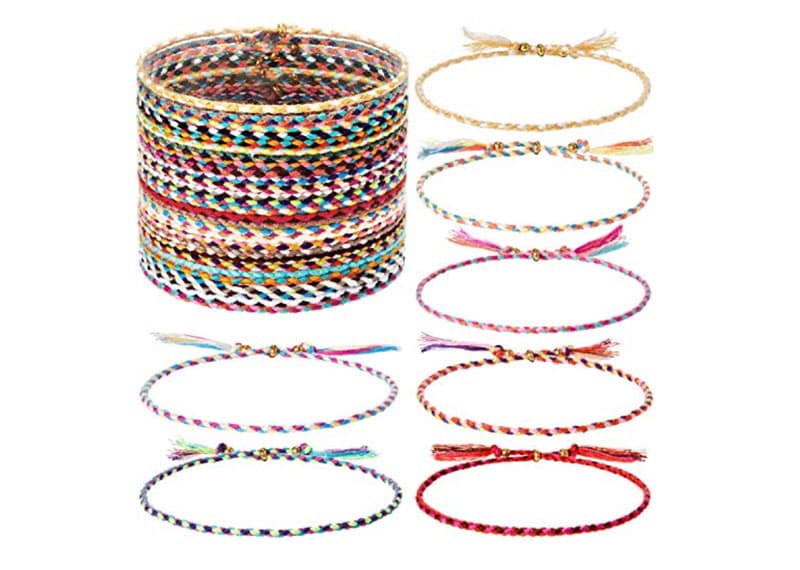
If you're looking for a quick and stylish solution without the need to craft one yourself, consider the "Hicarer Woven Friendship Bracelet." These bracelets are an excellent choice, offering a perfect fit with an adjustable length ranging from 6 to 10 inches, ensuring comfort for everyone. The set includes twenty-eight hand-woven bracelets, each featuring unique, vibrant designs that add a touch of charm to any outfit.

Made from colorful, durable threads, these bracelets not only showcase the timeless essence of friendship but are also versatile enough to be worn as wrist bracelets, anklets, or even ponytail holders. Their bright and eye-catching colors make them ideal for daily wear or special occasions. Perfect for gifting to friends and family on birthdays, holidays, or Friendship Day, these multicolor bracelets are a wonderful way to celebrate unity and friendship.
Creating woven bracelets is a delightful and rewarding activity that combines creativity with intricate craftsmanship. This guide has covered everything about how to weave a bracelet, from selecting the right materials to learning basic and advanced weaving techniques. As you develop your skills, each unique bracelet you craft can become a meaningful gift or a personal treasure, perfect for any occasion. Enjoy the process of bringing your artistic visions to life through the art of bracelet weaving.
The time to weave a bracelet varies, influenced by design complexity, materials, and skill level. Simple patterns like a basic friendship bracelet might take 1-2 hours, while intricate designs could take several hours or more. Experience can significantly decrease crafting time as you become more proficient.
Most woven bracelets made with durable materials like nylon or waxed linen can withstand light exposure to water. However, it's advisable to remove them before swimming or showering to maintain their longevity.
Commonly used threads for woven bracelets include nylon, silk, and waxed linen. Each has its unique characteristics, so choose based on your design preferences and desired level of durability.
Discover how to make a wax cord bracelet with our step-by-step guide, featuring materials, detailed tutorials, design tips, and customization ideas.
Read MoreThis article offers a detailed guide on how to make clay bead bracelets, covering materials, techniques, and design ideas. Let's learn the bracelet-making art.
Read MoreLearn stunning macrame bead bracelet making with our easy-to-follow guide. Follow the 9 simple steps and master the art of macrame bead bracelet tutorial.
Read MoreDiscover the significance behind bead bracelets meaning and explore how they imbue wearers with intention, energy, and connection to the world around them.
Read More