Do you struggle with taking off earrings, especially those with safety backs? You're not alone! It can be overwhelming, especially if you're new to wearing jewelry or changing your earrings frequently. But don't worry, we've got you covered. In this article, you'll find helpful tips on the different types of earring backs, a step-by-step guide on how to take off earrings with safety back, and advice on proper care of your ears after removing your earrings. So, what are you waiting for? Let's get started!
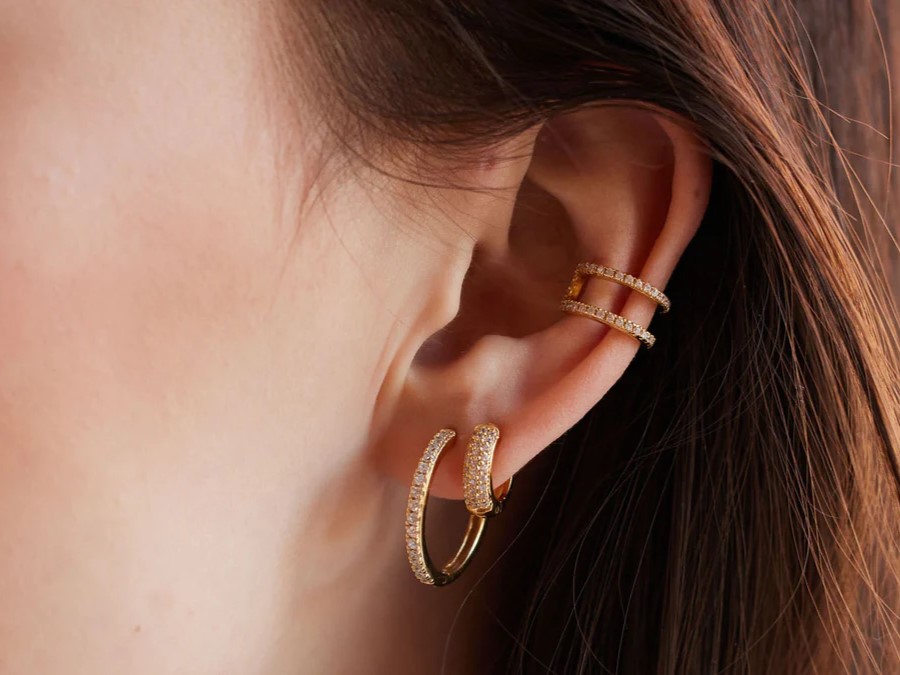
Understanding the various types of earring backs is essential for learning how to safely remove earrings with safety closures. Let’s explore some common types:
1. Post Backs
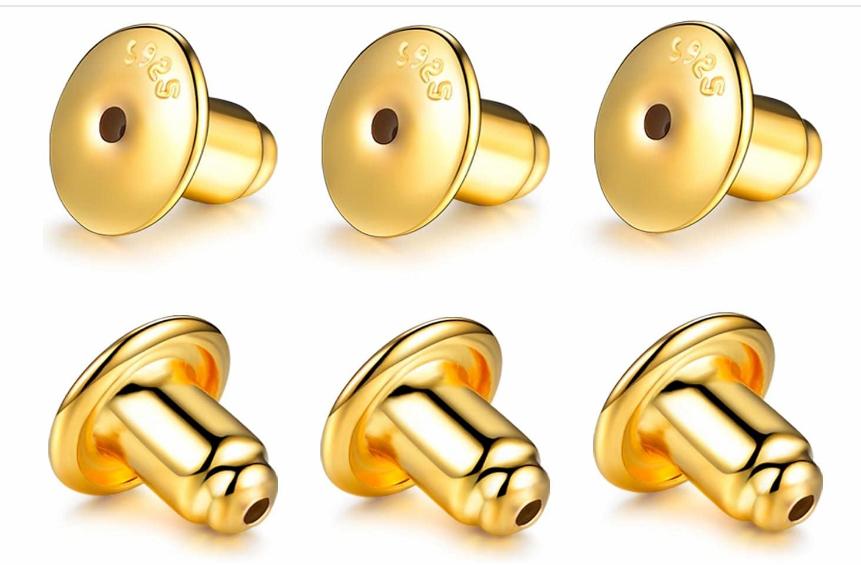
Post back earrings encompass a trendy and versatile style, where the earring is secured to the ear via a straight post that goes through the piercing. This category includes push backs, which simply push onto the post and are easy to use; screw backs, which offer enhanced security by screwing onto the post, making them harder to lose; and lock backs, which provide a locking mechanism for an even stronger hold. This variety ensures that post back earrings can be tailored fit for the security needs of the wearer, making them suitable for a wide range of jewelry types from simple studs to more elaborate dangly pieces.
2. Hinge Backs
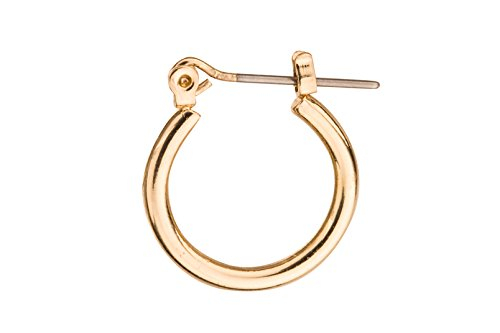
Hinge back earrings, characterized by a hinged post that snaps into a groove at the back of the earring, are particularly favored for their secure closure. Known also as saddleback or hinged snapback, this design is typically found on hoops and huggie earrings. The audible snap or click signals that the earring is securely fastened, providing a sense of security to the wearer. This style combines ease of use with solid closure, making it a popular choice for everyday wear.
3. Shepherd Hook Backs
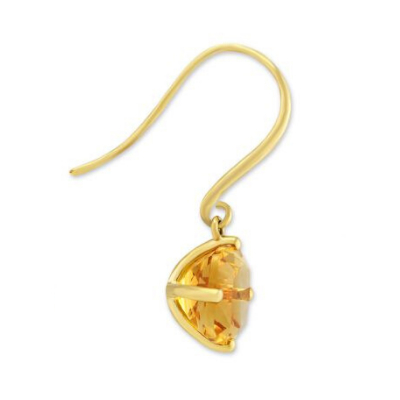
The simplicity and elegance of shepherd hook backs make them a favorite, especially for casual and decorative wear. These backs feature an elongated hook that slides through the piercing and rests against the back of the earlobe, eliminating the need for additional fastening mechanisms. Their design ensures that earrings can be quickly put on or removed, providing a comfortable and convenient option for users. Despite their ease of use, the lack of a locking mechanism means they may not be as secure as other types.
4. Lever Backs
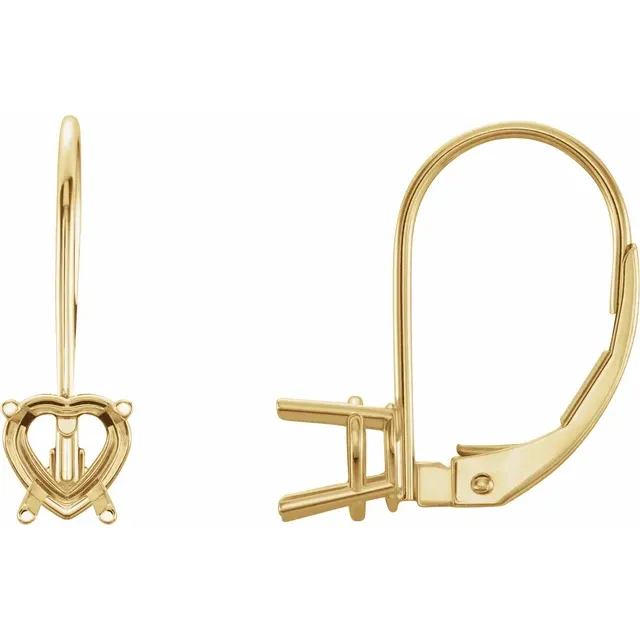
Lever back earrings offer a secure yet comfortable wearing experience, making them ideal for those with active lifestyles or a preference for more secure jewelry options. These backings consist of a wire that passes through the piercing and a lever that closes to form a complete loop around the earlobe, preventing accidental loss. Frequently used for drop and dangle earrings, lever backs combine the practicality of a secure closure with the aesthetics of a clean and seamless design.
5. Clip-On Backs
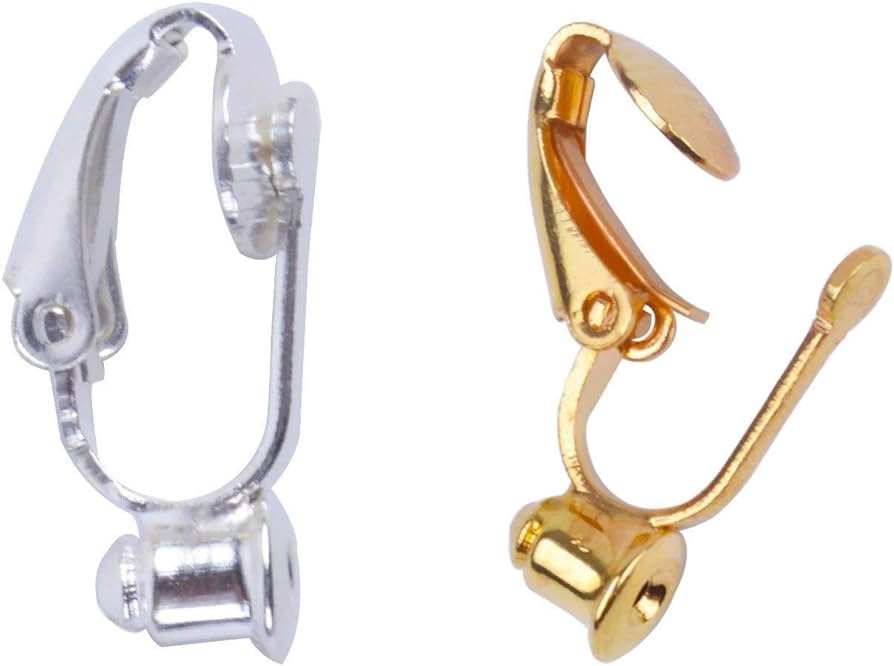
Clip-on back earrings provide an inclusive solution for both individuals with and without pierced ears. The clip-on mechanism clasps directly onto the earlobe, holding the earring securely in place without the need for a piercing. This design offers versatility and comfort, allowing everyone the opportunity to accessorize with earrings. It is an excellent option for those seeking to avoid piercings altogether or those looking for a non-permanent earring solution.
Removing earrings, whether they are your first set of starter earrings or a regular pair, can be straightforward if done carefully. Here's a step-by-step guide on how to take off an earring that addresses various types and common scenarios:
1. Wash your Hands: To begin to remove stud earrings, always wash your hands with soap & water to prevent any infection, which is particularly important when handling new piercings.
2. Stabilize the Front: Hold the front part of the earring securely. If the earrings are new, your fingers may slip due to the healing ointment, so make sure you have a firm grip.
3. Gently Remove the Back: While holding the front, carefully push the post back towards the earlobe to loosen it and then pull it away from the post to remove it. If you have new piercings, it may take some gentle wiggling for the earring to come loose.
1. Locate the hinge: Identify the hinge where the earring post snaps into its enclosure.
2. Open the hinge: Use your fingers to gently pull the hinge open or apart.
3. Detach the post: Carefully extract the post from its locking mechanism.
4. Slide out: Once unlocked, slide the earring out of your earlobe.
1. Stabilize: Hold the front part of the earring to keep it from moving.
2. Straighten the curve: If the hook has a small curve at the end, gently straighten it out just enough to remove it comfortably.
3. Slide downwards: Gently pull the hook downwards and out of the earlobe.
1. Find the lever: Locate the lever part of the earring that flips up and down.
2. Lift the lever: Using your thumb and forefinger, carefully lift the lever upwards until it is fully extended.
3. Remove the earring: Once the lever is open, gently pull the earring away from your ear.
1. Locate the clasp: Determine where the earring clips onto your ear.
2. Hold the front: With one hand, gently hold the front of the earring for stability.
3. Apply pressure to the clasp: With your other hand, apply gentle pressure to the clasp or back, typically squeezing the parts that are designed to open.
4. Open and slide off: As the clasp opens, carefully slide the earring off your ear.
How to take off earrings that are stuck?
How to take off earrings with round back?
How to take off earrings with long nails?
How to take off earrings for the first time?
Here are some reminders for taking care of your ears after removing earrings:
1. Cleanse Your Earlobes: After earring removal, the first thing to do is to cleanse your earlobes gently, using mild/gentle soap and warm water in order to avoid any infection.
2. Use a Saline Solution: Following this, use a store-bought saline solution or make a homemade version (one cup of water with 1/2 a teaspoon of salt) to clean the area around the piercing. This helps to stimulate healing.
3. Apply Antibacterial Cream: An antibacterial ointment is useful to prevent germs from getting into the earring holes. Apply it gently with clean hands or a cotton swab.
4. Avoid Touching Unnecessarily: Refrain from frequently touching the earring holes or the area around it as it may cause irritation or spread germs.
5. Maintain Hygiene of Accessories: If you plan to wear earrings again, ensure the accessories are clean and disinfected.
6. Monitor for Infections or Adverse Reactions: Finally, keep a close eye on any signs of infection or adverse reactions like swelling, extreme redness, or pus. If such symptoms arise, seek medical help immediately.
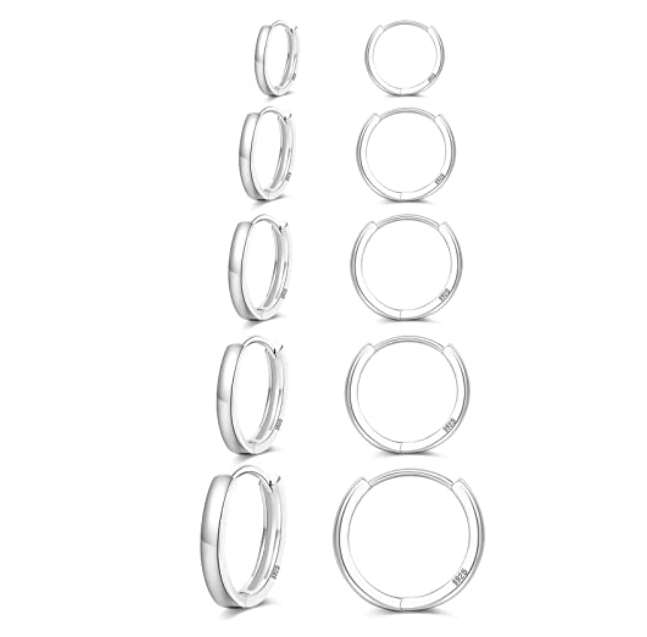
After mastering the technique of removing earrings with safety backs, consider upgrading your jewelry collection with an option that marries style and ease of use seamlessly. The Senteria 925 Sterling Silver Huggie Hoop Earrings Set are the epitome of this blend.
Crafted from premium sterling silver, these earrings offer a luxurious touch with lasting shine. The hinged hoop mechanism ensures ease of use and all-day comfort. With five pairs of varying sizes, this versatile set complements any outfit effortlessly.
To wrap up, learning how to take off earrings with safety back is crucial for maintaining the quality of your jewelry and the health of your ears. By following the steps discussed above and taking care of your ears after removing your earrings, you can ensure that you're always ready to show off your favorite accessories without worry!
Here are some commonly asked questions on how to take off earrings with safety back.
You should take your earrings out at least once a week for a thorough cleaning of both the jewelry and your piercings. This helps to prevent infections and keeps your earrings shining. However, if you just got new piercings, it's recommended to leave the earrings in for five to six weeks to help the healing process.
Yes, if your earrings are causing you discomfort or pain, it's wise to take them out. This pain could be a sign of an allergic reaction, incorrect piercing, or an infection in the early stages. Once out, clean the piercing area with warm saline solution and if symptoms persist consult a healthcare professional immediately.
While you might not feel the need to change your earrings, it's not ideal to never change them. Earrings can collect bacteria over time which could lead to infections. Moreover, recurring use of the same earrings can also cause wear and tear to the jewelry. Hence, it's advisable to rotate and clean them regularly.
To remove starter earrings with butterfly backs, hold the front part steady, then gently pinch the butterfly back between your thumb and index finger. Slowly push the back towards the earring post's end, and once loose, pull it off carefully. Avoid tugging to prevent discomfort.
Master how to make earrings from beaded to boho styles. Get tips on basic techniques for beginners and advanced designs to try. Start your DIY earring journey!
Read MoreGet pro tips on how to clean earrings effectively! Know what to use, maintain them, and choose from various cleaning methods for sparkling results.
Read MoreLooking for the perfect anniversary gift that will stand the test of time? A bangle bracelet just came out. Discover modern trends, style tips, and care advice.
Read MoreDiscover how a Key and Lock Bangle Bracelet symbolizes eternal love and elegance. Learn how to choose, style, and care for your bracelet with our complete guide.
Read More