Have you ever thought about making your own DIY earrings? It's a great way to show off your unique style and create something that's truly one-of-a-kind. Not only is it a fun hobby, but it can also turn into a successful business. In this article, we'll walk you through everything you need to know about how to make earrings, from the tools and materials you'll need to get started to different techniques for making beaded, hoop, and boho-style earrings. Whether you're a beginner or an experienced crafter, this guide has everything you need to create beautiful and stylish earrings that you'll be proud to wear or sell. Let's get started and see where your creativity takes you!

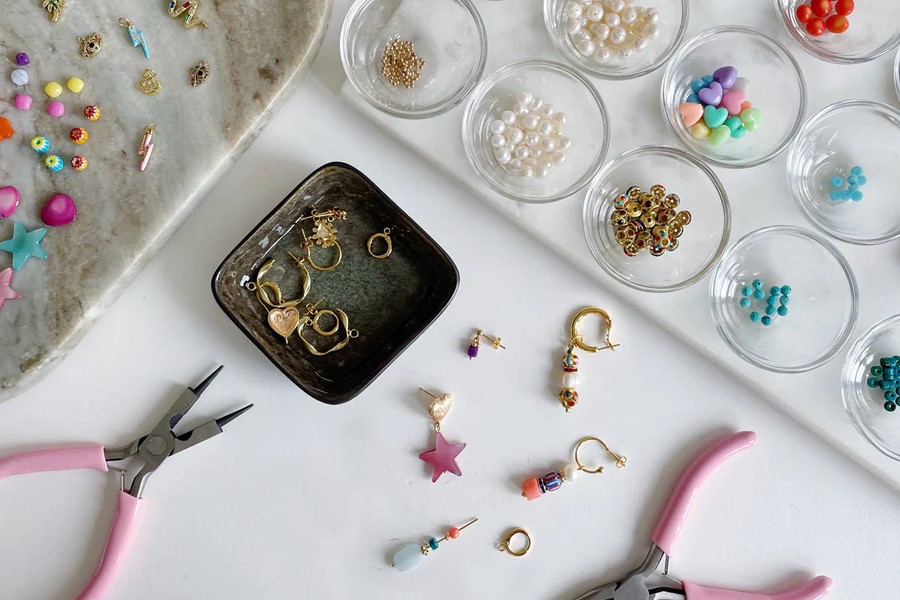
Let's start with how to make your own earrings! But first, here's a list of the basic materials and tools you'll need.
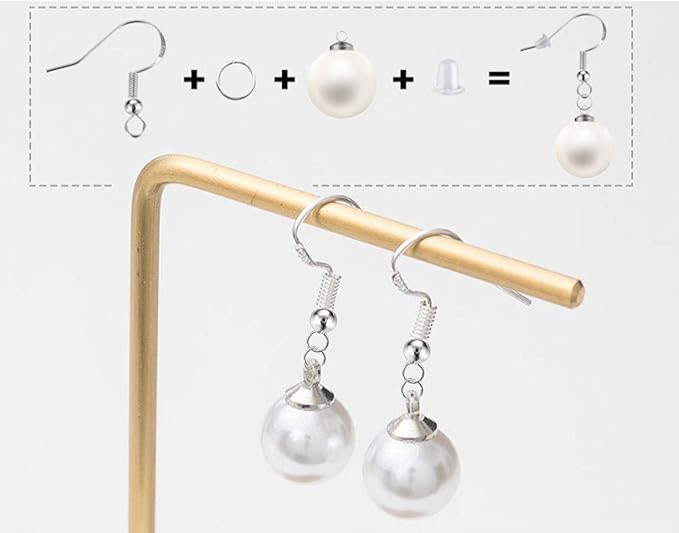
Looking for comfortable and hypo-allergenic earring hooks? Check out the Huucky 925 Sterling Silver Earring Hooks! Made of 925 silver-plated copper, these hooks come with clear silicone backs and are perfect for jewelry DIY projects.

To make a pair of perfect earrings, mastering a few basic techniques is a great starting point. Here are some foundational skills to develop:
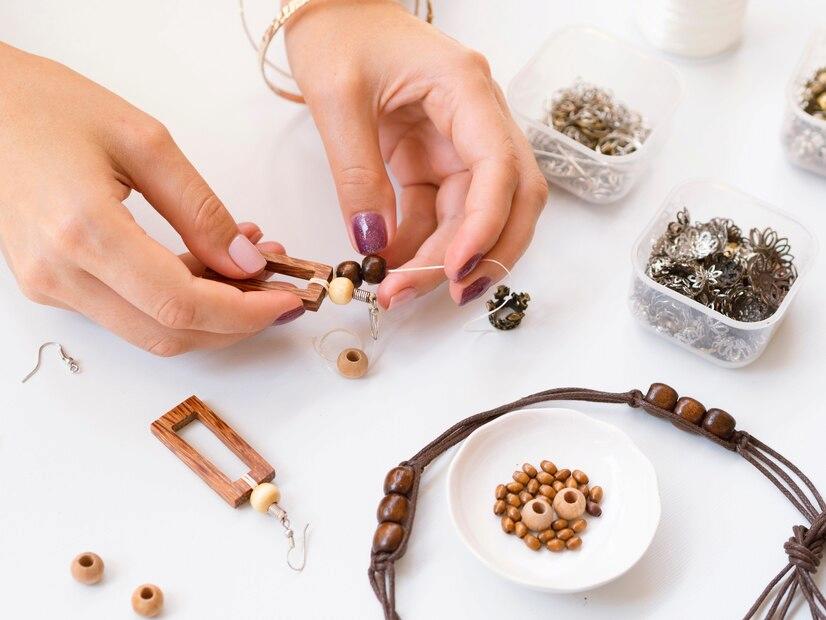
Having collected all the necessary tools and materials and mastered basic earring-making skills, it’s time to make earrings by yourself. Let’s start with creating your own beaded earrings, which can be a satisfying craft that results in lovely, personalized jewelry. Follow this step-by-step guide on how to make earrings at home:

Step 1: String the Beads
Slide your chosen beads onto an endpin. Begin with a small spacer bead then add others to form a pattern. Leave about 1/4" to 3/8" (6mm to 1cm) of wire exposed at the top.
Step 2: Create a Loop
With the round-nose pliers, bend the top of the endpin at a 90-degree angle just above the beads. Then, curl the wire into a loop. Snip away any excess wire.
Step 3: Attach Earring Hook
Hook the ear wire onto the loop before fully closing it. Securely close the loop with your pliers to keep everything in place.
Step 4: Repeat for Pair
Mirror these steps to make the second earring, ensuring symmetry for a matching pair.
Step 5: Customize
For a unique touch, consider adding a statement bead or pendant, using wire wrapping techniques, or exploring different earring bases, like fishing line or hoops. View the detailed guide on making bead earrings.
Do you want to know how to create earrings with hoops? Here's an easy yet exciting process that you can follow:
Step 1: Outline Your Hoop Size
Select a cylindrical tool like a ring mandrel or dowel, and tightly wrap your 20-gauge wire around it to outline the hoop size.
Step 2: Cut Your Wire
Once happy with the hoop size, remove the wire from the cylindrical object and cut away the excess with flush cutters. Ensure to keep an overlap of about 2cm for the fastening.
Step 3: Create Your Hoop Fastening
Use round nose pliers to grip one wire end and wrap it around the pliers to create a small loop. Then, bend the other wire end into an upwards "L" shape using chain nose pliers—this will be the fastening.
Step 4: Hammer the Wire
Gently hammer the wire with a chasing hammer to flatten it slightly, keeping the fastening intact. This step strengthens the hoop and adds a finishing touch.
How to create earrings in the boho style? Here's a simple step-by-step process:

Step 1: Forming the Loop
Hold the end of the wire using the round nose pliers at your desired loop diameter. Tiny loops form at the tip, larger ones towards the back.
Step 2: Adjusting the Loop
Once the loop is formed, it may appear uneven. Correct this by tweaking it backward with the pliers to achieve a perfect circle.
Step 3: Opening and Closing the Loop
Use chain nose pliers to gently open the loop sideways to add components. Close it by reversing the action, maintaining its shape.
Step 4: Adding Beads
Select your beads and thread them onto the wire. Create a 90-degree bend above the last bead.
Step 5: Finishing Loop
Leave about 3/8" of wire above your last bead. Curl this into a loop using the round nose pliers. This loop is less secure than a wrapped loop but suffices for earrings given they don't undergo much stress when worn.
Step 6: Final Touches
Now that your main component is ready, you can attach it to an earring hook of your choice, and your boho-style earrings are complete.
In addition to the DIY earring styles mentioned earlier, there are several sophisticated earring designs worth exploring.
1.Layered Earrings: Creating earrings with multiple layers adds depth and interest. Experiment with different materials and lengths for each layer.
2.Chandelier Earrings: These are intricate and involve multiple strands hanging from one or more layers. Precision in symmetry and balance is key.
3.Wire Sculpted Earrings: You can also try learning how to make earrings with wire. Just note that using wire to ‘draw’ or sculpt complex designs requires practice in shaping and securing the wire. These can be adorned with beads or gemstones.
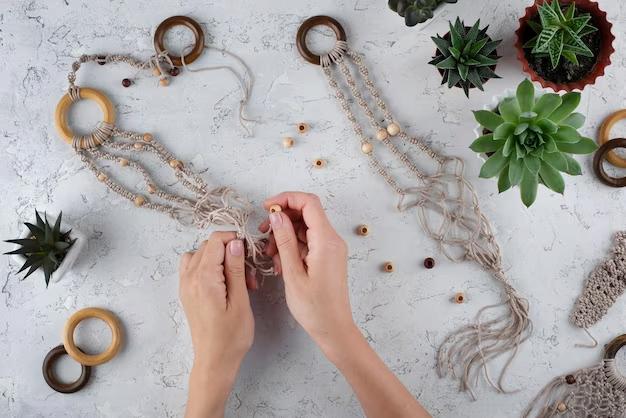
4.Tassel Earrings: Knowing how to make earrings with thread is fun as well. Tassels can be made from thread, chain, or leather. They add movement and texture to earrings and can be customized in length and color.
5.Polymer Clay Earrings: Polymer clay can be molded into almost any shape and baked to set. This material allows for incredible creativity in both form and color.
Indeed, knowing how to make earrings is an exciting journey that offers endless possibilities for personal expression. With the right tools and smart techniques, you can transform this craft into a true art form that reflects your unique style. Whether you're a beginner or a seasoned pro, each pair you make will be a testament to your creativity and artistic vision!
Here are some commonly asked questions on how to make earrings.
Earrings can range from simple to complex in their creation, largely depending on the design and materials chosen. For beginners, assembling basic earrings from ready-made components like hooks, beads, and charms can be quite straightforward, offering a rewarding entry point into the craft. As skills advance, techniques such as wire wrapping, soldering, and casting can introduce more complexity. Overall, with the right tools, materials, and a bit of patience, making earrings can be an accessible and enjoyable hobby for many.
Making your own earrings can often be cheaper than purchasing pre-made designer ones, especially if you're creating simple designs or producing in bulk. The cost-effectiveness is influenced by the materials used, the complexity of the design, and whether you already possess the necessary tools. For individuals who enjoy customizing their accessories or plan to create multiple pairs, the initial investment in supplies and tools can pay off, leading to significant savings over time.
The cheapest materials used in earring making generally include plastic, wood, and certain types of base metals like aluminum or copper. Plastic beads and charms, in particular, can be very economical and come in a wide selection of colors and shapes, making them popular for crafting inexpensive jewelry. Similarly, wooden beads and shapes offer a low-cost, natural option, while aluminum and copper provide affordable metal choices that are still durable and can be quite attractive when properly finished.
Get pro tips on how to clean earrings effectively! Know what to use, maintain them, and choose from various cleaning methods for sparkling results.
Read MoreLooking for the perfect anniversary gift that will stand the test of time? A bangle bracelet just came out. Discover modern trends, style tips, and care advice.
Read MoreDiscover how a Key and Lock Bangle Bracelet symbolizes eternal love and elegance. Learn how to choose, style, and care for your bracelet with our complete guide.
Read MoreDiscover the elegance of a brass bangle bracelet, the perfect accessory for any outfit. Learn about the style tips, benefits and how to care for your jewelery.
Read More