


Ever noticed how a beautifully set stone in a ring catches your eye instantly? Wondering how it is made? Setting a stone in a ring might sound like a complex task, but with a bit of guidance, it becomes a rewarding craft. In this guide, we will lead you walk through the various stunning stone settings and a detailed, step-by-step process to help you easily set a stone in a ring at home.
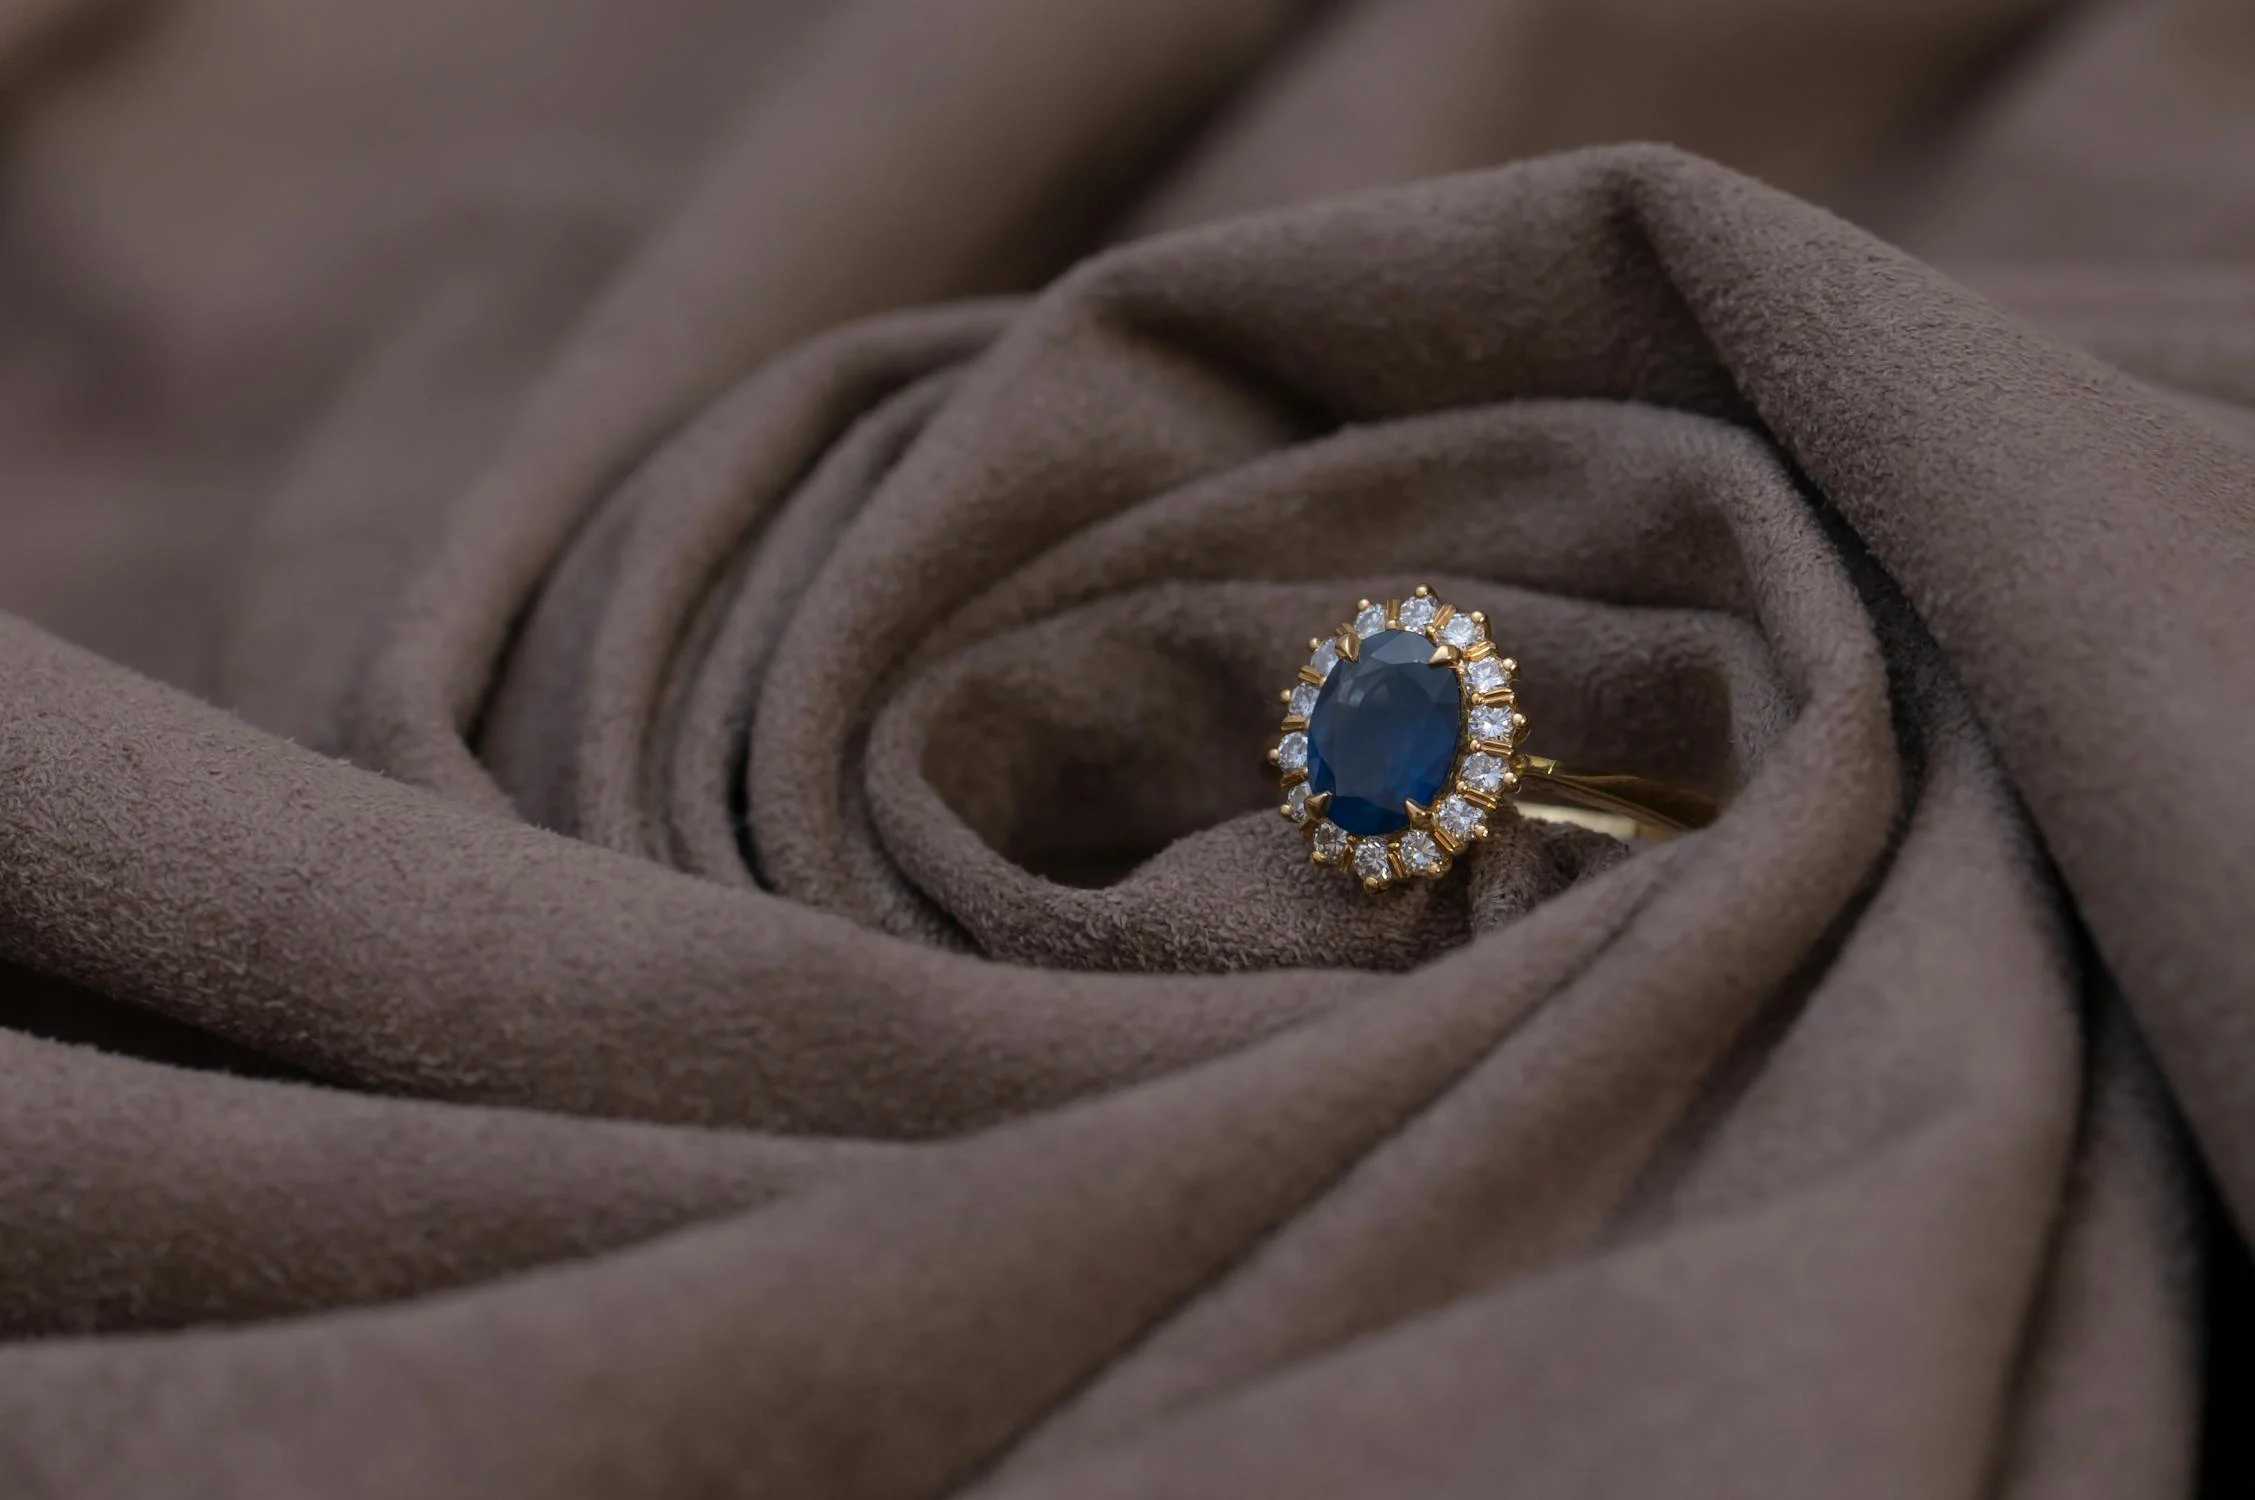
When you think about how to set a gemstone in a ring, the type of setting you choose is like picking the perfect frame for a masterpiece. Each one brings out something unique in the stone, shaping how it looks and feels. Let's dive into the different settings.
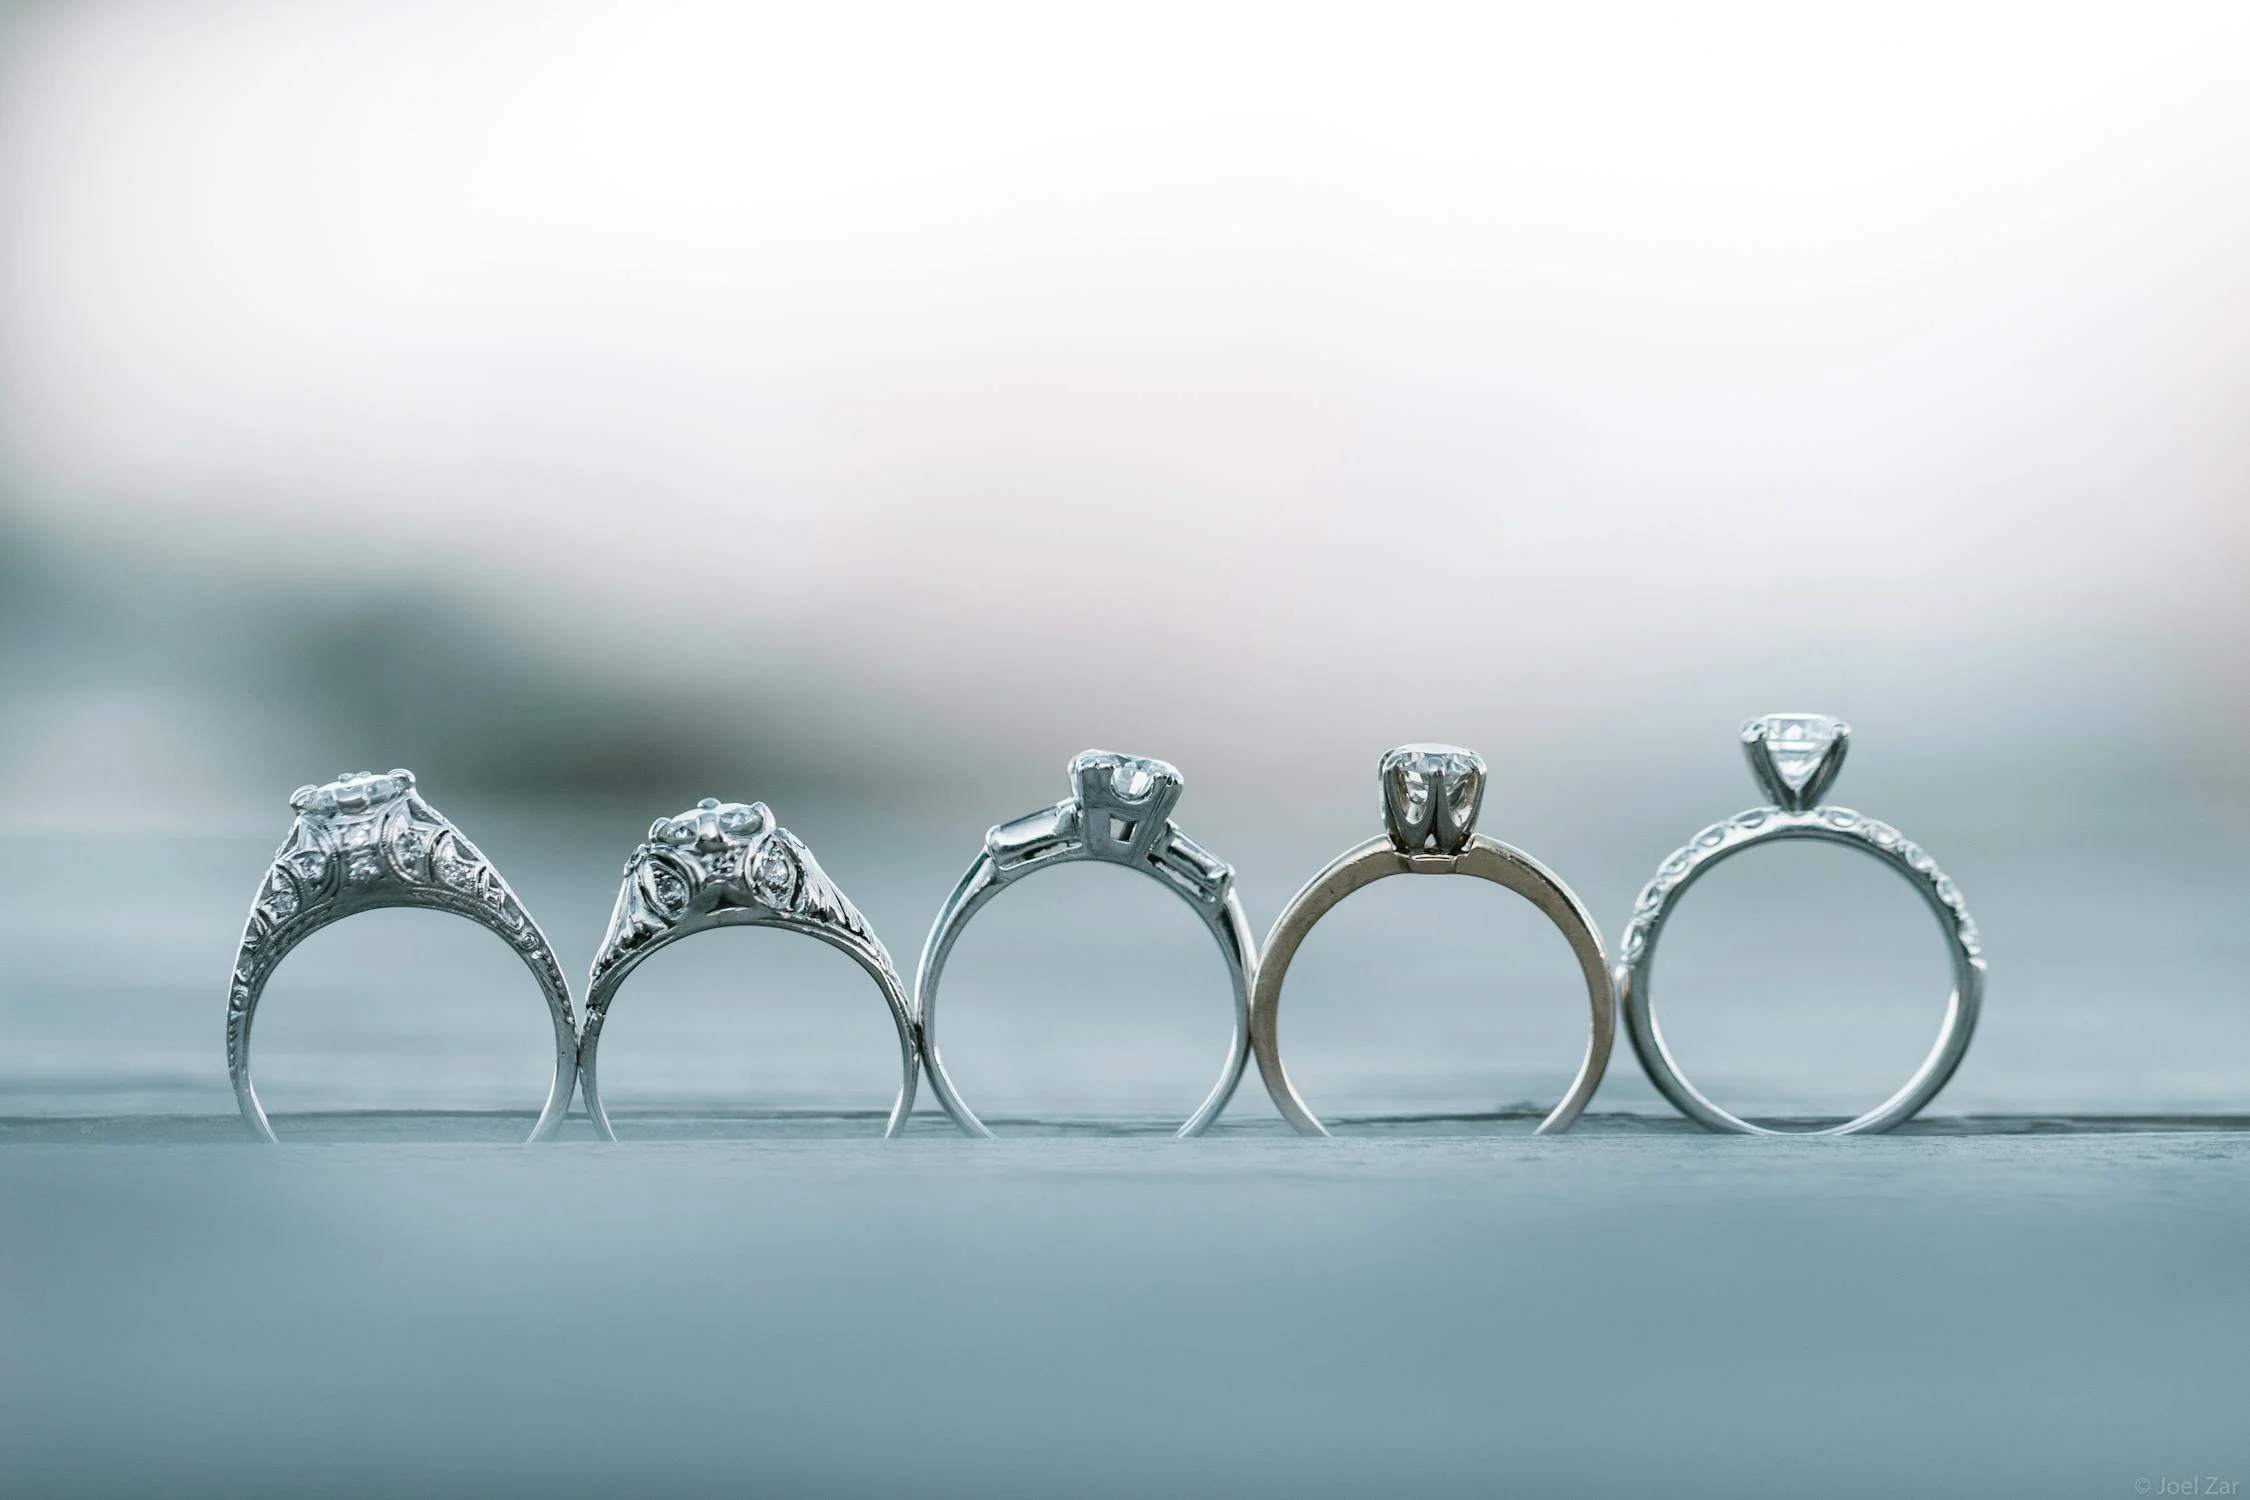
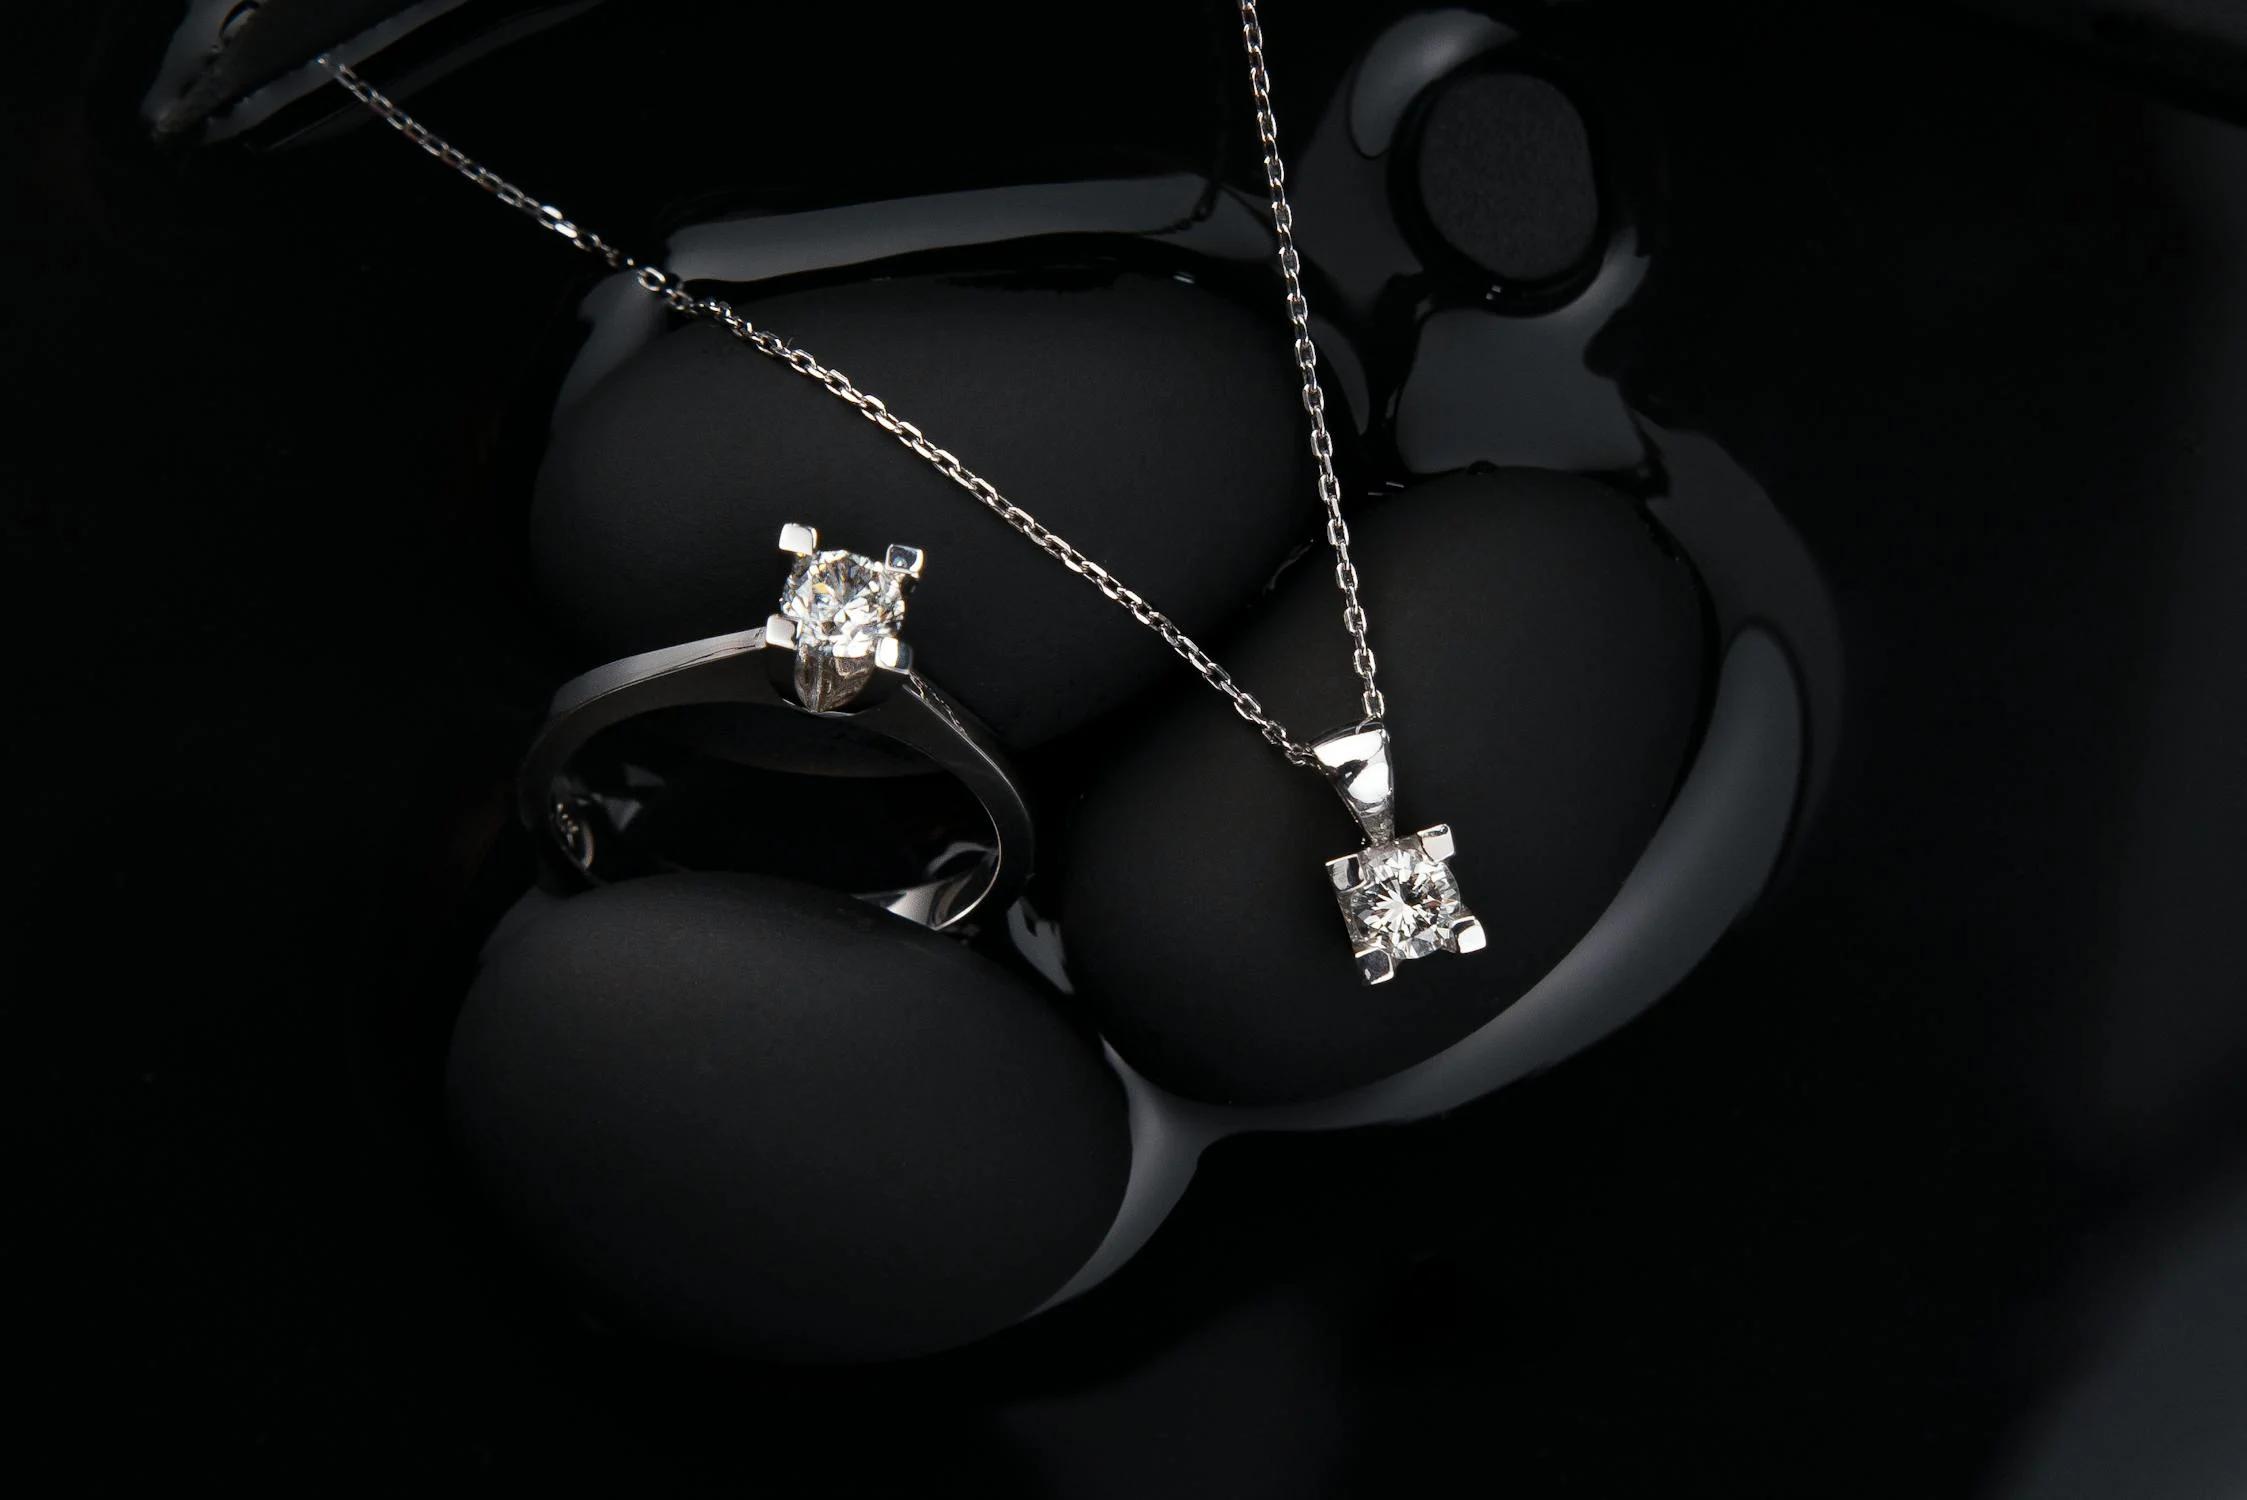
1.Prong Setting
The prong setting, also known as a claw setting, is the most traditional and widely used method for securing gemstones. It’s achieved by using small metal prongs or claws that grip the stone. Typically, it has four or six prongs, which allow the stone to be elevated and exposed to light from multiple angles. Its minimal metal coverage lets the stone take center stage, offering a classic and timeless appeal.
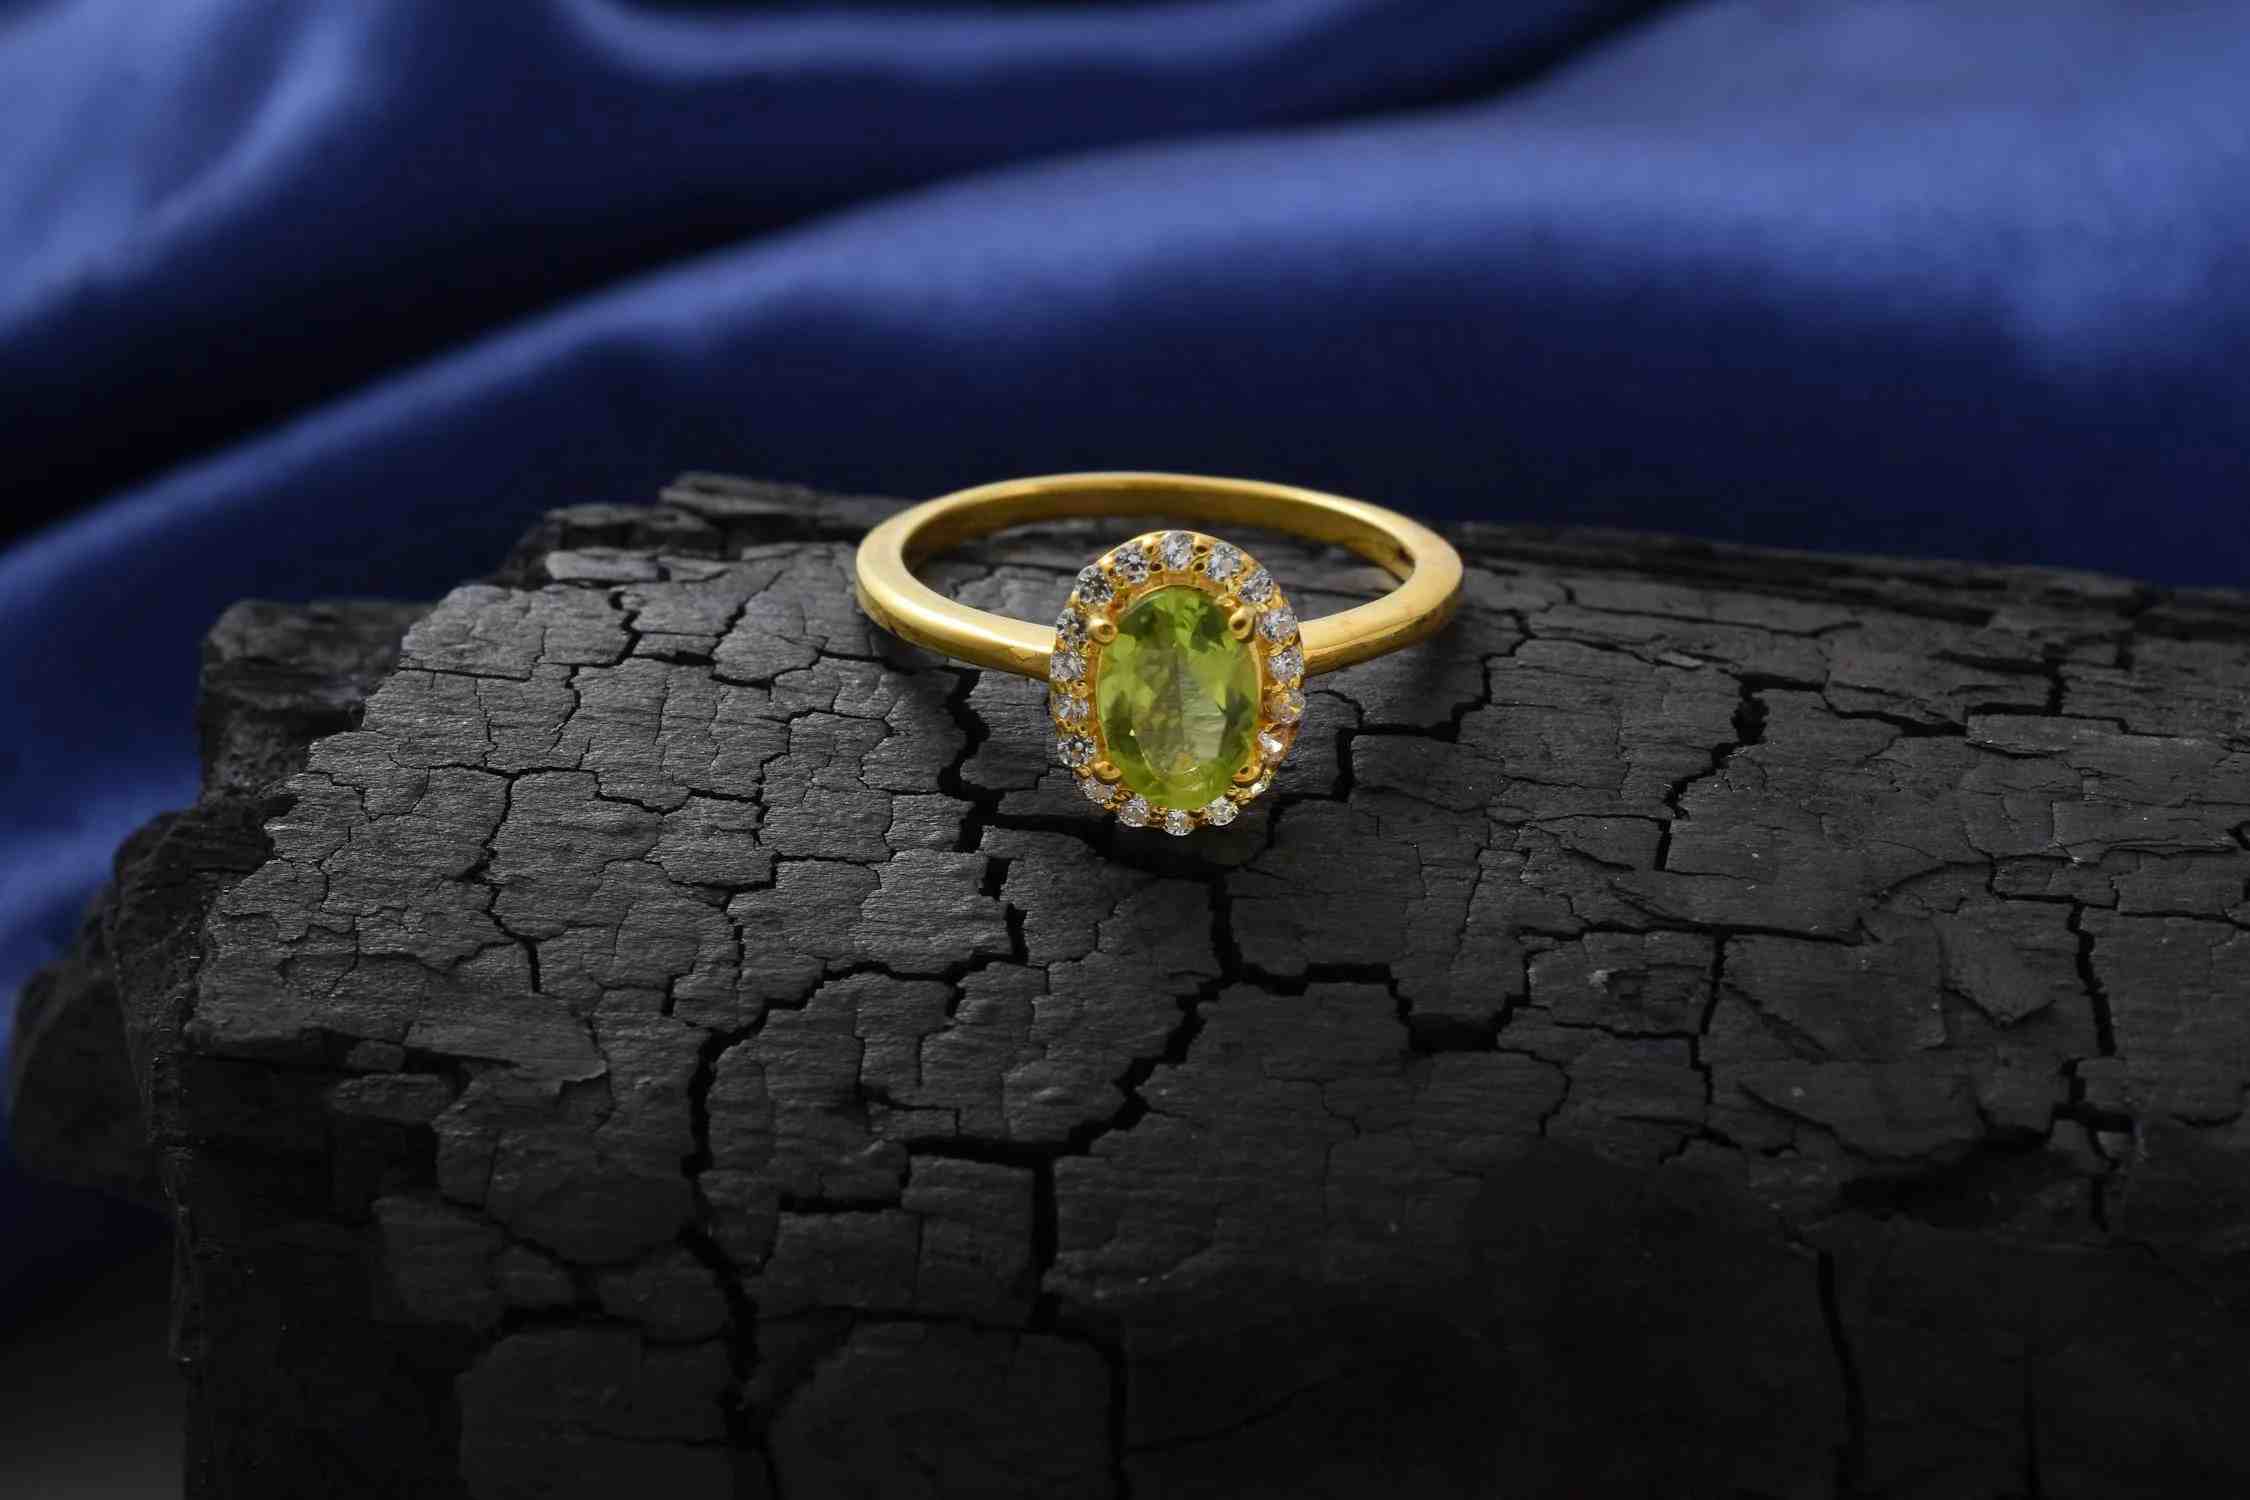
2.Bezel Setting
A bezel setting features a metal rim that encircles and securely holds the gemstone. It is known for its durability, as the metal surrounds the stone, protecting it from impacts and scratches. It provides a smooth, streamlined appearance that integrates seamlessly with the ring band.
3.Channel Setting
The channel setting is about placing gemstones closely together in a metal groove or channel on the band. The stones are held in place by the channel's metal walls, creating a smooth, continuous line of sparkle. This setting is ideal for showcasing multiple smaller stones without interruption.
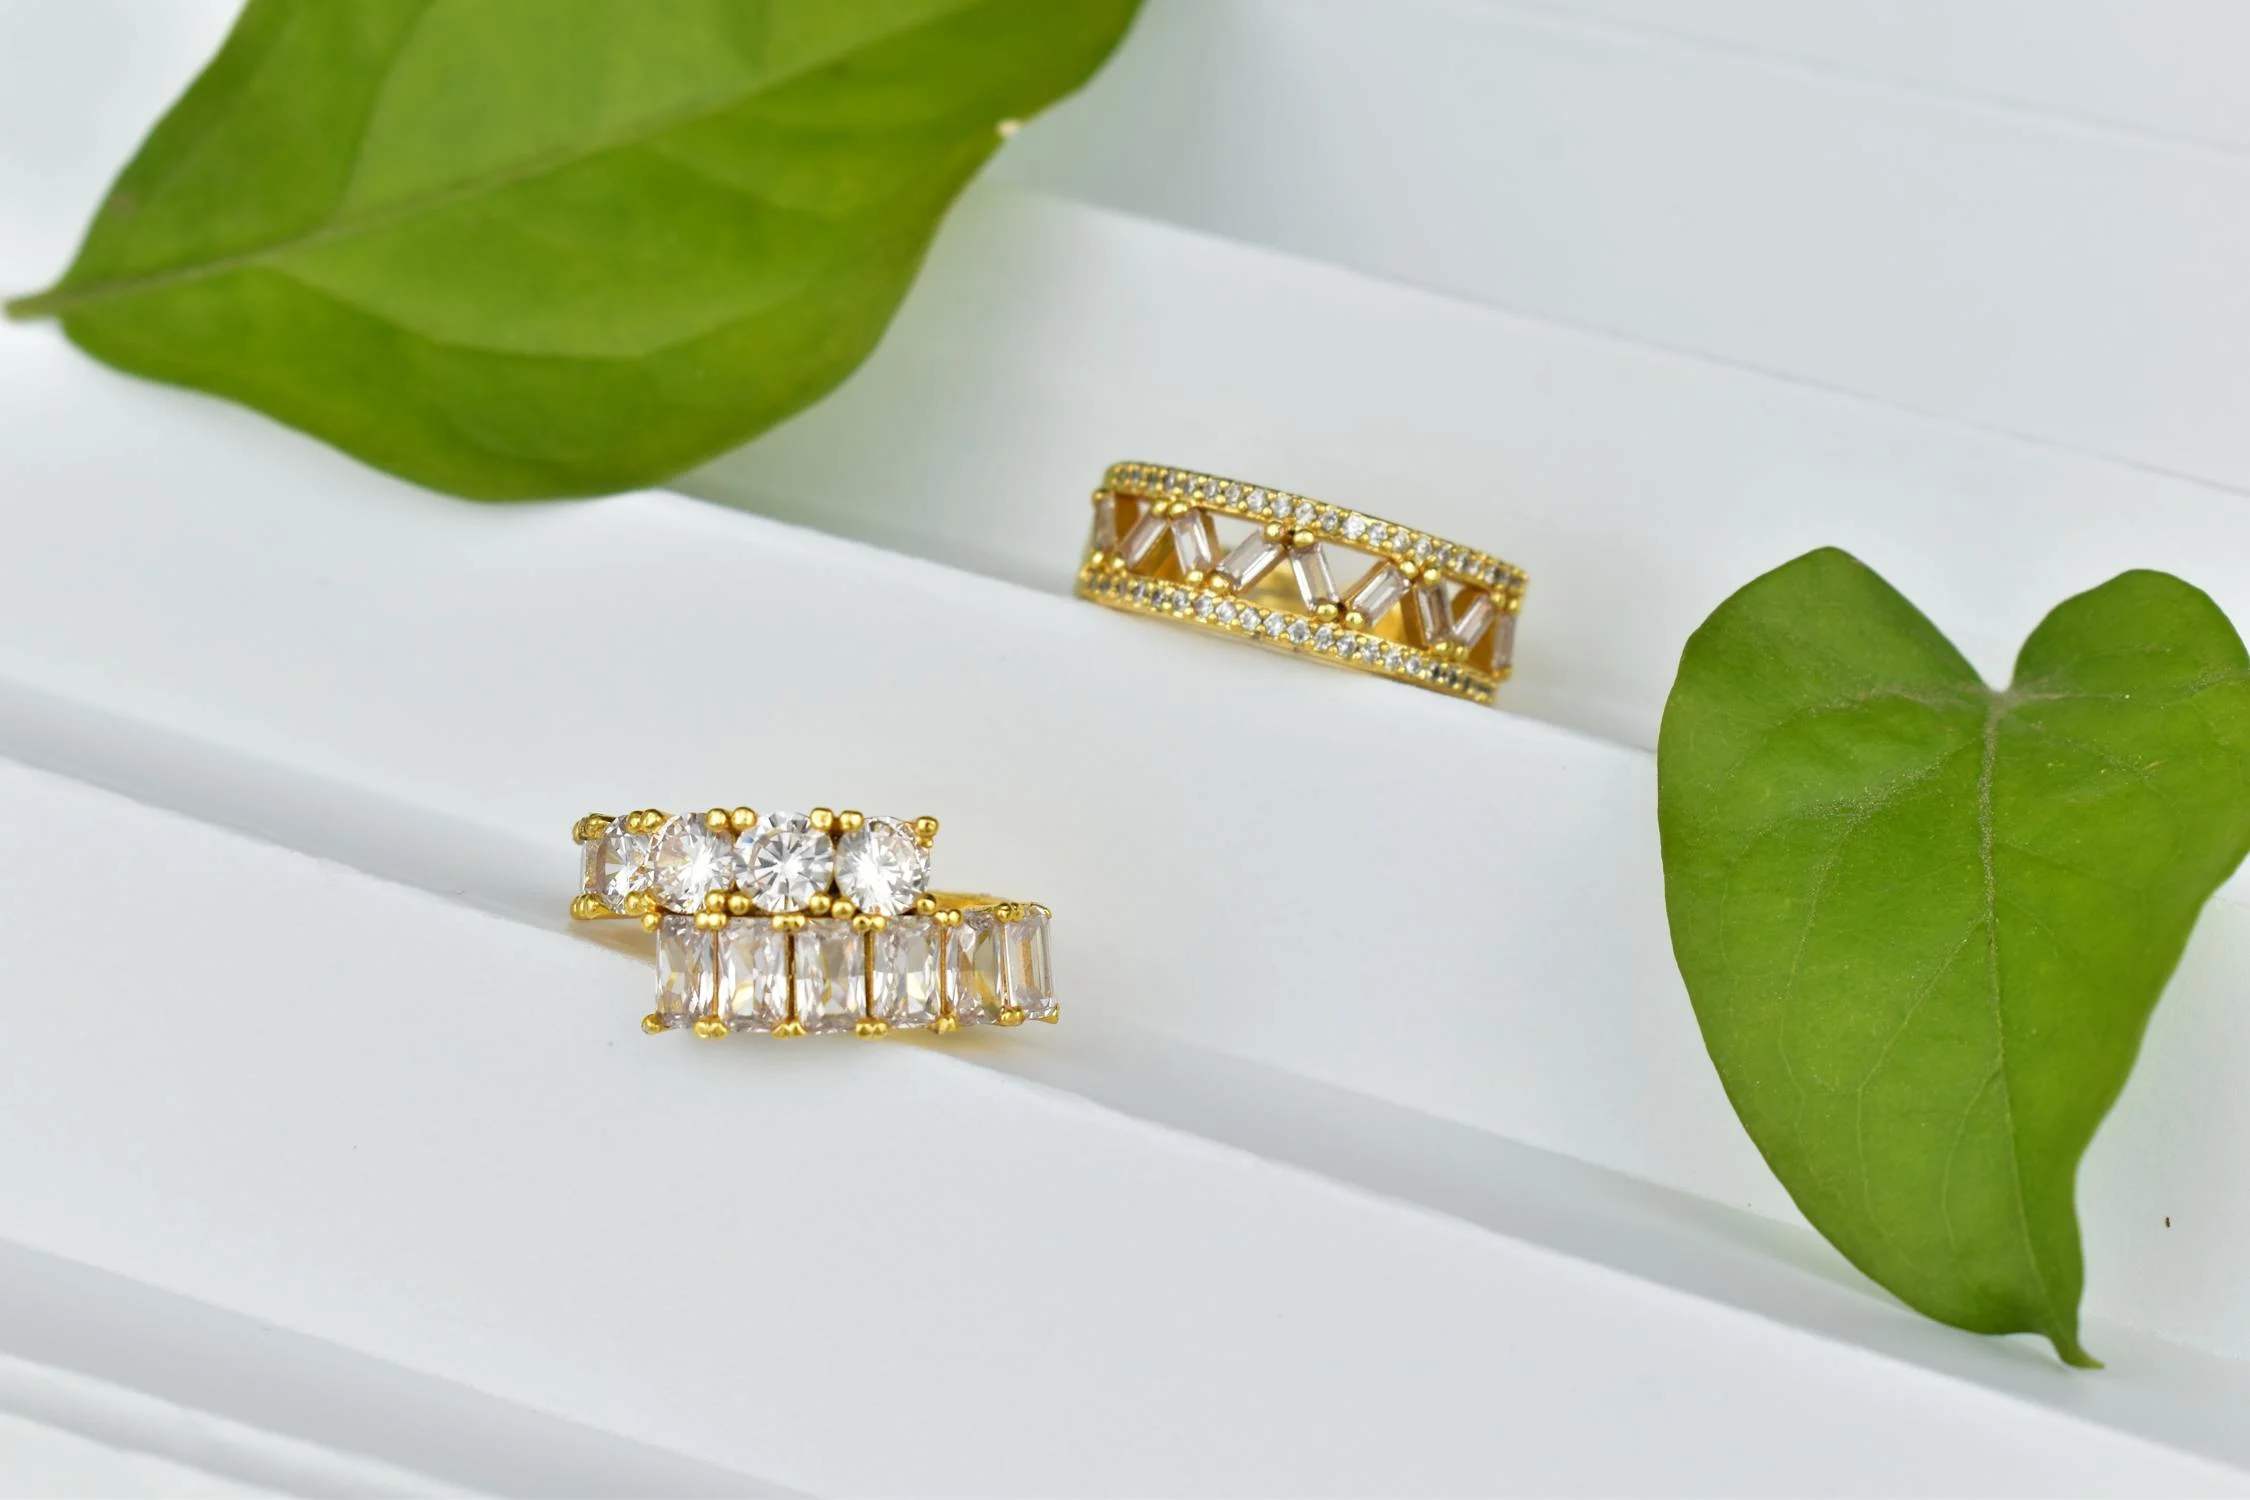
4.Pave Setting
In a pave setting, tiny gemstones are set closely together, held in place by tiny metal beads or prongs. The technique used creates a surface almost entirely covered in glittering stones, with the metal holding them in place being nearly invisible. Perfect for luxury and intricate detail, it gives the ring a dazzling, all-over sparkle that catches the eye from every angle.
5.Gypsy Setting
In the gypsy setting, the gemstone is embedded flush with the surface of the ring band, surrounded by metal on all sides. It provides excellent protection for the stone, as it is set into the band, reducing the risk of damage. The gypsy setting offers a minimalist and understated look, blending the gemstone seamlessly into the ring's design.
6.Illusion Setting
The illusion setting uses surrounding metal or additional small stones to make the central gemstone appear larger than it actually is. Such an illusion effect is ideal for those who want the appearance of a larger gemstone without the higher cost, giving the ring a striking and impressive appearance.
7.Tension Setting
Without prongs or bezels obstructing the view, the tension setting holds the gemstone in place by applying pressure from the metal band, creating the illusion that the stone is floating between the band's ends. This modern setting requires precise engineering to ensure the gemstone remains secure while being showcased prominently.
8.Grain Setting
In a ring with the grain setting, small gemstones are set close together with tiny metal grains or beads securing each one. The metal grains are pushed over the edges of the stones to hold them in place, creating a finely detailed surface. It provides a delicate and intricate appearance, often used to achieve a vintage or antique style.
How do you set a stone in a ring? Having the right equipment on hand is key to making sure the gemstone is securely and beautifully placed. Here's a list of the essential tools and what they're used for:
Setting a gemstone in a ring can be done in different ways, depending on the design and the desired look. Here's a step-by-step guide on how to set a stone into a ring with prongs or without them.
Setting a stone in a ring without prongs offers a sleek and modern look, often preferred for its minimalist design and added security. Here's how to achieve it:
Step 1: Prepare the Setting
First things first, you'll want to choose the right setting. We recommend going with a bezel setting. It includes a metal rim that wraps around the stone, holding it securely. Before you start, give a quick wipe for the setting with a soft cloth as any dust or debris can interfere with how the stone sits.
Step 2: Measure and Mark
Now, you'll need to measure the gemstone and the bezel setting to ensure they're a perfect match. Measure the diameter of the gemstone at its widest point. Ensure the caliper is snug against the stone, but not so tight that you risk damaging the edges. Then measure the inner diameter of the bezel. It should be just slightly larger than the gemstone. You want a snug fit, where the stone can sit securely without too much movement but not so tight that it's difficult to place.
After you've got your measurements, mark the spot on the bezel where the stone will sit. A fine-tipped marker works well for this, or if you prefer, use a sharp scribe to etch a small mark gently.
Step 3: Cut the Seat
Here's where things get a bit technical—you'll need to cut the seat where the stone will rest. With a small ball drill or a graver, carefully carve out a groove inside the bezel. The depth of the groove should match the thickness of the stone's edge. Take your time here; the key is to create a seat that's level and even all the way around. If the seat isn't level, the stone won't sit right, and you'll end up with a crooked gemstone.
Step 4: Place the Stone
With the seat ready, it's time to place the stone. Gently drop the gemstone into the bezel, ensuring it sits flush with the metal rim. If it's not sitting perfectly, use a small piece of soft wax to adjust its position. A pair of tweezers can be handy here, especially if the stone is small. Remember to ensure the stone is level and centered before moving on to the next step.
Step 5: Secure the Stone
Now comes the crucial part—securing the stone. Use a bezel roller to carefully press the metal rim over the edge of the stone. Start from one side and work your way around, applying even pressure.
Here's a little tip: don't rush this step. It's easy to overlook small gaps or uneven pressure, which can cause the stone to shift or even pop out later. You should go around the bezel several times and check that the stone is held firmly in place.
Step 6: Polish the Ring
The final touch is polishing the ring to a high shine. A jeweler's polishing cloth is recommended for a general clean-up, followed by a bit of polishing compound on a soft cloth. For tight spots, a small polishing wheel on a micromotor works wonders.
Make sure to buff out any small scratches and give the metal a smooth, even finish. And there you have it—a beautifully set stone in a sleek, prong-free ring!
A prong setting is a classic choice that allows the gemstone to take center stage, with plenty of light hitting its facets. Here's how to do it, step by step.
Step 1: Select the Prong Setting
Choose the type of prong setting that suits your design and the stone you intend to set. Prongs can vary in number, shape, and style:
Step 2: Inspect the Stone
Check the stone carefully using a jeweler's loupe, especially near the edges where the prongs will hold it. A symmetrical shape like a round brilliant-cut diamond or a sturdy sapphire with a thick girdle is easier to position and secure.
Step 3: Secure the Ring in a Clamp
Place the ring securely in a clamp. This prevents any accidental movement that could damage the setting or stone and gives you the control needed for precise work.
Step 4: Position the Stone and Cut the Seat
Carefully place the stone into the prong setting, ensuring the table of the stone is at the same height as the top of the prongs to position the seat. Use a setting burr to cut a notch on each prong, ensuring the incision is deep enough to secure the girdle but not so deep that it weakens the prong.
Step 5: Bend and Tighten the Prongs
With the stone positioned correctly, use a flat-end pusher or setting pliers to bend the prongs over the stone's girdle. Work in a crisscross pattern—tighten one prong, then the opposite. Apply steady, even pressure to ensure the prongs securely grip the stone without damaging it. Finish by pressing each prong gently against the stone, locking it in place without any wiggle room.
Step 6: Polish and Finish the Setting
Finally, polish and finish the setting. Remove any fingerprints or smudges, and smooth out any rough edges on the prongs with a buffing wheel. Be careful not to over-polish, which could thin the metal. A light touch will bring out the metal's shine and ensure the prongs and stone look flawless.
Setting a stone into a ring isn't just a technical process; it's about bringing out the best in the gem and the ring itself. Throughout the detailed guide about how to set a stone in a ring, you can DIY a satisfying ring to create something visually stunning and lasting. When done right, the ring becomes more than just a piece of jewelry—it becomes a cherished keepsake that holds its value and beauty for years to come.
The cost to set a stone in a ring varies depending on the complexity of the setting, the type of metal used, and the jeweler's expertise. Simple settings might cost between $50 to $150, while more intricate work could range from $200 to $500 or more.
While gluing a stone into a ring is possible, it is not recommended for long-term durability. Glue can degrade over time, leading to the stone becoming loose or falling out. Professional settings, such as prong or bezel, offer a more secure and lasting solution.
To secure a loose stone in a ring, it's essential to tighten the setting. This needs adjusting the prongs or bezel using setting pliers or a bezel roller. If the stone remains loose after adjustment, it may be necessary to re-set the stone or consult a professional jeweler for assistance.
This guide explains how to clean white gold jewelry, and provides easy care tips to keep your pieces shining and beautiful for years to come.
Read More
Our guide explains what is a spinner ring, how it works, and its many benefits. Also, you'll find a step-by-step tutorial to create your spinner ring easily!
Read More
Discover how to keep a ring from spinning with easy home remedies and expert solutions, ensuring your ring stays secure and perfectly in place on your finger.
Read More
Discover how to clean an opal ring with this blog. Learn essential tips on how to safely clean and care for your opal ring to keep it looking stunning.
Read More