


There's something oddly satisfying about small, repetitive actions—like clicking a pen or twirling a ring around your finger. It's the little things that help us focus or unwind. This brings us to an intriguing piece of jewelry that does just that: the spinner ring. So, what is a spinner ring, and why has it become a favorite for those seeking both style and a touch of tranquility? Let's dive into the world of these fascinating rings and explore their benefits, workings, and even how to make one yourself.
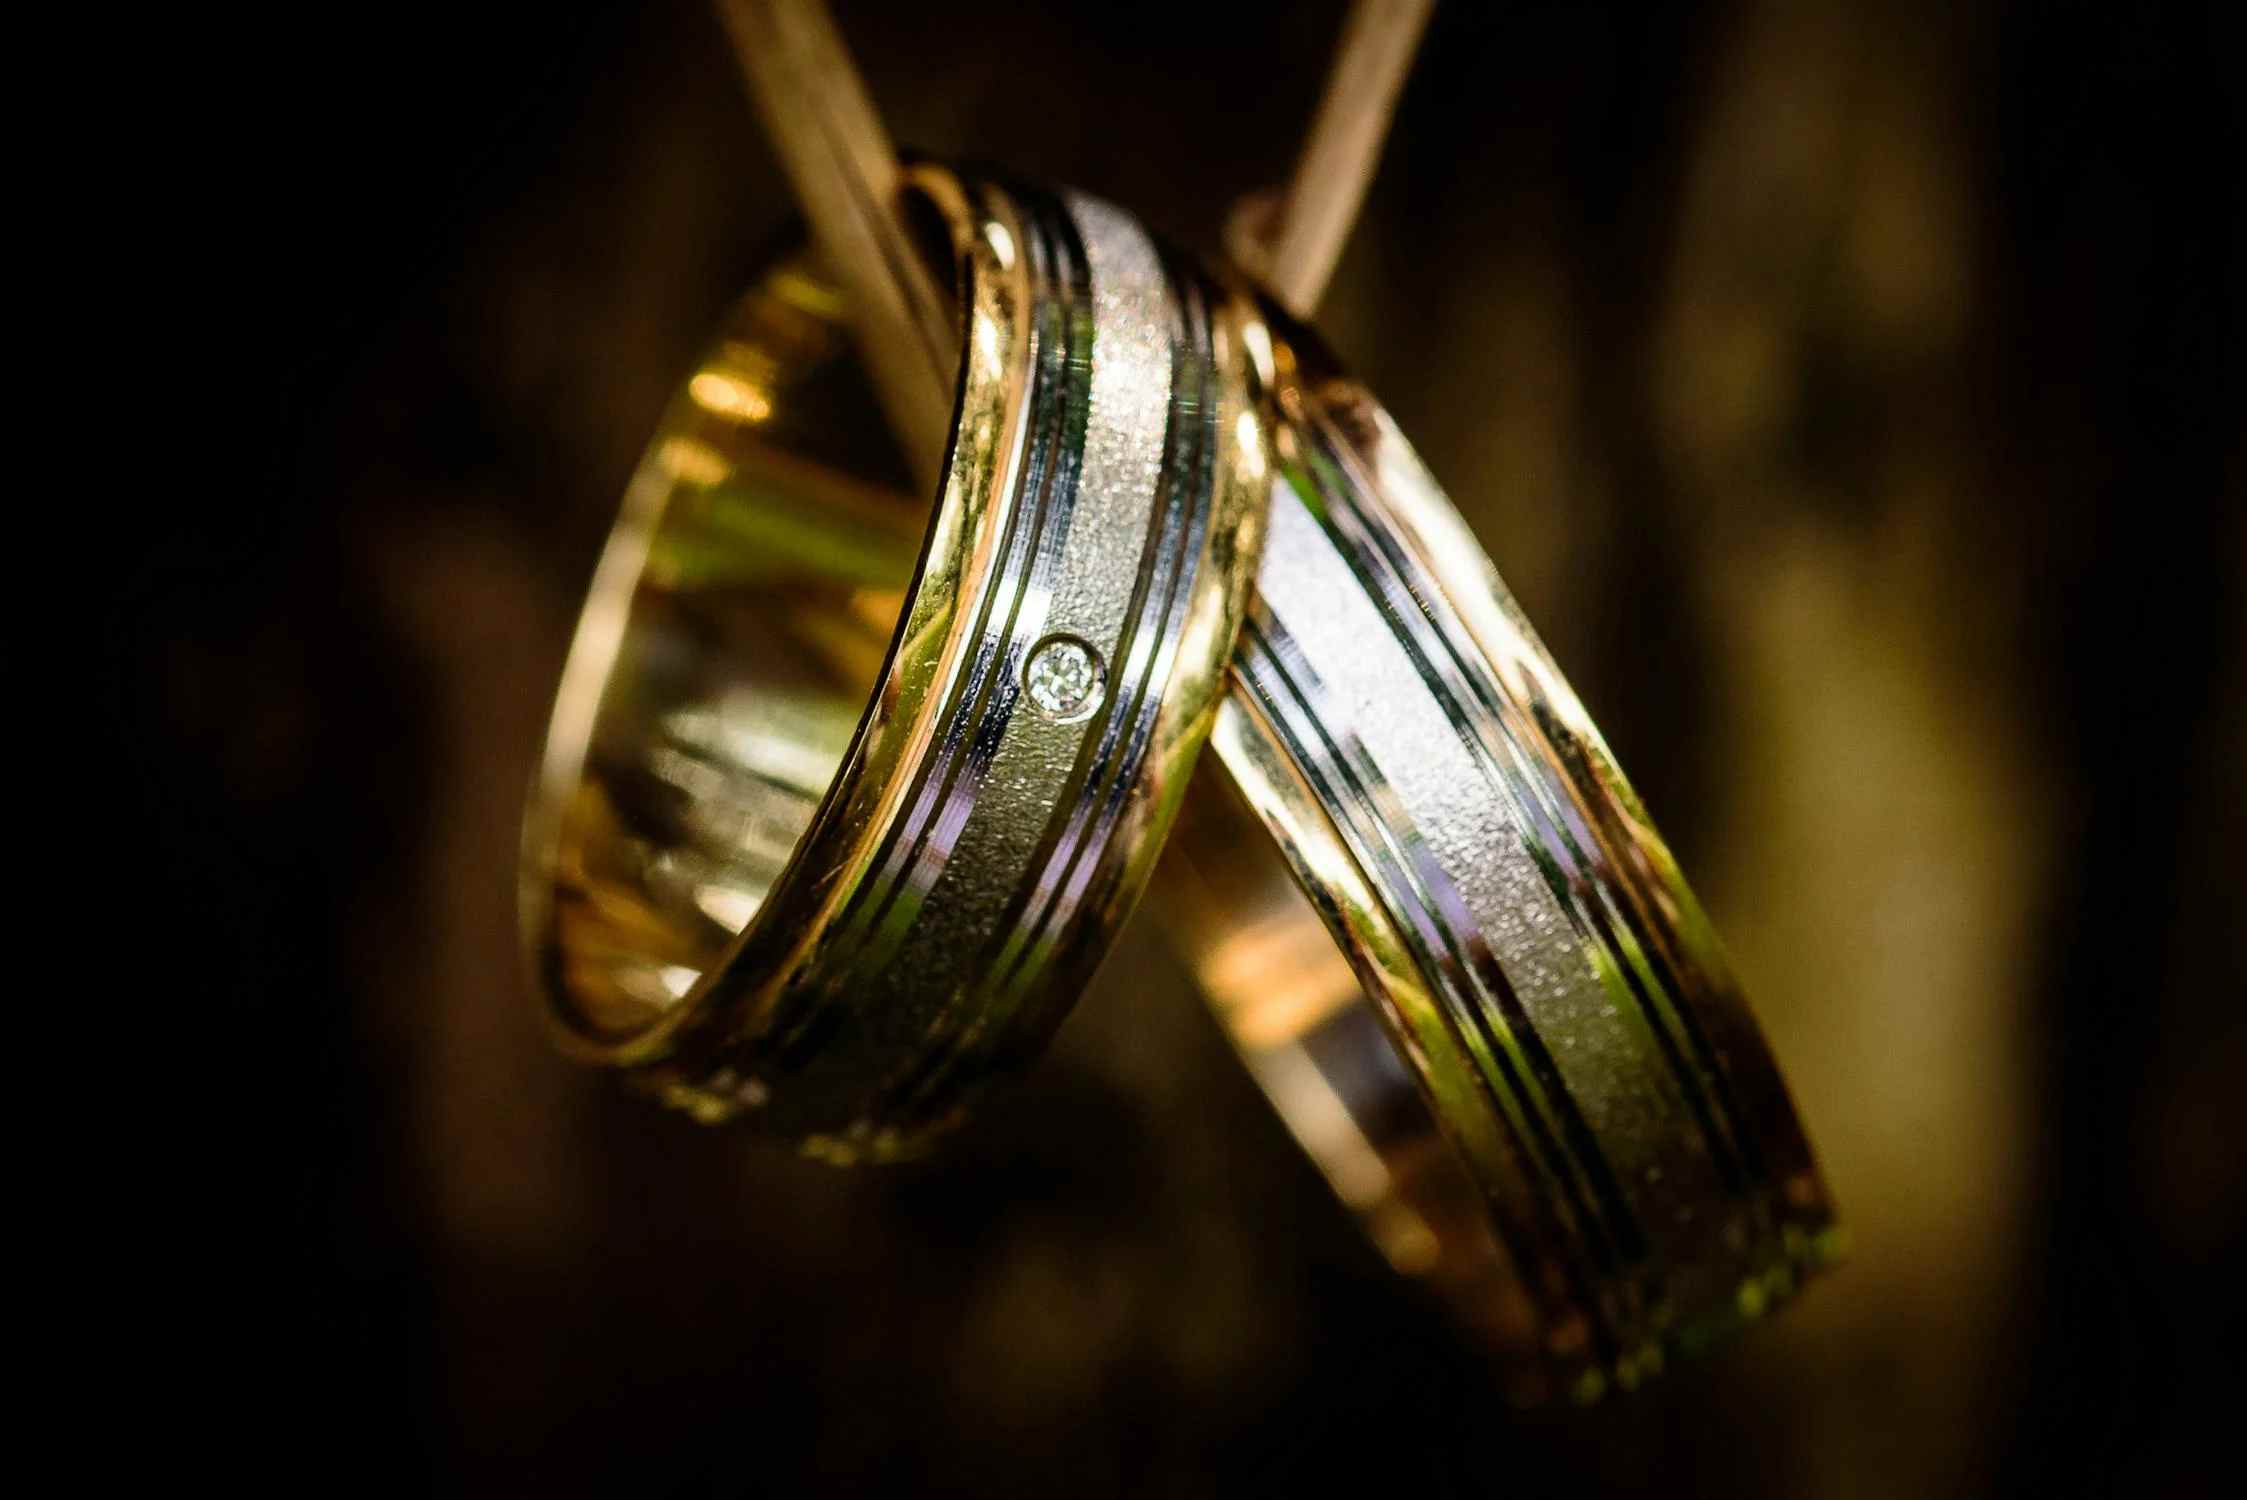
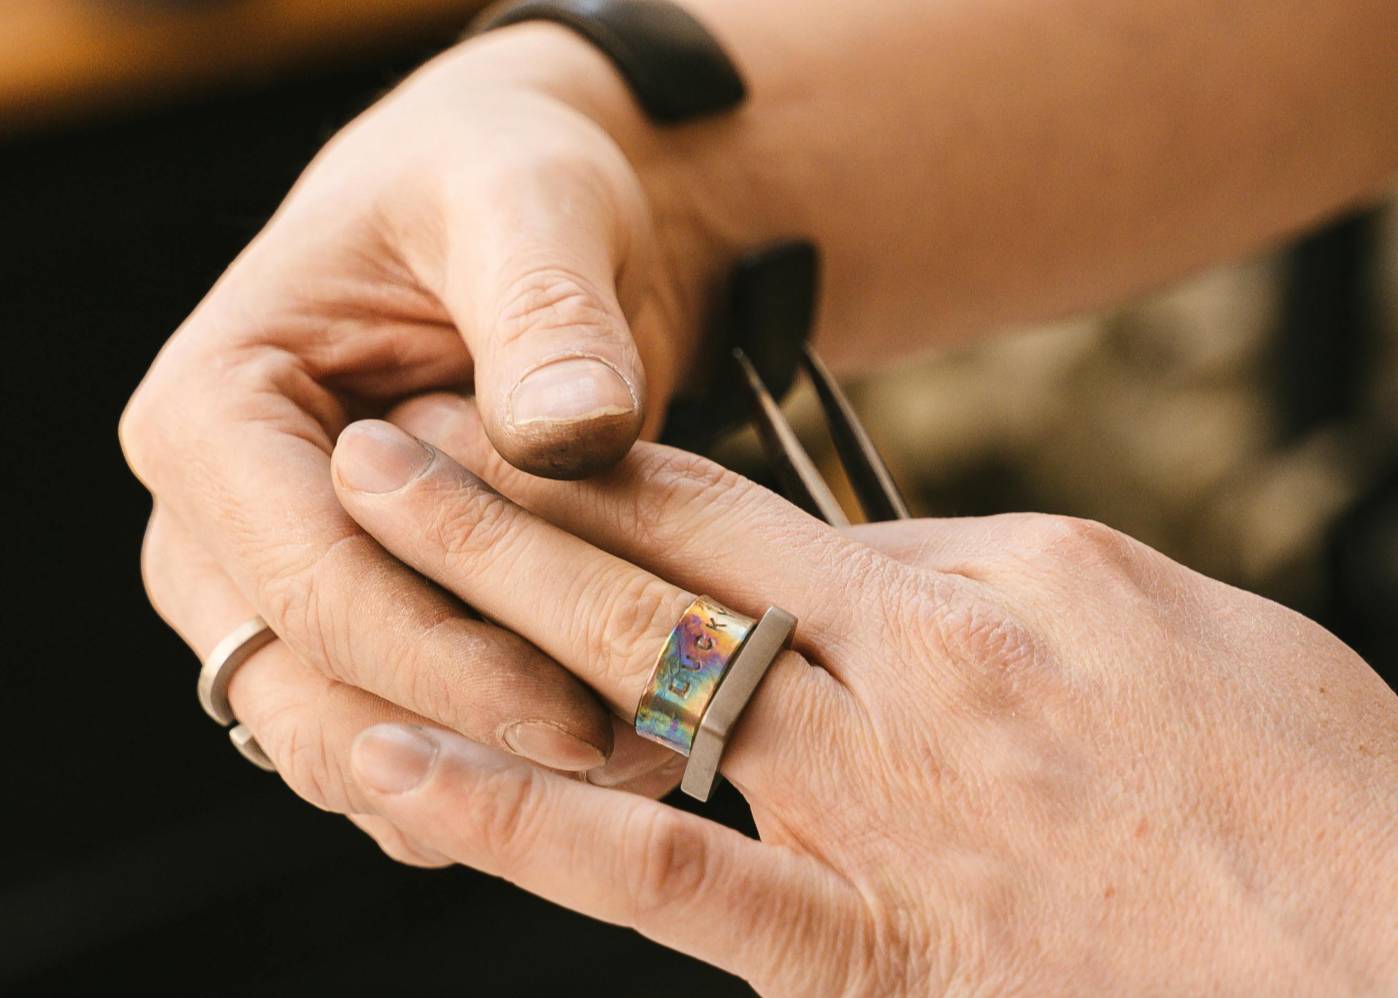
What are spinning rings exactly? In simple terms, a spinner ring is a type of ring that features an outer band that spins around a stationary inner band. Such a ring with a built-in fidget spinner is pretty cool, right? But these aren't just any rings; they've got a bit of history and character behind them. They have roots that trace back to ancient Tibetan meditation traditions. That's why you might also hear them called meditation rings, fidget rings, or even worry rings. The idea was that the repetitive motion of spinning the outer band could help calm the mind and focus thoughts—hence the term "a meditation spinner ring." It's like having a little piece of tranquility right on your finger.
Curious about how it works? It's pretty straightforward, but the design is clever. A spinner ring typically consists of two bands: an inner band that sits snugly on your finger and an outer band that spins freely around it. The motion is smooth and continuous, almost like a miniature meditation tool right on your hand. Whether you're fidgeting, thinking, or just enjoying the tactile sensation, the spinning band provides a subtle, satisfying way to engage your hands. It allows you to shift your focus for a short while and helps you relax, providing a calming effect that eases tension and promotes a sense of tranquility.
What is a spinner ring used for and what is it good for? Spinner rings offer not just style but a range of practical benefits, which are:
1.For starters, they're visually appealing. The rotating band and diverse designs make them a standout accessory. You can find some adorned with gemstones, intricate engravings, or sleek, minimalist lines. A bold, patterned outer band or one with subtle, understated elegance, there's a spinner ring design to suit every taste.
2.They also excel at relaxation, and stress and anxiety reduction. The calming effect of the spinning band shows repetitive, soothing motions can lower cortisol levels, the hormone associated with stress. It is an alternative to traditional stress relief tools like stress balls or fidget spinners.
3.Focus and concentration improvement is another notable advantage. The tactile sensation of spinning the ring can help enhance cognitive function, mitigate distractions, and improve productivity. This makes spinner rings particularly useful for tasks that require sustained attention, such as studying or working on complex projects.
4.They can be beneficial for easing tension headaches as well. The gentle spinning action can act as a distraction, which may help reduce the perception of pain associated with tension headaches, complementing other headache relief strategies like deep breathing or stretching exercises.
5.Lastly, spinner rings are great for managing fidgeting. If you often find yourself tapping or fiddling with objects, a spinner ring provides a productive alternative. Its spinning band offers a subtle outlet for restless energy, making it easier to stay focused without distracting those around you.
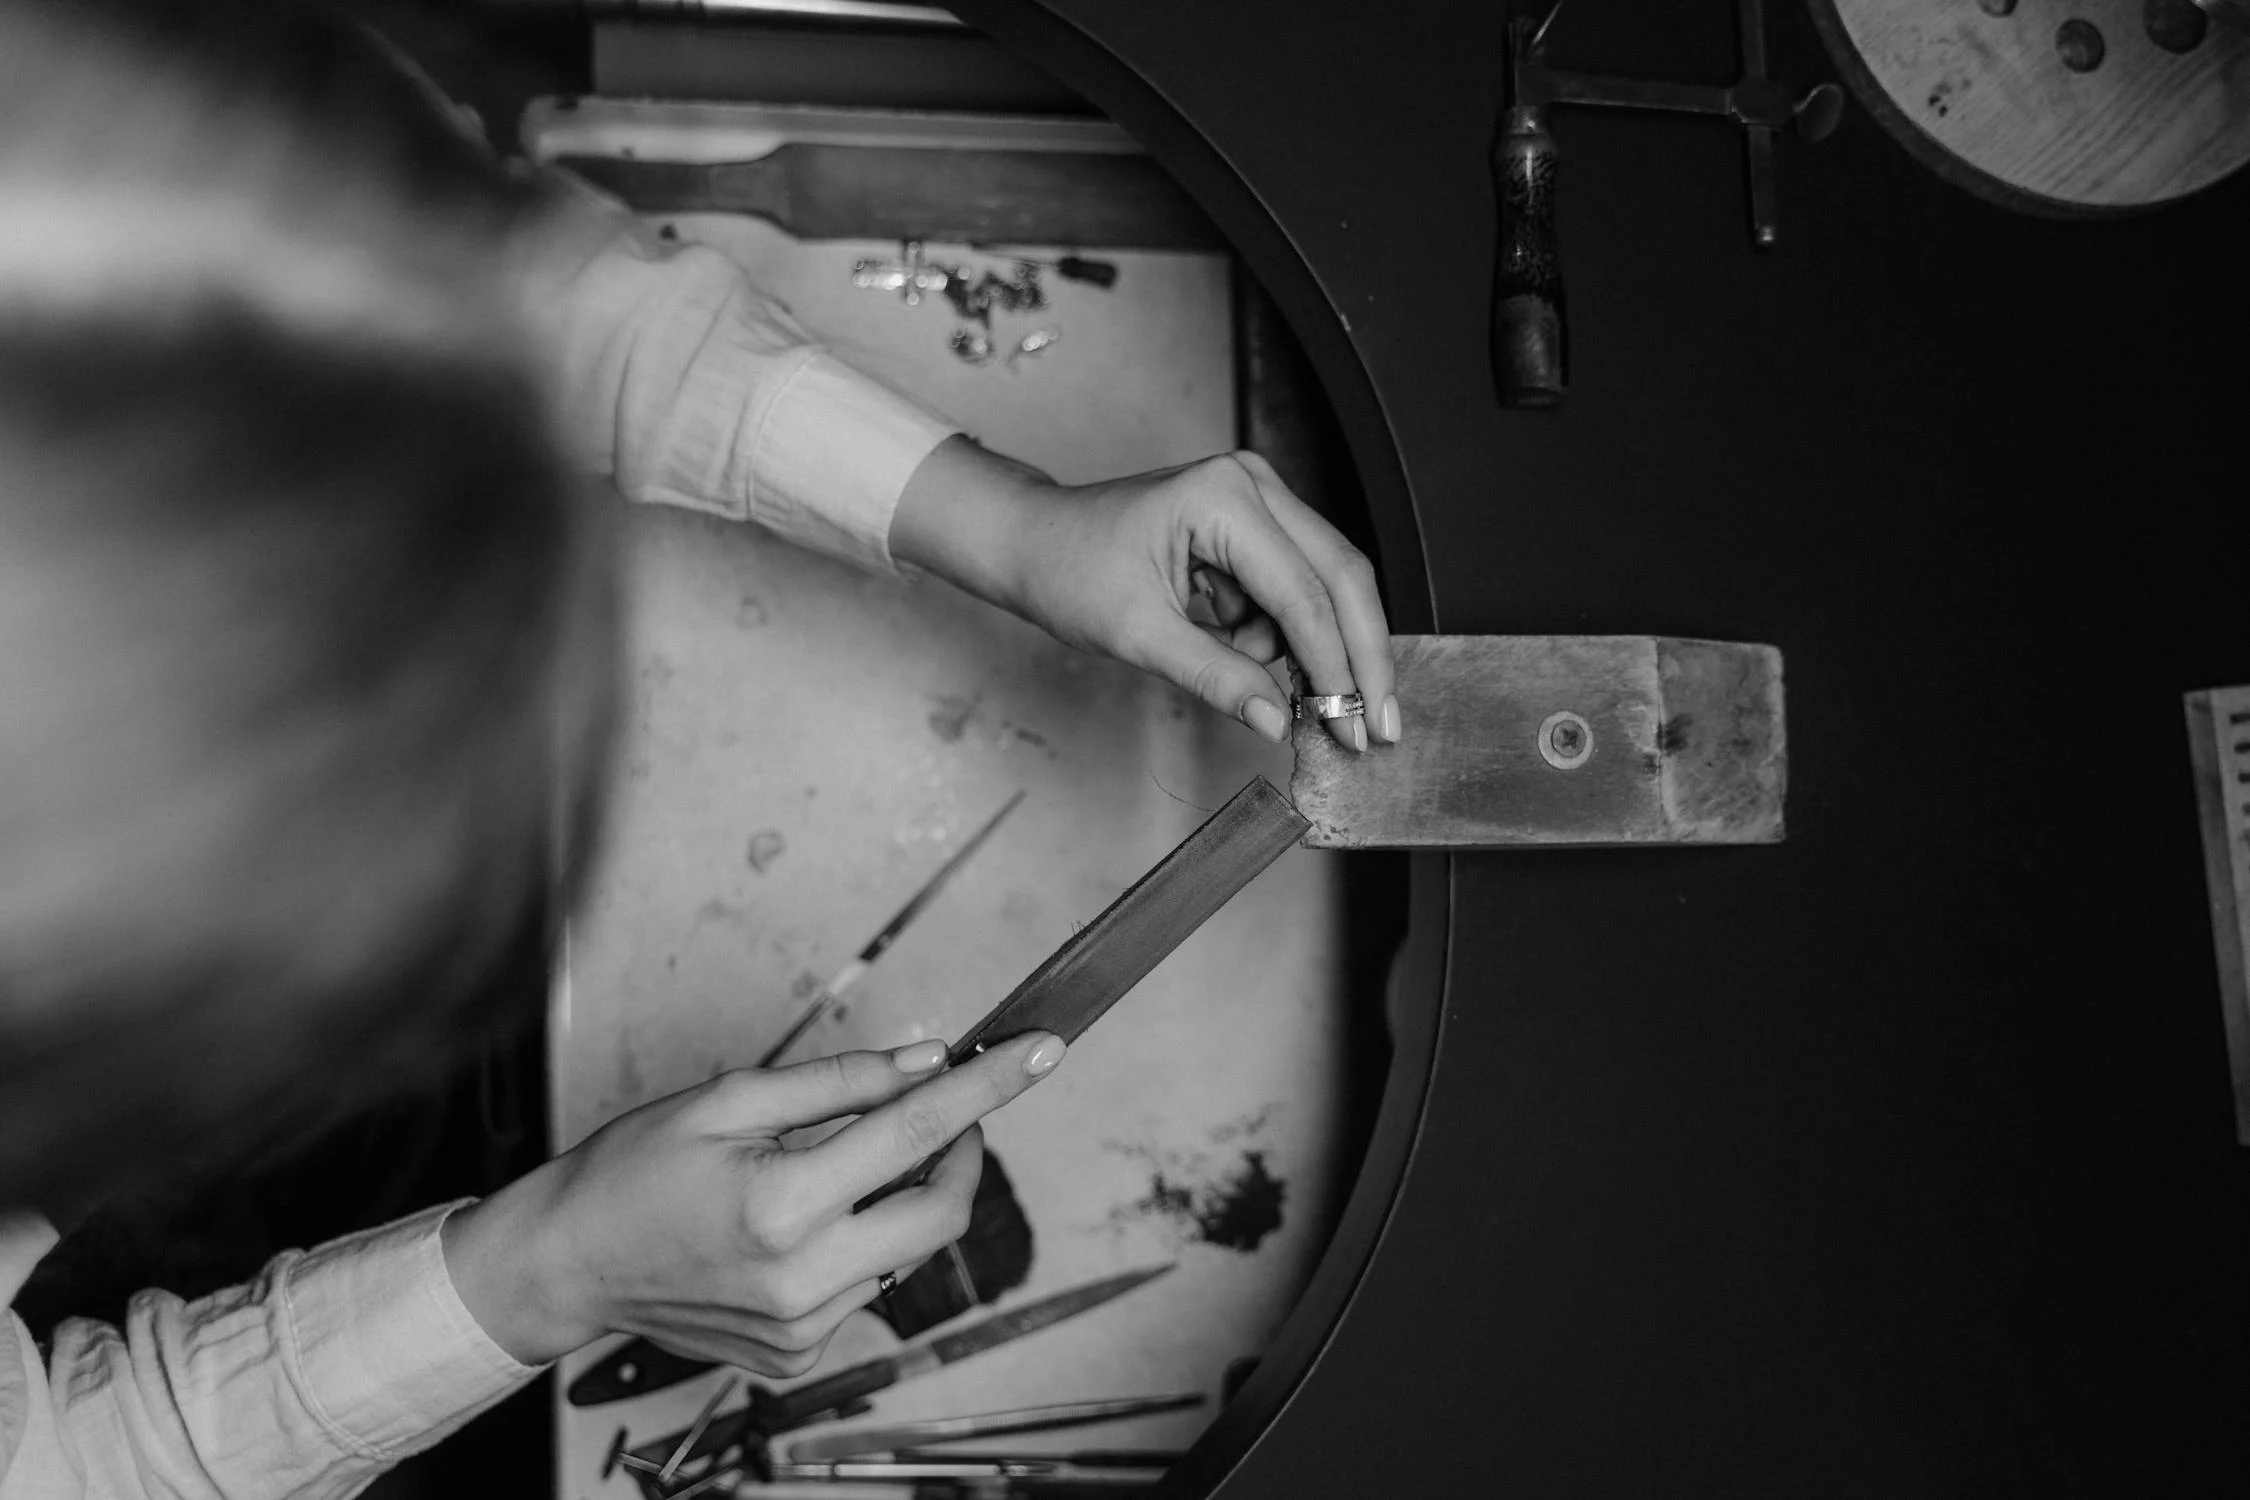
Crafting your own spinner ring is a fun project that you can tackle with just a few basic tools and materials. Here's a step-by-step guide to get you started:
Step 1: Prepare Material and Tools
First off, you'll need to gather your materials. You can choose a metal that suits your style—silver, gold, brass, or copper all work well. For the inner band (the part that stays on your finger), go with a thickness of about 1.5 to 2 mm. The outer band (the spinner) should be a bit thinner, around 1 mm, so it moves smoothly. Besides, you'll also gather some essential tools: a jeweler's saw, files, a ring mandrel, a soldering kit, sandpaper, a rawhide hammer, and polishing tools.
Step 2: Measure and Cut the Metal
Next, measure your finger to get the right size for the inner band. You can use a ring sizer or just wrap a strip of paper around your finger, then measure it with a ruler. Add a little extra around 1mm to this measurement for fitting and soldering. Then you may cut your metal strips accordingly—one for the inner band and a slightly larger one for the outer band.
Step 3: Texture the Inner Band/Base Ring
Before shaping, you might want to add some texture to the inner band. You can use tools like a texturing hammer or metal stamps to create a pattern, which gives your ring a personal touch and makes it unique. Just remember to keep the texture subtle to ensure it doesn't interfere with the spinning mechanism.
Step 4: Shape the Inner Band/Base Ring
You can shape the inner band using a ring mandrel, and then wrap the metal strip around the mandrel to form a ring. If the metal feels stiff, heat it with a flame until it's red-hot, then quench it in water. This process, called annealing, makes the metal easier to shape. Once you have the right shape, gently tap it with a hammer to finalize the fit.
Step 5: Solder the Inner Band/Base Ring
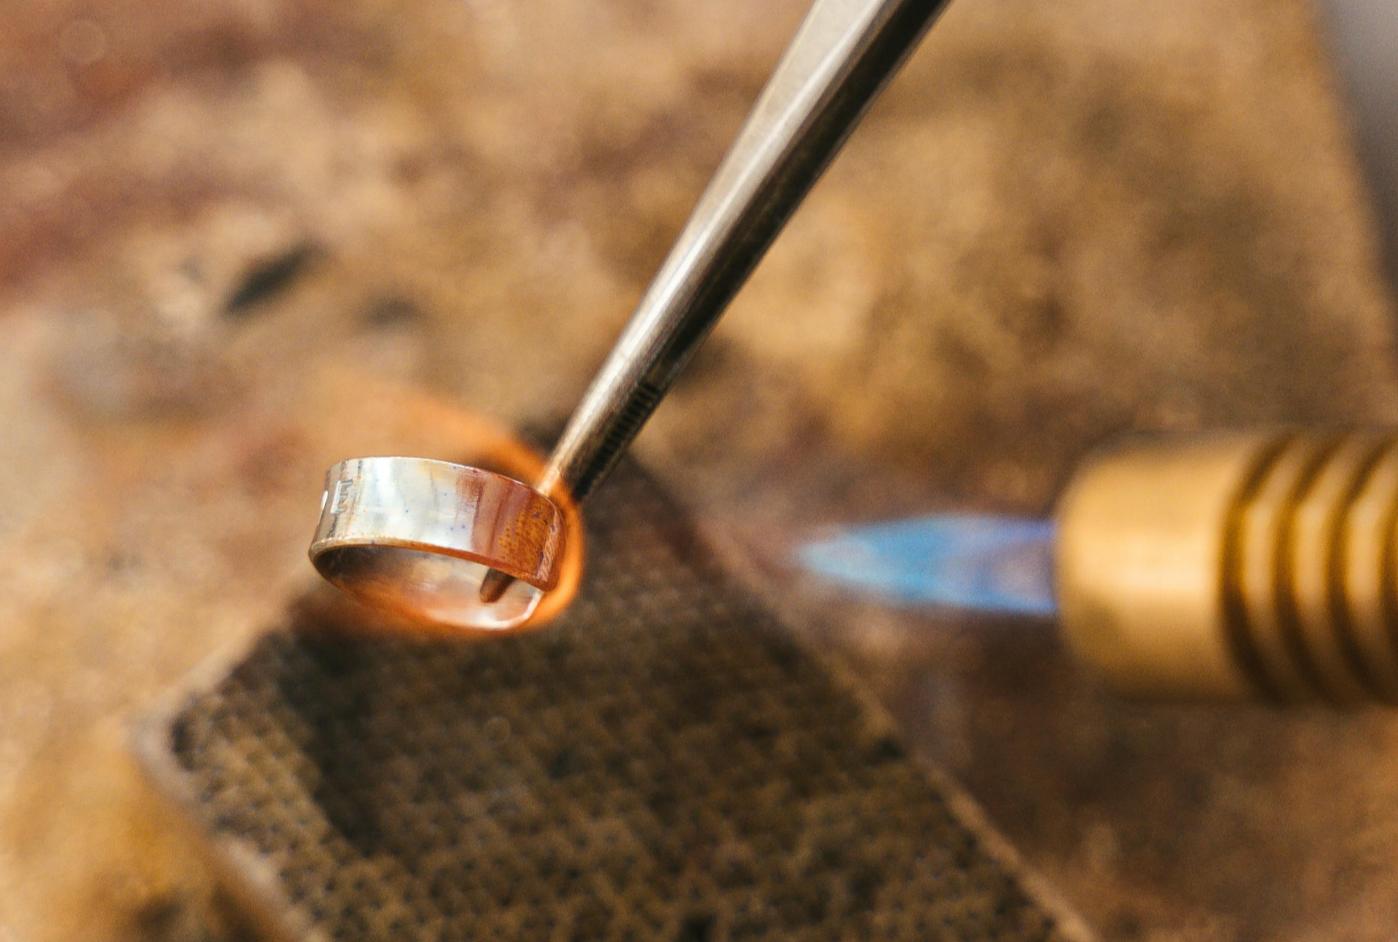
To solder, apply flux to the ends of the inner band, place a small piece of solder, and heat it with a soldering torch. The solder should flow and bond the ends together. During the soldering, you may use a half-round file to smooth out the joint and ensure a clean, comfortable fit. Proper soldering is key for durability and comfort.
Step 6: Size the Inner Band/Base Ring
Now, it's time to size the inner band to the correct ring size. You may gently tap and adjust the ring on the mandrel with a repousse hammer. Start from the smallest size on the mandrel and work your way down, tapping evenly around the band to avoid any distortions.
Note: If you've added texture to the band, keep in mind that texturing can stretch the metal slightly. To compensate, check the size frequently as you work, especially after every few taps. If the ring stretches too much, you might need to file it down or reshape it to get the perfect fit.
A good rule of thumb is to size the ring about half a size smaller before texturing, allowing the stretching to bring it up to the desired final size.
Step 7: Make the Outer Band/Spinner
For the outer band, cut a strip of metal that's about 1 to 2 mm larger in diameter than the inner band. Then wrap the metal strip around the ring mandrel to shape it into a band. Begin at the mandrel size that matches your inner band and gently form the metal around it. Once it's in shape, use a rawhide hammer to carefully tap the outer band, adjusting it until it fits comfortably over the inner band without being too tight.
Step 8: Solder the Outer Band/Spinner
Soldering the outer band follows a similar process to the inner band but with a few key differences. You may begin by applying flux to the ends of the outer band to ensure a clean, strong joint. Next, place a small piece of solder on the seam, then heat it with a soldering torch until the solder flows and joins the ends together.
It's important to use just enough solder to create a strong bond without excess, as too much solder can seep into the inside of the band and interfere with its spinning action. Precision is key—less is more in this case. After the solder has cooled, you may carefully smooth any excess with a fine file.
Step 9: Texture the Outer Band/Spinner
You can add texture to the outer band if you like. A texture that's different from the inner band can create an eye-catching contrast. You can use tools like a texturing hammer, metal stamps, or even etching techniques to create a pattern. As you work, make sure the texture is applied evenly across the entire band.
Avoid heavy textures or deep grooves near the edges where the spinner interacts with the inner band, as this could affect its ability to spin smoothly.
Step 10: Assemble the Ring
Here comes the moment of truth—assembling your spinner ring. Start by carefully fitting the outer band over the inner band. It should slide on without too much resistance but still sit snugly enough to prevent wobbling.
Once the bands are in place, test the spinning action. The outer band should rotate smoothly around the inner band without catching or feeling too tight. If it's too loose, you might need to gently tap the outer band with a rawhide hammer to tighten the fit. If it's too tight, try lightly sanding the edges of the inner band to create a bit more space.
Step 11: Polish and Finish
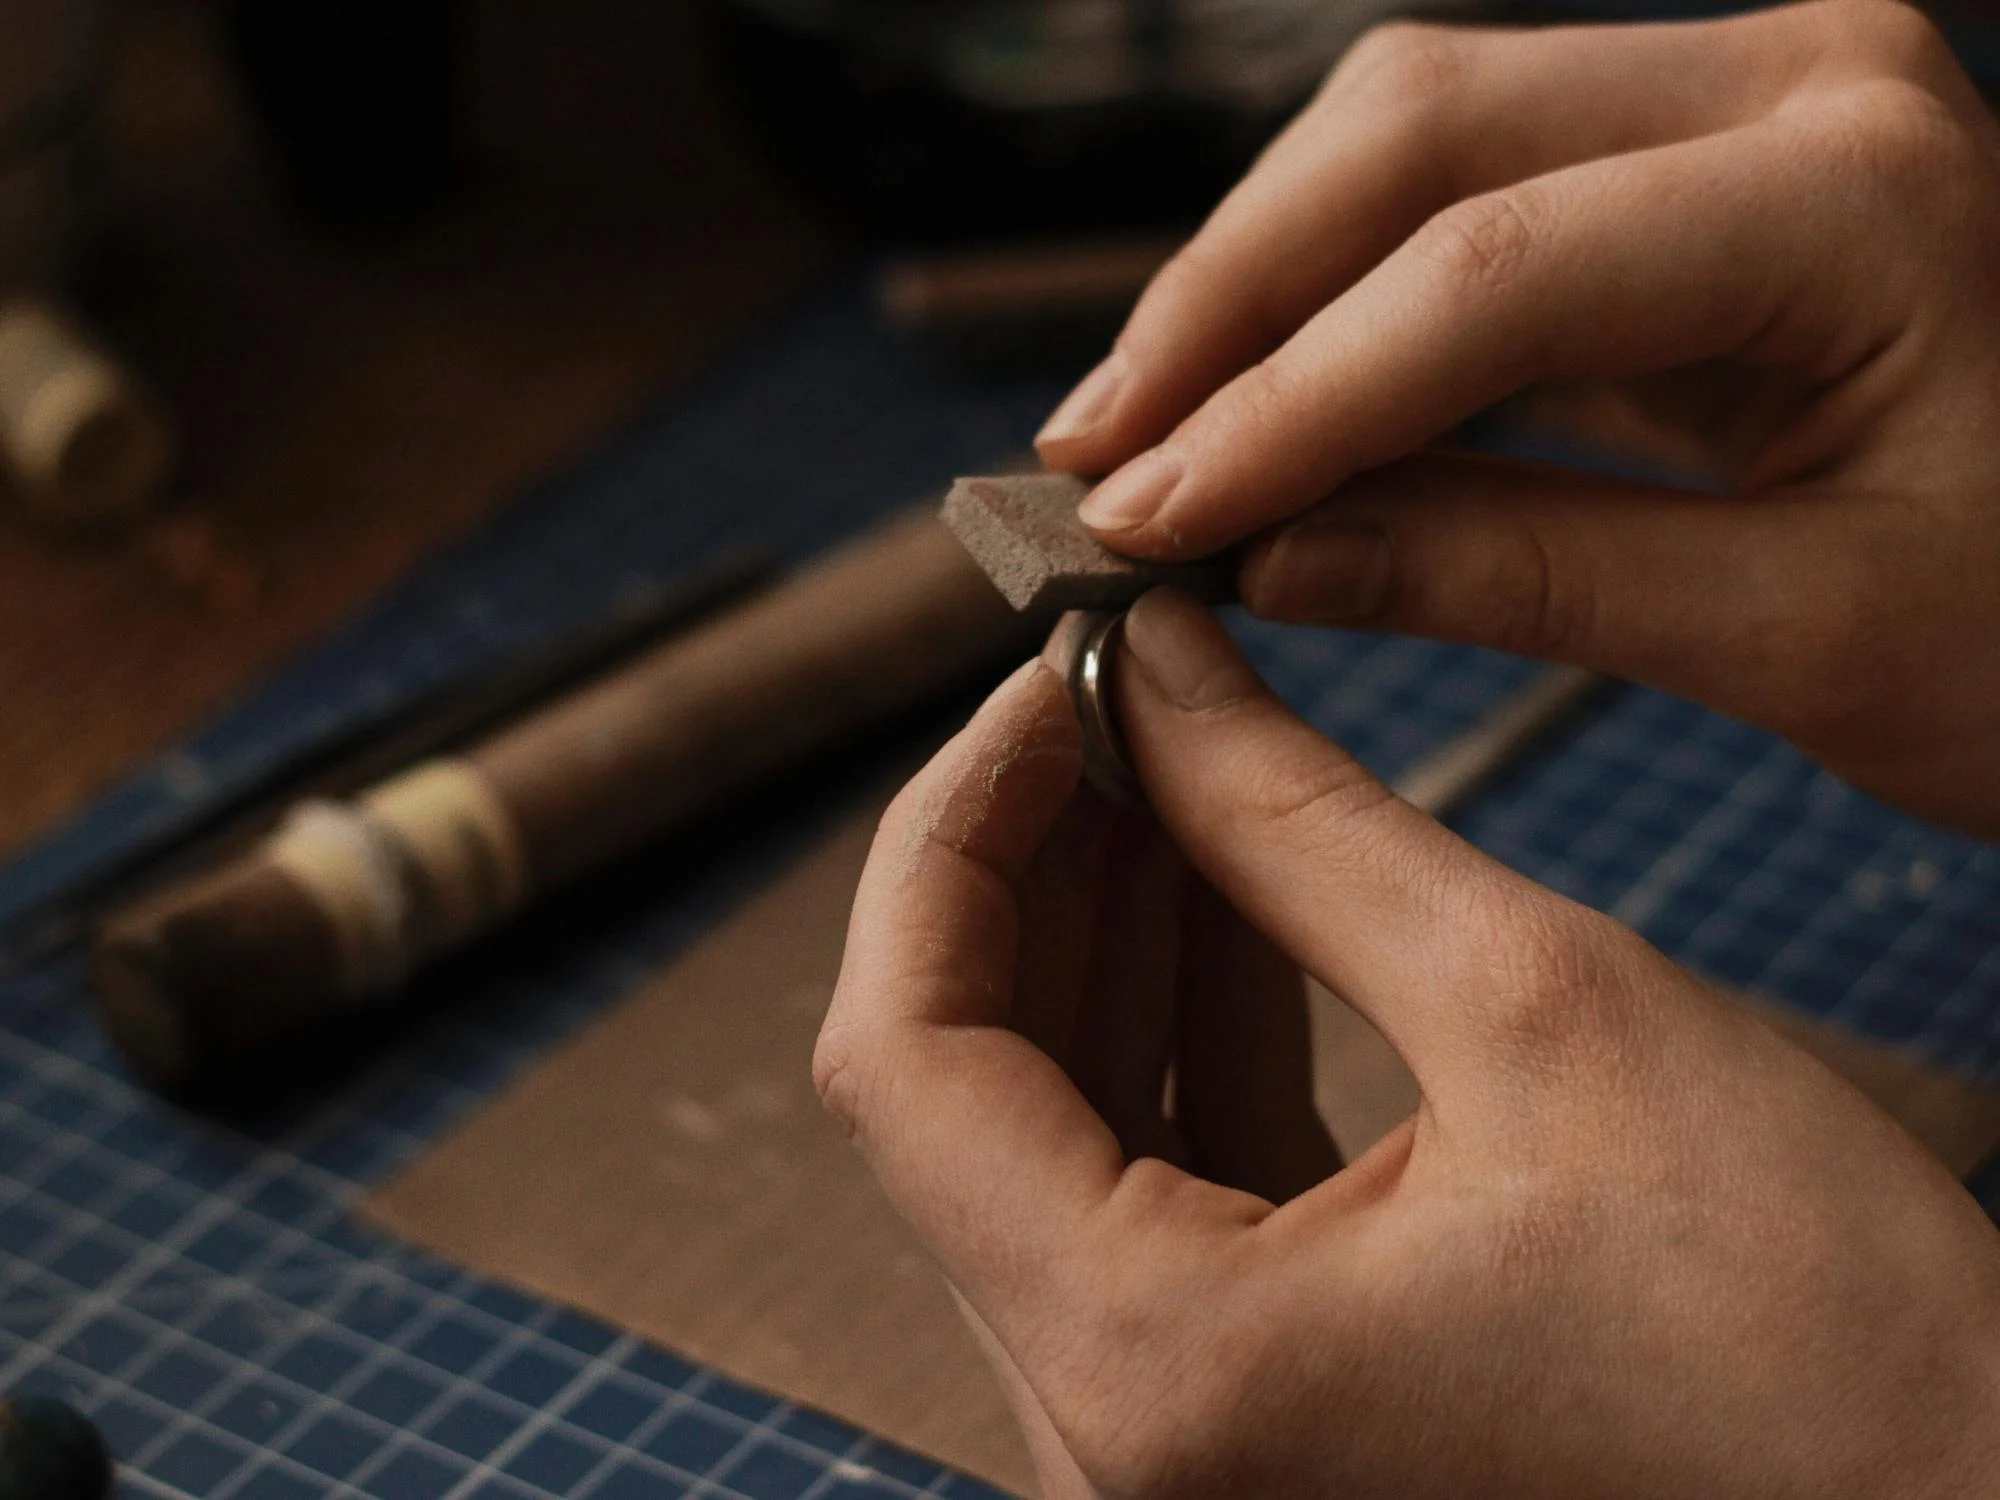
It is time to polish the ring to give it a professional finish. Start with fine sandpaper to smooth out any rough areas. Then, use a polishing cloth or machine, moving in a figure-eight pattern to achieve a glossy shine. Don't forget to polish both the inner and outer bands for a uniform look.
Step 12: Final Check
Finally, try and test on your completed spinner ring. You may slip it onto your finger and give it a spin to see how it feels. The outer band should rotate effortlessly, and the inner one should be comfortable without any pinching or wobbling. Don’t forget to check for any rough spots or areas that might need a little more smoothing. If you notice anything, take a moment to make those final adjustments. Once everything feels just right, take a moment to admire your work.
In wrapping up, you can reveal its true charm after learning what is a spinner ring in this comprehensive guide. It's clear that this little piece of jewelry is more than just a stylish accessory—it’s a calming companion in everyday life, helping you relax and concentrate. And if you’re someone who loves hands-on projects, why not take it a step further and create your own? Crafting a DIY spinner ring adds a personal touch, turning an already meaningful accessory into something truly one-of-a-kind.
Spinner rings can be worn on any finger, though many people prefer to wear them on their middle or index finger for easier access to the spinning band.
Yes, spinner rings can be effective for reducing anxiety and aiding concentration. Its repetitive motion can provide a calming effect, helping to alleviate stress.
Most spinner rings are designed to rotate silently. High-quality spinner rings typically minimize any noise, ensuring a discreet spinning experience. However, some may produce a faint sound depending on the materials used and the construction of the ring.
Discover how to keep a ring from spinning with easy home remedies and expert solutions, ensuring your ring stays secure and perfectly in place on your finger.
Read More
Discover how to clean an opal ring with this blog. Learn essential tips on how to safely clean and care for your opal ring to keep it looking stunning.
Read More
This article talks about how to get a ring off a swollen finger with simple methods. Understand why it happens, and get tips on preventing it in the future.
Read More
Wondering how to wear rings for men? Learn which hand and finger to wear rings as a man, and how to choose the right ring for your style and occasion.
Read More