


Breast milk jewelry is a deeply personal and meaningful way to preserve the precious memories of breastfeeding and the bond between you and your child. If you're a new mum looking to hold onto those early moments of motherhood, crafting your own unique piece offers a tangible connection to those irreplaceable days.
This guide provides you with a comprehensive tutorial on how to make breast milk jewelry. From gathering the right materials and tools to adding personal touches that reflect your unique story, we will walk you through every step of creating your very own piece of cherished jewelry.
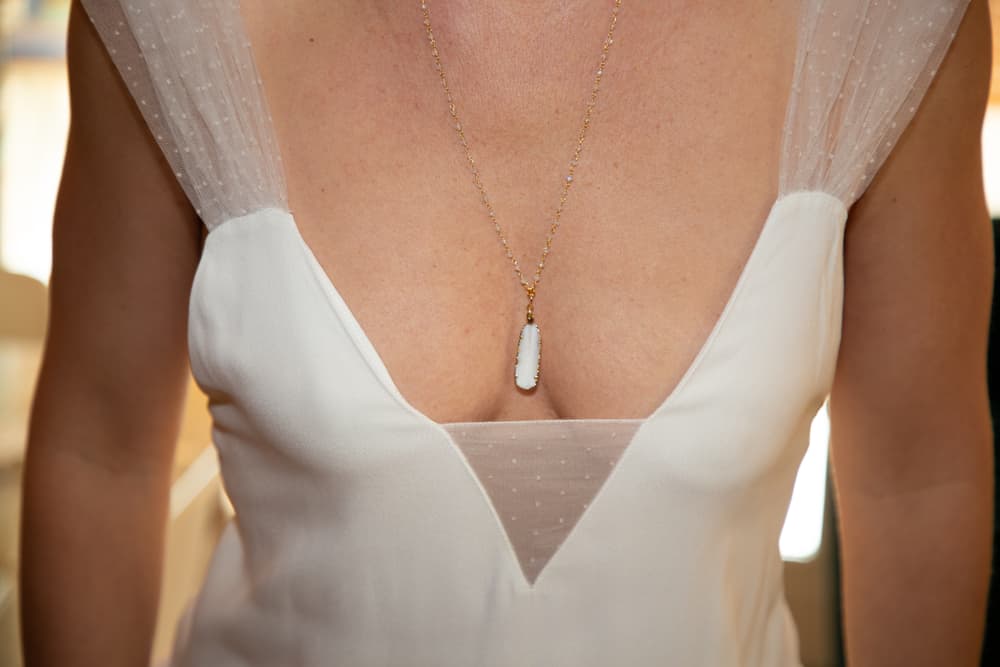
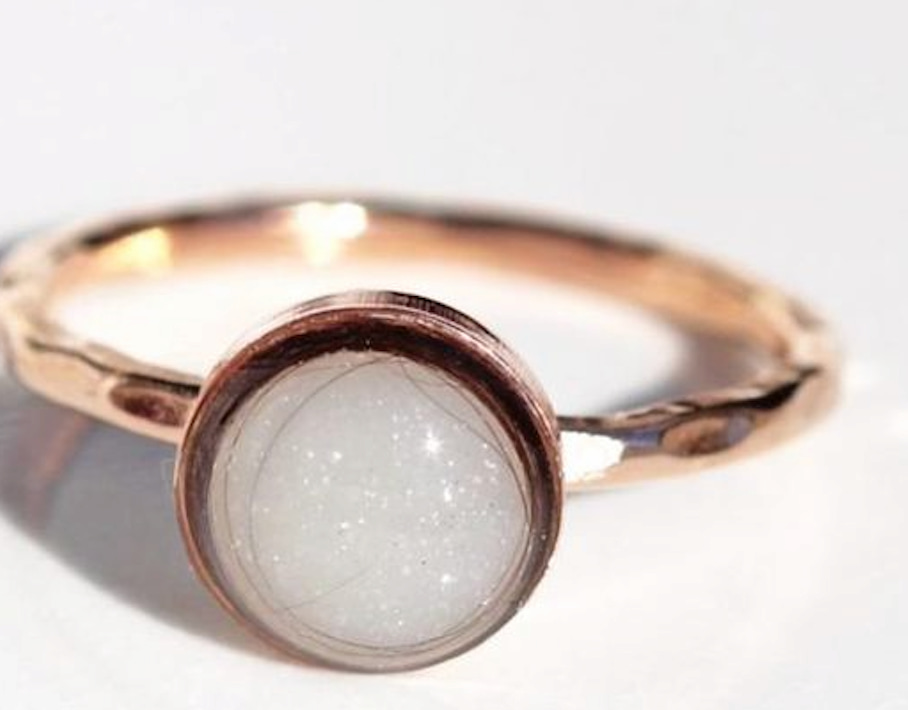
Breastmilk jewelry is a type of keepsake jewelry made using a small amount of a mother's breastmilk. The concept involves preserving a small quantity of breast milk through a special process that solidifies it, making it suitable for incorporation into various types of jewelry, such as pendants, rings, or bracelets.
The preservation process typically involves treating the milk with chemicals to remove moisture and then mixing it with resins to create a durable, stone-like material. This material can then be shaped and polished to fit elegantly into custom-designed jewelry settings. The final product is not only a piece of art but also a tangible reminder of the nurturing bond shared during the initial stages of a child's life.
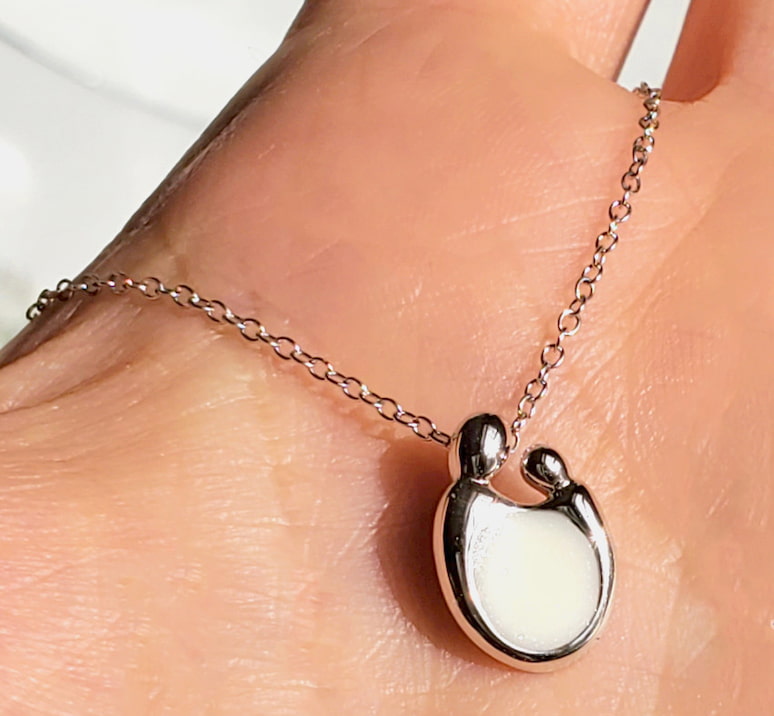
The significance of breastmilk jewelry is deeply personal and emotional since it is a meaningful keepsake that embodies the love, effort, and unique bond between a mother and her child. Breastfeeding is a significant aspect of the mother-child relationship. Breastmilk jewelry serves as a tangible reminder of the nurturing bond and the intimate moments shared between mother and baby during breastfeeding.
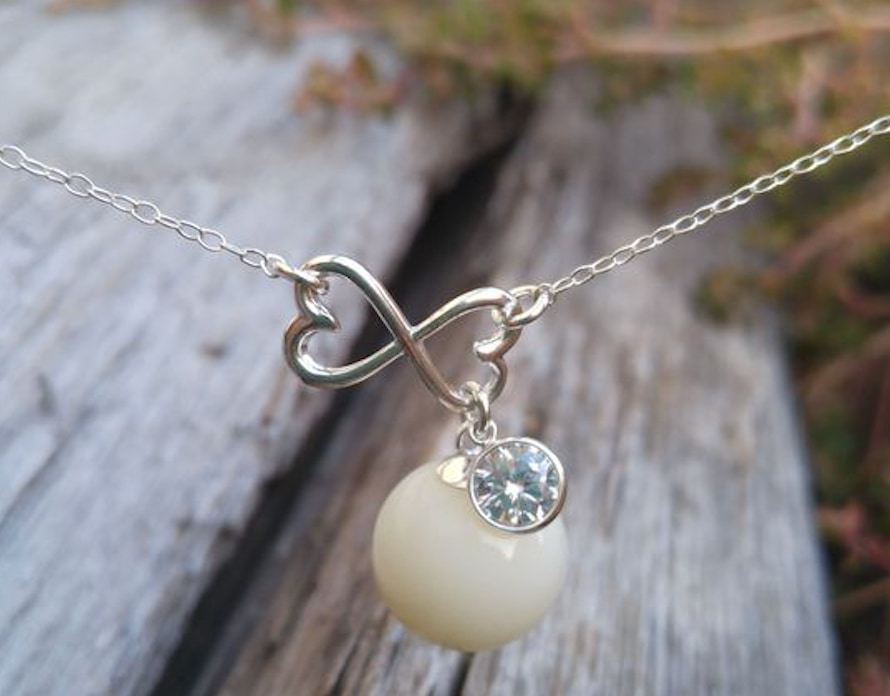
For many mothers, breastfeeding represents a significant personal achievement, especially if they have overcome difficulties such as low milk supply, latch issues, or other breastfeeding challenges. Breastmilk jewelry commemorates this experience, celebrating the dedication, love, and perseverance involved in providing nourishment for their child. It can also serve as an heirloom, passed down through generations, carrying stories and memories of maternal love that transcend time.
So, how do you make breastmilk jewelry? Let's get into the process, from gathering materials to adding personal touches:
Materials:
Tools:
1.Gather Materials and Tools: Collect all the necessary materials and tools for the jewelry-making process, as listed above.
2.Prepare the Work Area: Set up a clean and well-ventilated work area free from dust, debris, and direct sunlight. Lay down protective coverings to prevent damage to surfaces and ensure easy cleanup.
3.Preserve the Milk: Mix the breast milk with a preservation powder to ensure it does not spoil. Follow the specific instructions provided with your preservation kit to get the best results.
4.Combine with Resin: Once the milk is preserved and has turned into a paste, mix it with a clear resin according to the resin package instructions. Ensure thorough mixing to avoid air bubbles.
5.Add Colorants and Embellishments: If desired, add colorants, glitter, shimmer powder, or other embellishments to the breastmilk resin mixture to customize the color and aesthetic of the jewelry. Stir gently to incorporate the additives evenly into the mixture.
6.Pour Mixture into Molds or Bezels: Pour the prepared breastmilk resin mixture into the molds or bezels of your choice. Take care to fill the molds evenly and avoid trapping air bubbles in the mixture. Use a toothpick or skewer to remove any air bubbles that rise to the surface.
7.Cure the Jewelry: Place the filled molds or bezels in a curing chamber or under UV lamps, depending on the type of resin used. Follow the manufacturer's instructions for curing times and conditions. Allow the jewelry to cure completely until it hardens and becomes translucent or opaque, depending on your desired finish.
8.Demold and Finish: Once the jewelry has cured, carefully remove it from the molds or bezels. Use mold release spray if necessary to facilitate the removal process. Use fine-grit sandpaper to smooth any rough or uneven edges on the resin pieces.
9.Attach Findings: Gather the jewelry findings appropriate for your piece, such as pendant bails, ring bases, or earring hooks. Using strong adhesive or jewelry cement, attach the resin pieces to the findings. Allow adequate time for the adhesive to dry and secure the pieces.
10.Finishing Touches: If desired, apply a polishing compound or a clear coat spray to give your jewelry a glossy finish. Examine your finished jewelry for any imperfections and make any necessary adjustments.
Learning how to make breast milk jewelry allows you to create a heartfelt keepsake that captures the essence of motherhood. With the steps and tips provided, you can start making your own beautiful, personalized pieces of jewelry that encapsulate the bond between mother and child. Whether you choose to make a necklace, a ring, or a set of earrings, the process allows you to hold onto a part of a journey that is as fleeting as it is transformative.
Breast milk jewelry is designed to last indefinitely, serving as a timeless keepsake of your breastfeeding journey. With proper care and maintenance, it can endure for a lifetime, preserving the memories and emotions associated with the bonding experience between mother and child.
To preserve breast milk for jewelry making, start by storing fresh breast milk in a clean container and freezing it immediately. Use a preservation kit to treat the milk, removing excess water and preserving its color. Once preserved, mix the milk with jewelry resin following the kit's instructions to create durable breast milk jewelry.
Under proper preservation and care, breast milk jewelry should maintain its original color and clarity. However, exposure to certain environmental factors like sunlight and moisture can cause yellowing over time. To prevent this, store your breast milk jewelry in a cool, dry place away from direct sunlight and humidity.
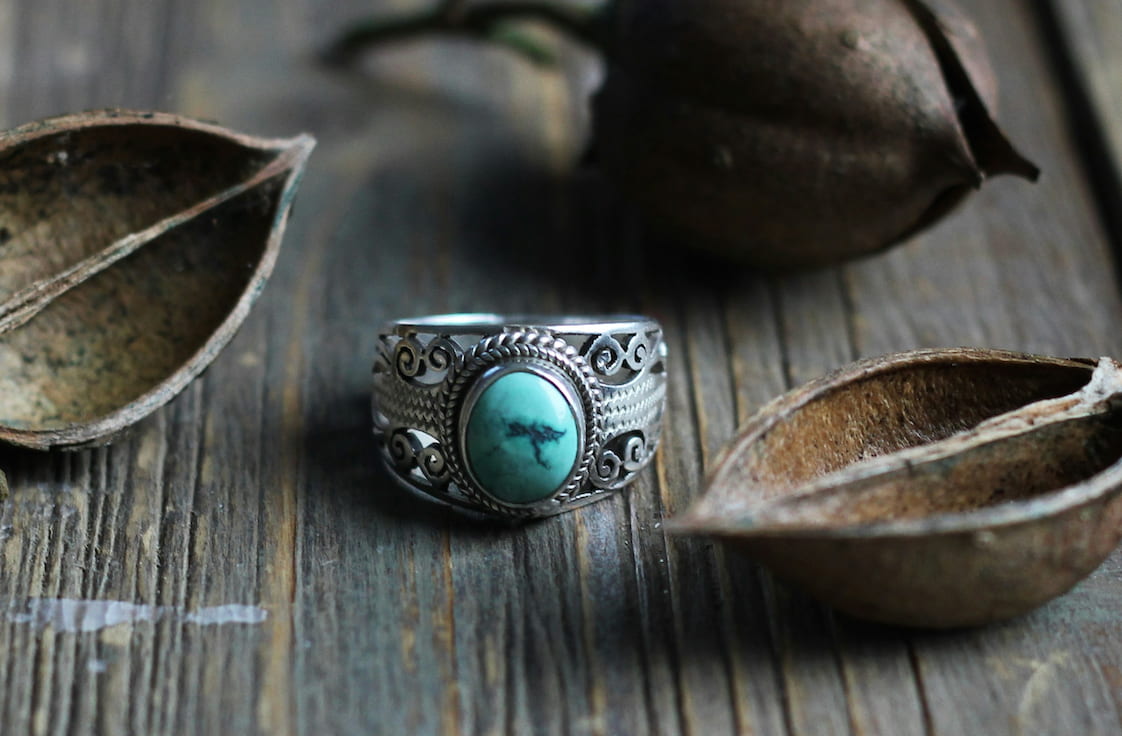
Learn how to make turquoise jewelry with our easy-to-follow steps for earrings, rings, bracelets, and necklaces. Start crafting beautiful pieces today!
Read More
Discover how to wear threader earrings in stylish and unique ways. Learn 9 chic ways to elevate your style with these versatile earring trends for any occasion.
Read More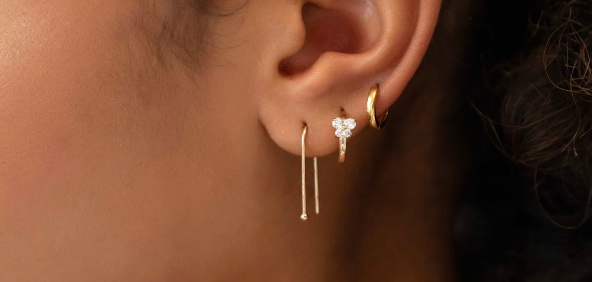
Discover what are threader earrings, their advantages, how to wear them, and expert tips for choosing the perfect pair. Elevate your accessory game today.
Read More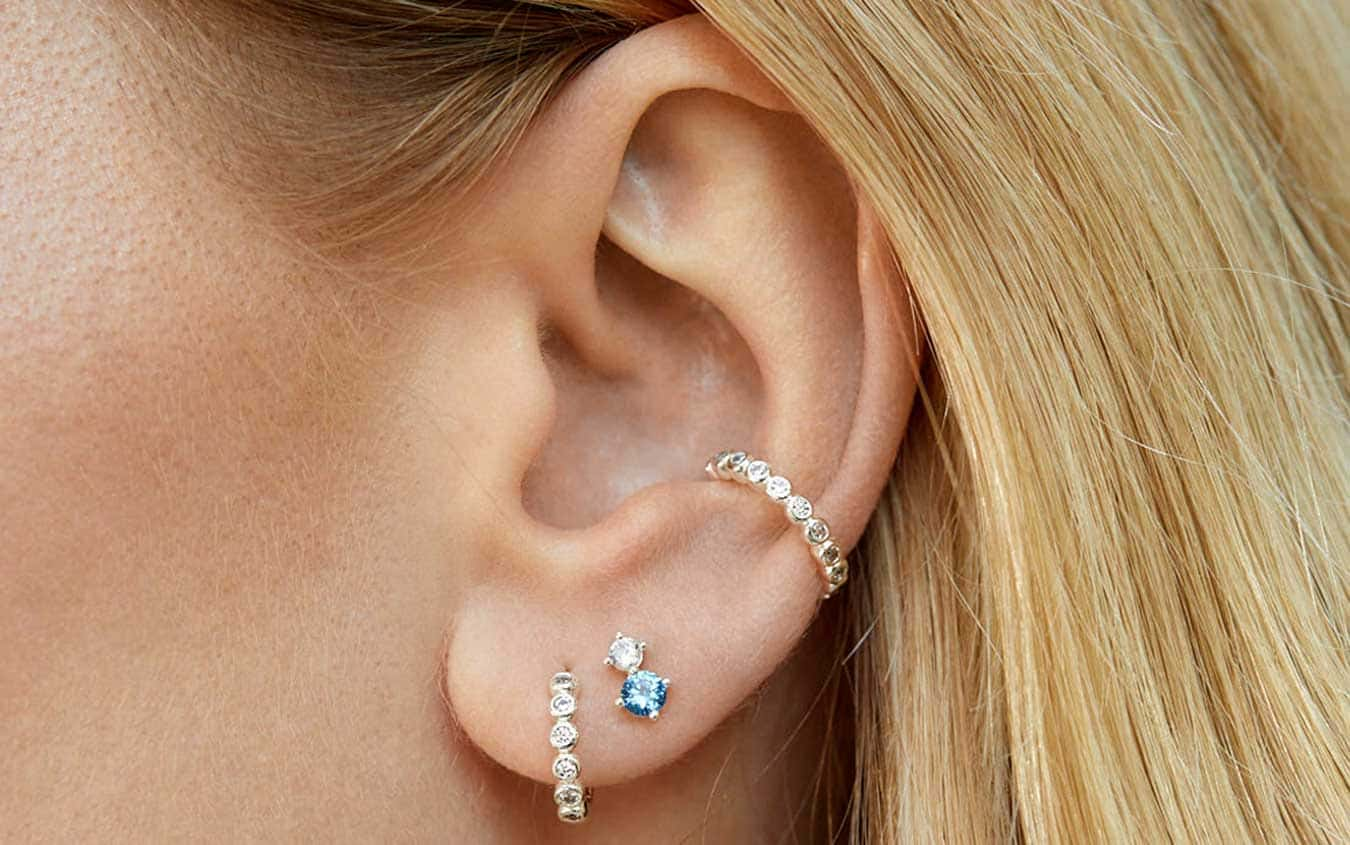
Explore what are huggie earrings, their benefits, styling tips, and more in our comprehensive guide. Choose your favorite pair for lasting elegance everywhere.
Read More