


Turquoise has long captivated the jewelry world with its enchanting blue hues and unique matrix patterns, making it a standout choice for artisan and custom pieces. If you're attracted to its allure, learning how to make turquoise jewelry can add a splash of color to your creations.
In this guide, we'll cover everything you need to know for this DIY jewelry project and provide step-by-step instructions on how to craft beautiful earrings, rings, bracelets, and necklaces using this eye-catching stone. Let's get started!
Turquoise has been a popular choice in jewelry making for thousands of years due to its unique and appealing appearance, cultural and historical significance, and more. Let's take a closer look:
Creating your own turquoise jewelry allows for customization and personalization that store-bought jewelry simply cannot match. Here, we'll guide you through the process for making different types of turquoise jewelry, from rings to necklaces:
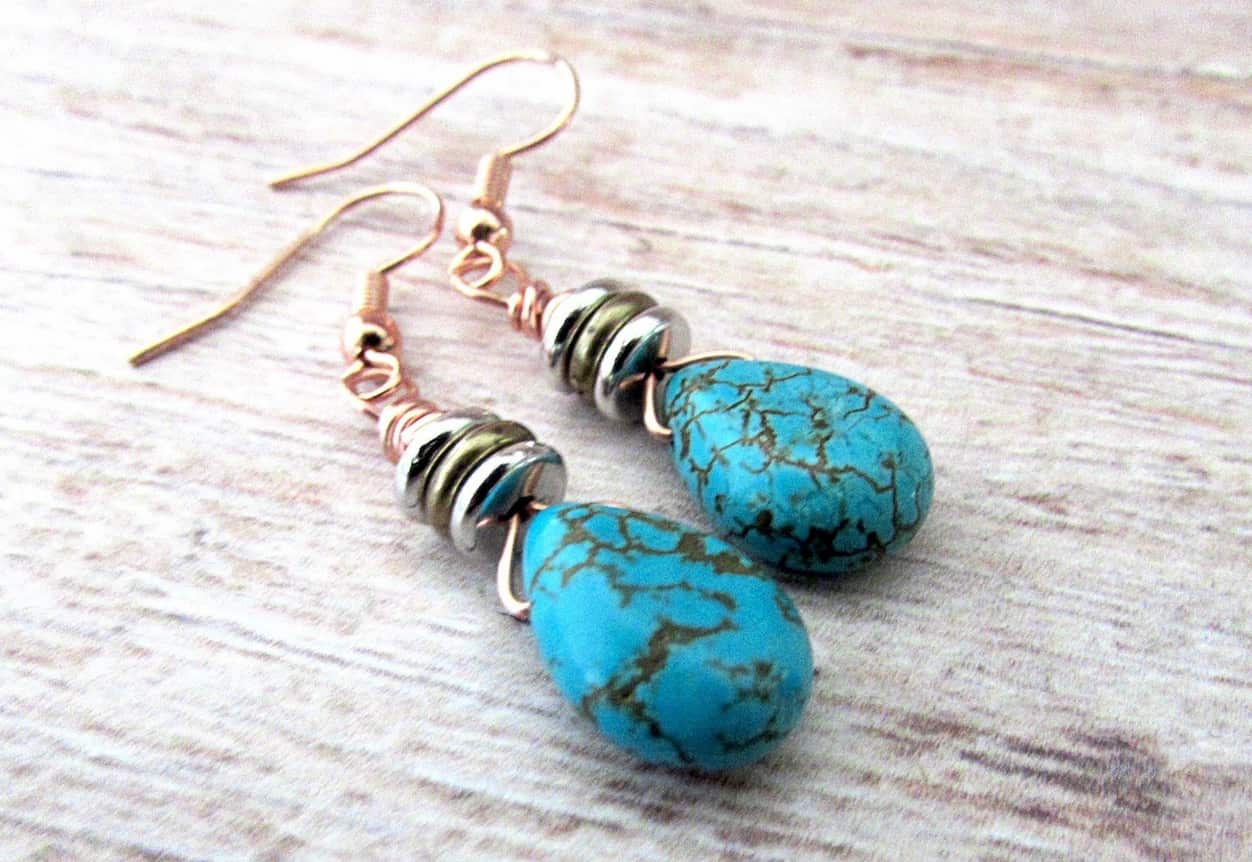
Turquoise earrings are a timeless accessory that can elevate any look with a touch of vibrant color and earthy elegance. Follow these simple steps to create your own beautiful turquoise earrings:
Materials and Tools Needed:
Steps:
1.Select Your Stones: Begin by choosing two pre-drilled turquoise stones or beads. Ensure they are similar in size and shape for a balanced, symmetrical look. The beauty of turquoise lies in its unique patterns and hues, so select stones that complement each other.
2.Cut the Copper Wire: Cut approximately 6 inches of copper wire for each earring. This length may need to be adjusted based on how many spacer beads you plan to use and the desired length of the drop.
3.Thread the Wire: Slide one end of the copper wire through the pre-drilled hole in the turquoise stone, allowing the stone to sit at the center of the wire's length.
4.Add Spacer Beads: On both ends of the wire protruding from the stone, thread your choice of spacer beads. These can be metal rings, small decorative beads, or a combination of both. Match the number and order of spacer beads on both sides for symmetry.
5.Form the Loop: Once all beads are in place, bring both ends of the wire up above the beads and twist them together just above the topmost bead. Use round nose pliers to form a loop with the twisted wire. This loop will connect to the earring hook.
6.Trim Excess Wire: With the wire cutters, trim any excess wire above the loop to keep the earrings neat and prevent any sharp ends that could catch on clothing or hair.
7.Attach the Earring Hook: Open the loop on the earring hook slightly using your needle nose pliers. Hook it through the loop you just made on the headpin, then use the pliers to close the loop securely, ensuring that the earring hook is firmly attached.
8.Final Adjustments: Double-check all connections to make sure they are tight and secure. Ensure that there are no sharp edges remaining that could cause discomfort when worn. Adjust the loop if necessary to ensure that the earring hangs correctly and looks uniform.
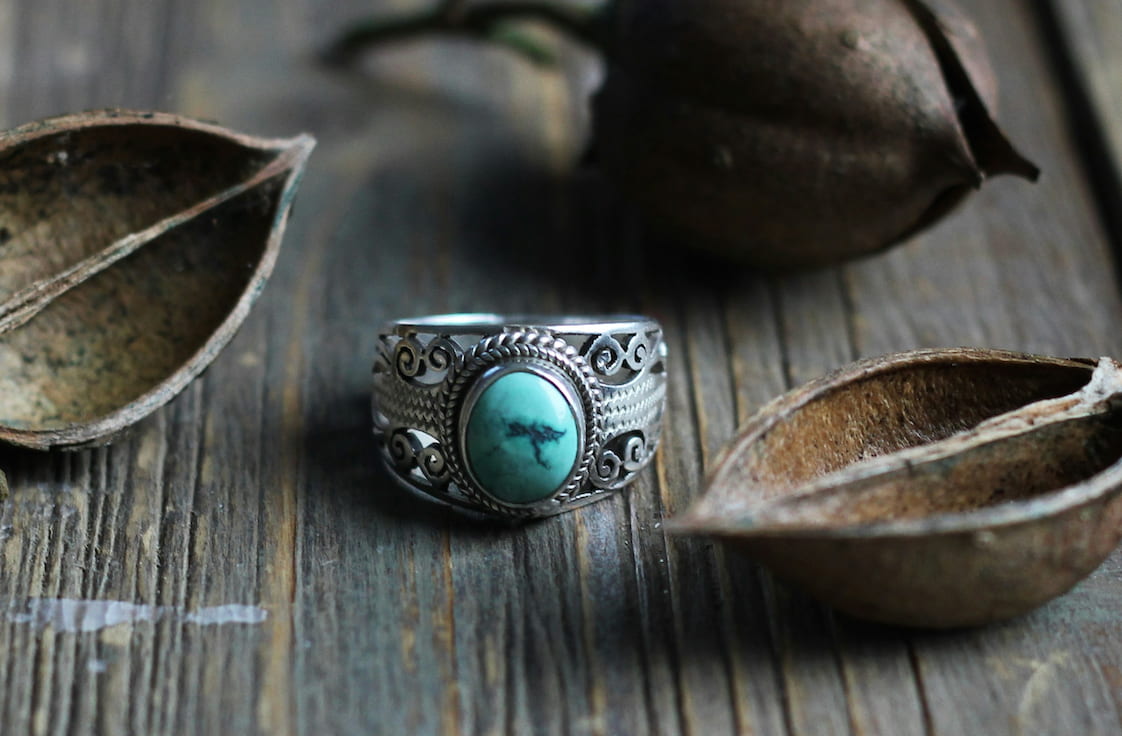
Creating a turquoise ring requires careful handling of both the stone and the metal. Here's a detailed guide:
Materials and Tools Needed:
Steps:
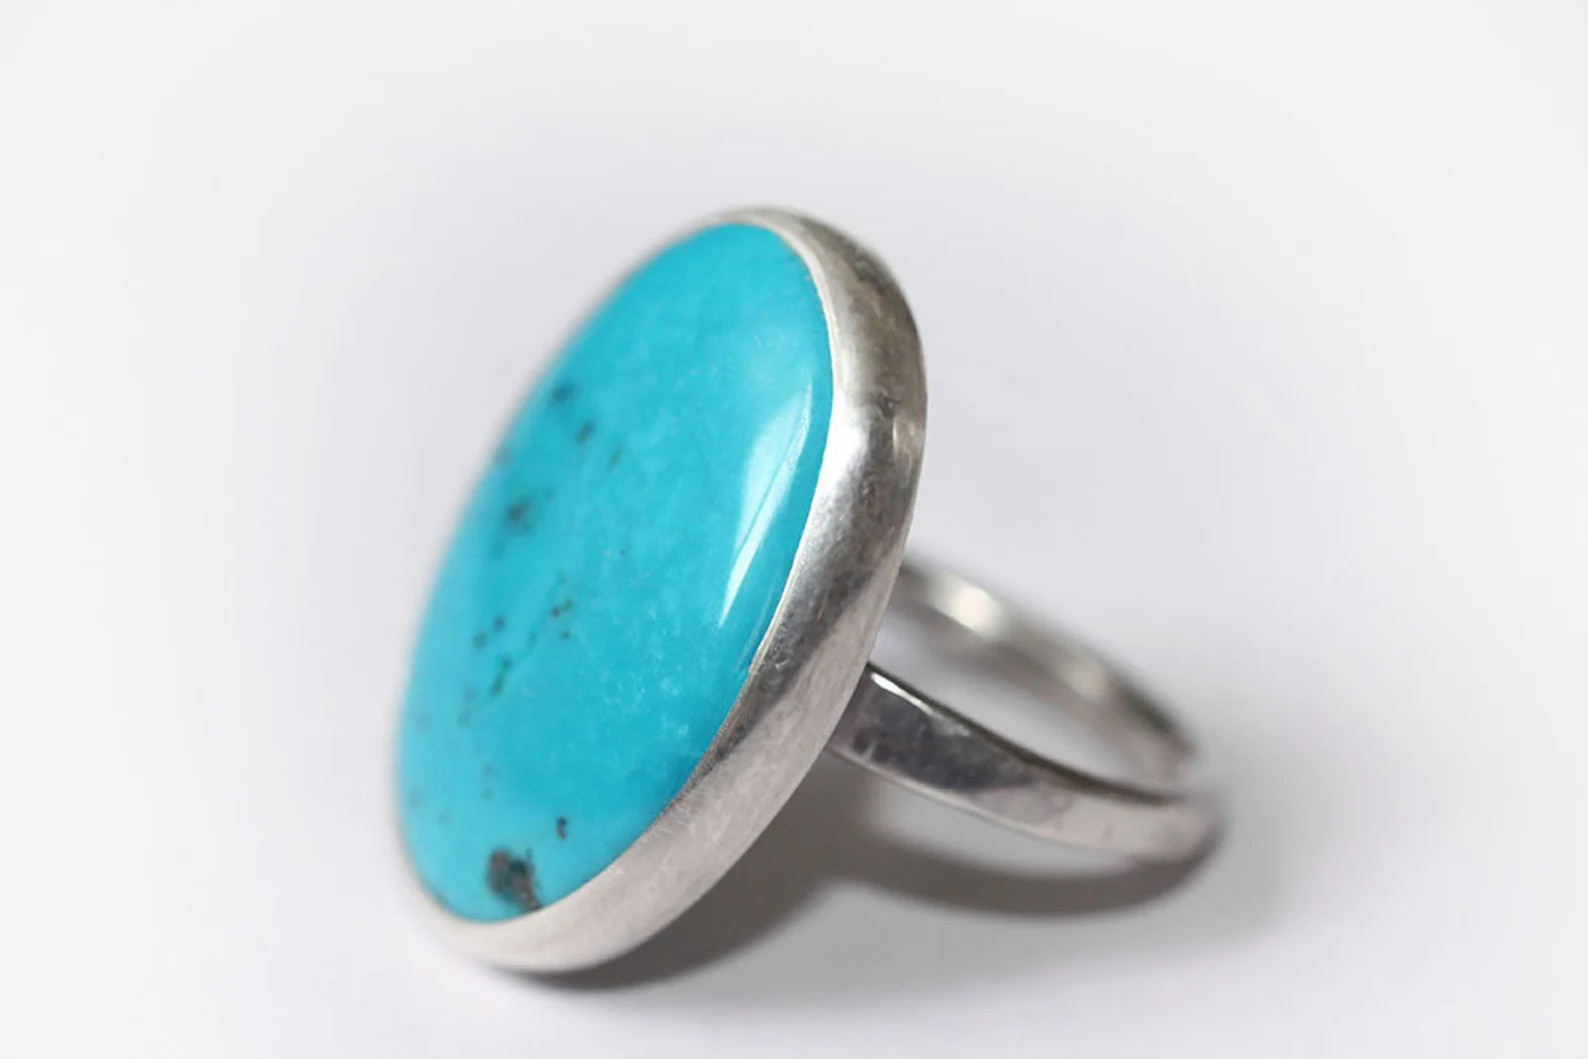
1.Select the Turquoise Cabochon and Ring Blank: Start by choosing a polished turquoise cabochon and a ring blank with a bezel that complements each other in size and style. Ensure the cabochon can fit snugly within the bezel of the ring blank, with a flat bottom for better adhesion. The choice of ring blank should also match the aesthetic and size of the cabochon to create a harmonious and well-proportioned piece of jewelry.
2.Prepare the Ring Blank: Ensure that the ring blank is clean and free from dust or oils. Wipe the bezel setting with a soft cloth dipped in rubbing alcohol to remove any residues.
3.Test Fit the Cabochon: Before applying any glue, place the turquoise cabochon into the bezel to ensure it fits well. It should sit flat and stable within the setting.
4.Apply the Glue: Squeeze a small amount of jewelry glue onto a piece of scrap paper. Using a toothpick or fine-point tool, apply a thin layer of glue evenly across the inside of the bezel. Be careful not to use too much glue, as it can seep out from under the cabochon and create a messy look.
5.Set the Cabochon: Carefully place the turquoise cabochon into the bezel. Press it down gently but firmly to ensure good contact with the glue. Wipe away any excess glue that might squeeze out around the edges with a clean cloth.
6.Let it Dry: Allow the glue to cure for the time recommended by the manufacturer, usually 24 hours, to ensure the cabochon is securely set in place.
7.Final Adjustments: Once the glue is fully cured, inspect the ring to ensure the stone is firmly attached. Adjust the ring size if you are using an adjustable ring blank.
Making a turquoise bracelet involves stringing beads or setting cabochons in a metal framework. Here's a detailed process of making beaded turquoise bracelet:
Materials and Tools Needed:
Steps:
1.Measure and Cut the Cord or Wire: Use the measuring tape to measure your wrist. Add an extra 3-4 inches to this measurement to allow for the beads' width and finishing knots or clasps. Cut your chosen stringing material accordingly.
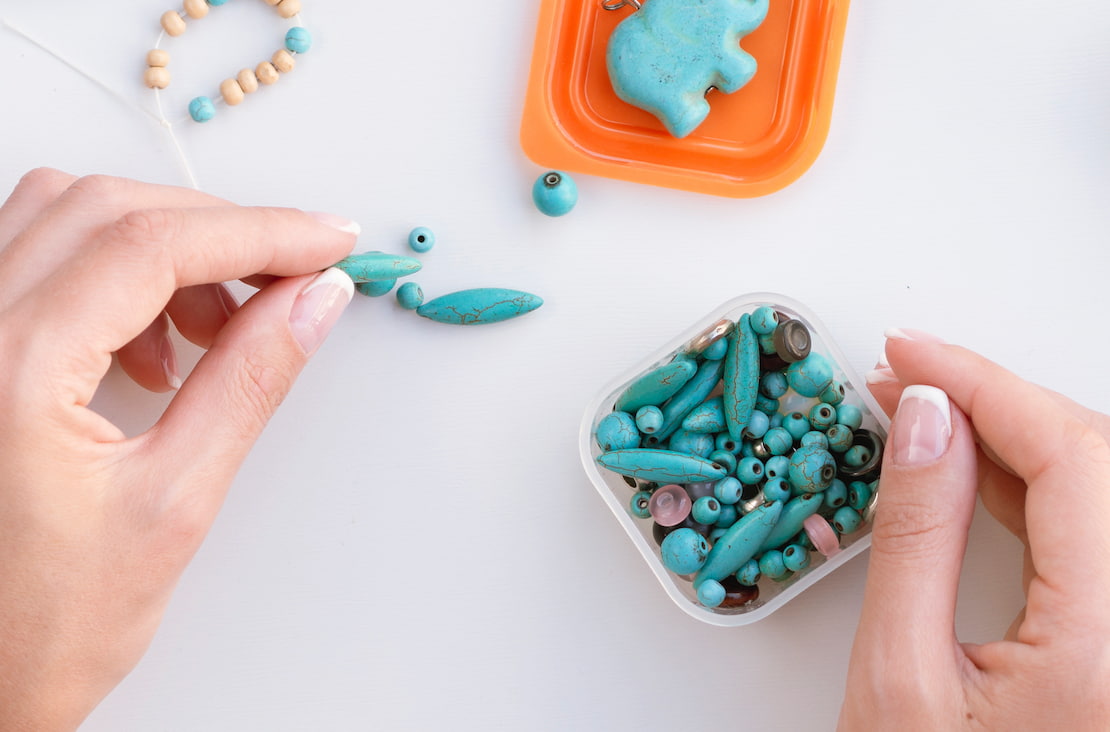
2.Plan Your Design: Layout your turquoise beads on a bead board to plan the design of your bracelet. This can help you visualize the finished product and ensure the pattern and bead sizes work well together.
3.String the Beads: Start stringing the beads onto the cord or wire. If you are using a pattern, follow it as planned. If you're aiming for a simple, elegant look, you might consider spacing the turquoise beads with small metal spacer beads or contrasting colored beads to enhance the turquoise.
4.Securing the Ends:
5.Adjust for Comfort and Fit: Try on the bracelet to ensure it fits comfortably. If using elastic, the bracelet should stretch enough to slide on and off your wrist without discomfort. If using a clasp, make sure the bracelet is snug but not too tight.
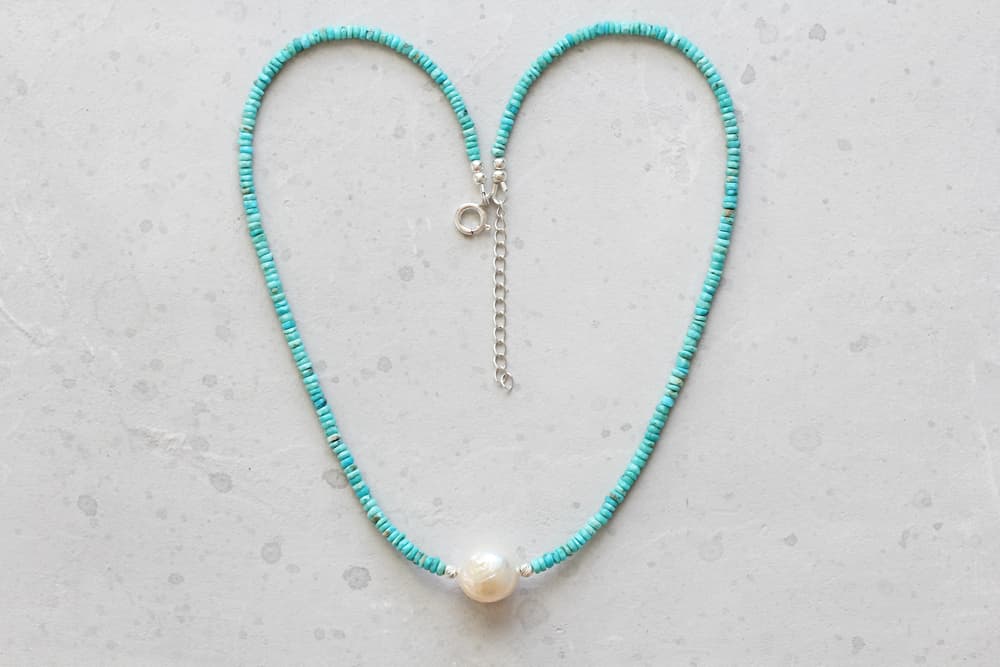
Creating a turquoise necklace can range from bead stringing to a simple chain necklace with a single turquoise pendant. Here's a detailed guide:
Materials and Tools Needed:
Steps:
1.Design Your Necklace: Decide whether you want a simple pendant design or a more elaborate beaded style. For a pendant necklace, a large turquoise piece works best, whereas smaller beads are ideal for a full beaded look. Choose the length of your necklace—common choices are choker, princess (near the collarbone), or matinee (just above the chest).
2.Prepare the Chain or Wire: If using a chain, measure and cut it to your desired length. For a jewelry wire, cut it slightly longer to allow for knots.
3.Add the Turquoise:
Thread the beads onto your chosen stringing material. If you're using wire, thread a crimp bead onto the wire, then loop the wire through the clasp and back through the crimp bead. Use crimping pliers to secure the crimp bead.
4.Attach the Clasp:
5.Secure and Finish: Make sure all connections are secure. If using a clasp, ensure that jump rings are closed properly to avoid the necklace coming apart. Trim any excess material from the ends.
Learning how to make turquoise jewelry allows you to create customized pieces to your own taste. Throughout this guide, we've walked you through various projects to craft beautiful turquoise pieces like earrings, rings, bracelets, and necklaces. With some basic tools and materials, and the steps covered in this article, you can start making your own unique turquoise designs. So, gather your tools, let your imagination run wild, and start crafting beautiful southwest-style jewelry!
Turquoise pairs beautifully with several metals, each enhancing its unique qualities. Silver is a popular choice as it complements the stone's vibrant blue-green hues, creating a striking contrast. Gold offers a warm, luxurious look, adding a touch of elegance to turquoise jewelry. Copper, with its earthy tones, also works well, especially in bohemian or rustic designs.
When caring for turquoise, avoid exposing it to harsh chemicals, including household cleaners, cosmetics, and chlorine, as these can damage the stone's surface. Turquoise is relatively soft and porous, so it should not be subjected to excessive moisture or extreme temperature changes, which can cause discoloration or cracks. Also, avoid dropping or striking turquoise jewelry against hard surfaces to prevent chipping. Store turquoise pieces separately from other jewelry to prevent scratching, ideally in a soft pouch or lined jewelry box.
Turquoise jewelry is often associated with protection, healing, and good fortune. Throughout history, various cultures have valued turquoise for its believed ability to ward off evil and bring good luck. It is also seen as a symbol of tranquility and peace, with many attributing calming and balancing properties to the stone. In some traditions, turquoise represents wisdom, truth, and spiritual expansion, making it a popular choice for those seeking harmony and positive energy in their lives.

Discover how to wear threader earrings in stylish and unique ways. Learn 9 chic ways to elevate your style with these versatile earring trends for any occasion.
Read More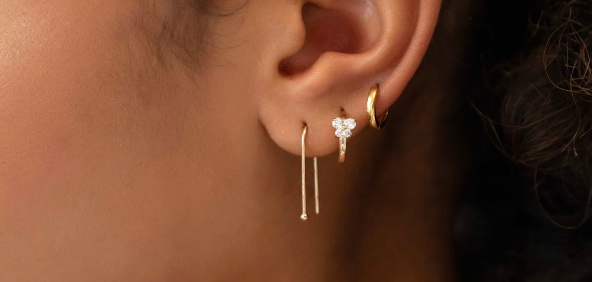
Discover what are threader earrings, their advantages, how to wear them, and expert tips for choosing the perfect pair. Elevate your accessory game today.
Read More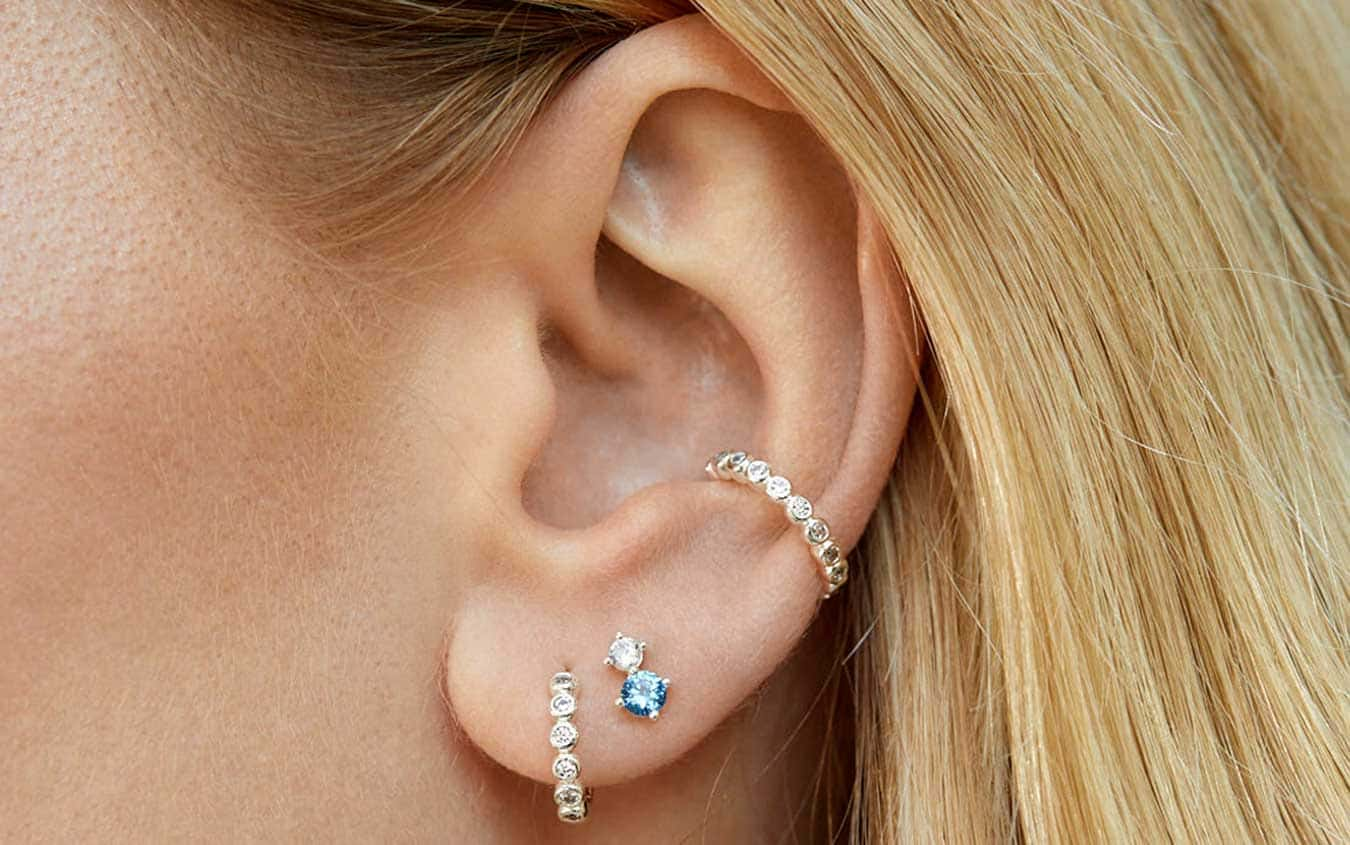
Explore what are huggie earrings, their benefits, styling tips, and more in our comprehensive guide. Choose your favorite pair for lasting elegance everywhere.
Read More
Learn how to make drop earrings with our DIY guide, including materials, steps and creative design inspirations. Perfect for beginners and jewelry enthusiasts!
Read More