


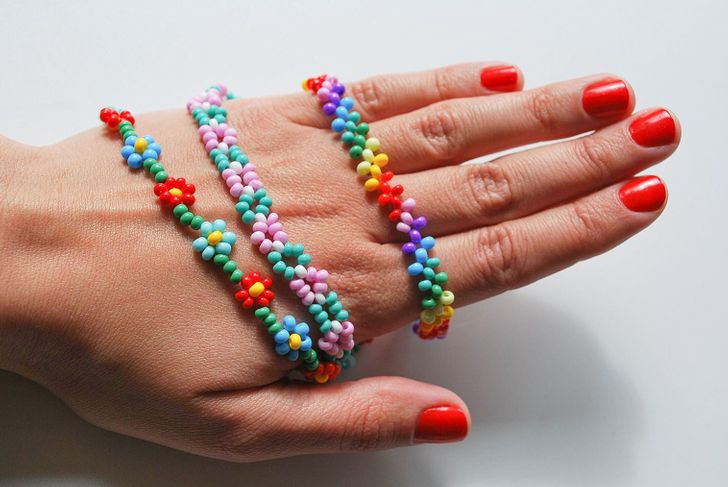
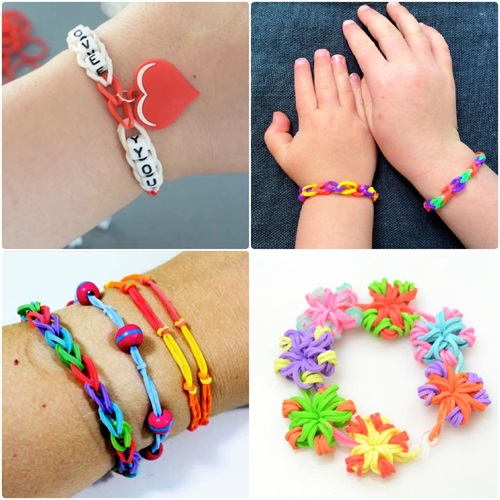
Rubber band bracelets have become a popular accessory in recent years, allowing for endless design possibilities. By incorporating beads into the weaving process, you can elevate the look and add a unique personal touch to your creation. Have you ever wanted to learn how to make a rubber band bracelet with beads? Throughout this article, we will guide you through the necessary materials, demonstrate the step-by-step instructions, and provide tips to help you personalize your bracelet as per your preference. Whether you're a beginner or an experienced crafter, you'll be able to follow along and craft your own beautiful rubber band and bead bracelet.
Make sure to get your hands on the following things to know how to put beads on rubber band bracelets.
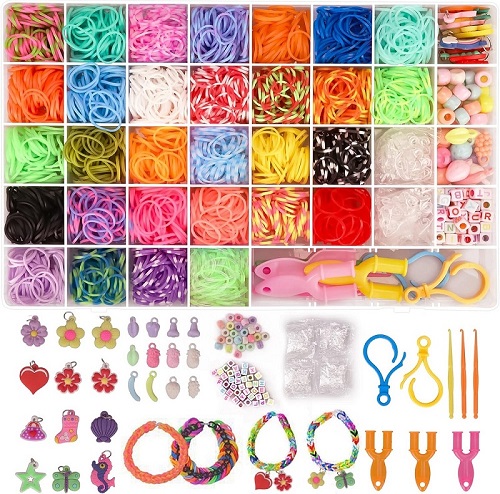
If you wish to get all the essential material in one place, then this UUEMB Rubber Band Bracelet Kit is the best option to try out. The UUEMB Rubber Band Bracelet Kit is the ideal starter set for anyone looking to dive into the world of bracelet making. This comprehensive kit includes over 3,000 colorful rubber bands, a variety of charming beads, and all the necessary tools to create unique, personalized bracelets. Perfect for beginners and seasoned crafters alike, it offers endless creative possibilities and hours of fun, making it an excellent choice for gifts or crafting parties.
Now that you have essential materials in place, follow the below steps to learn how to make a rubber band bead bracelet.
Step 1 : Begin by selecting rubber bands in colors that complement your beads. Plastic beads work best for this project as they are lightweight and easy to thread. Select beads in different sizes and colors to create a visually appealing bracelet.
Step 2: If your beads are loose, you will need to use a bead organizer or a small container to keep them organized and prevent them from rolling away. This will make it easier to select the beads as you work on your bracelet.
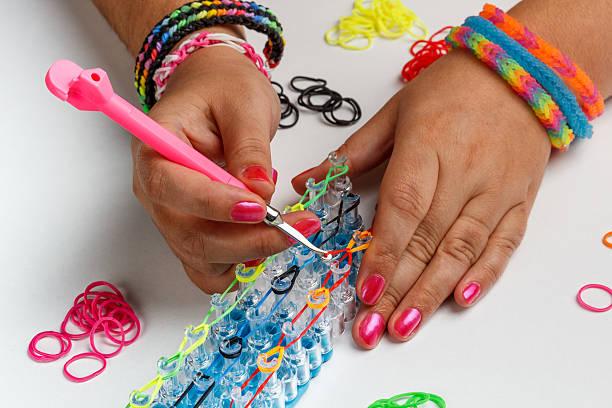
Step 3: Take one rubber band and twist it into an "8" shape. Fold it in half and slide it onto your middle finger. This will act as the base for your bracelet.
Step 4: Next, select another rubber band and slide it through the folded part of the first rubber band, creating a loop. Pull the ends of the second rubber band through the loop to secure it. Adjust the tension of the loop by pulling on the ends of the second rubber band, making sure it is snug but not too tight.
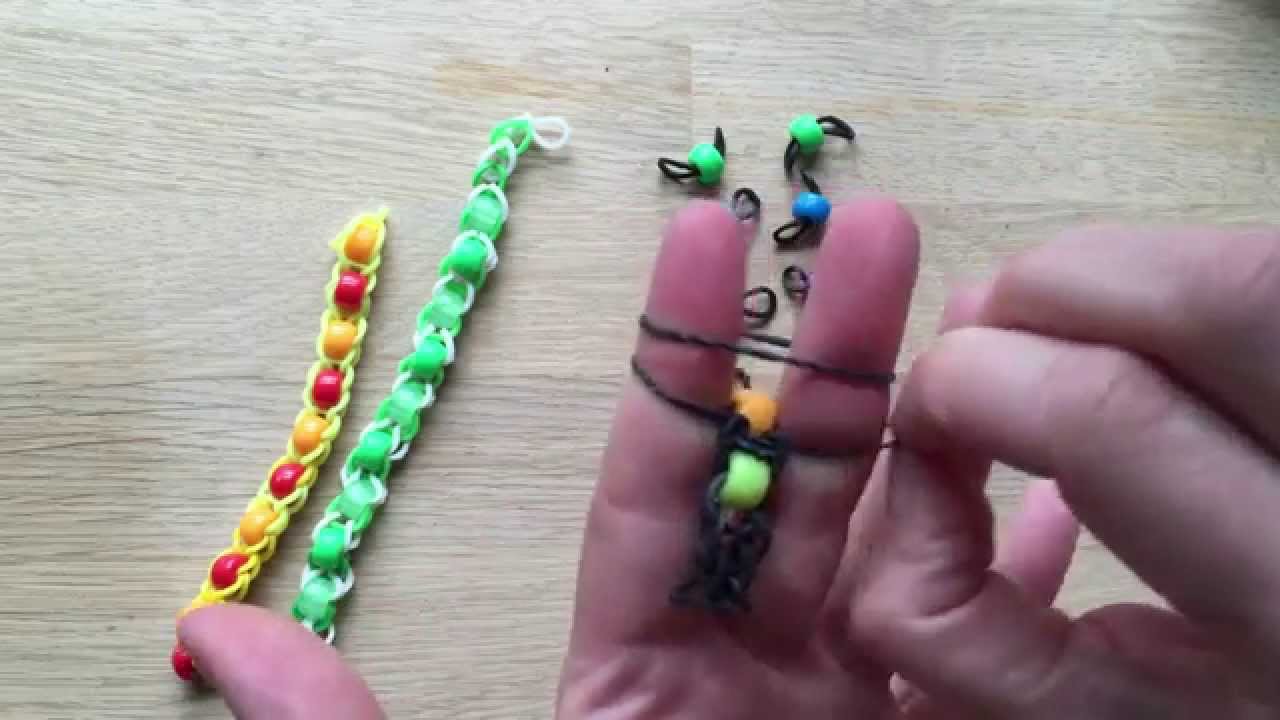
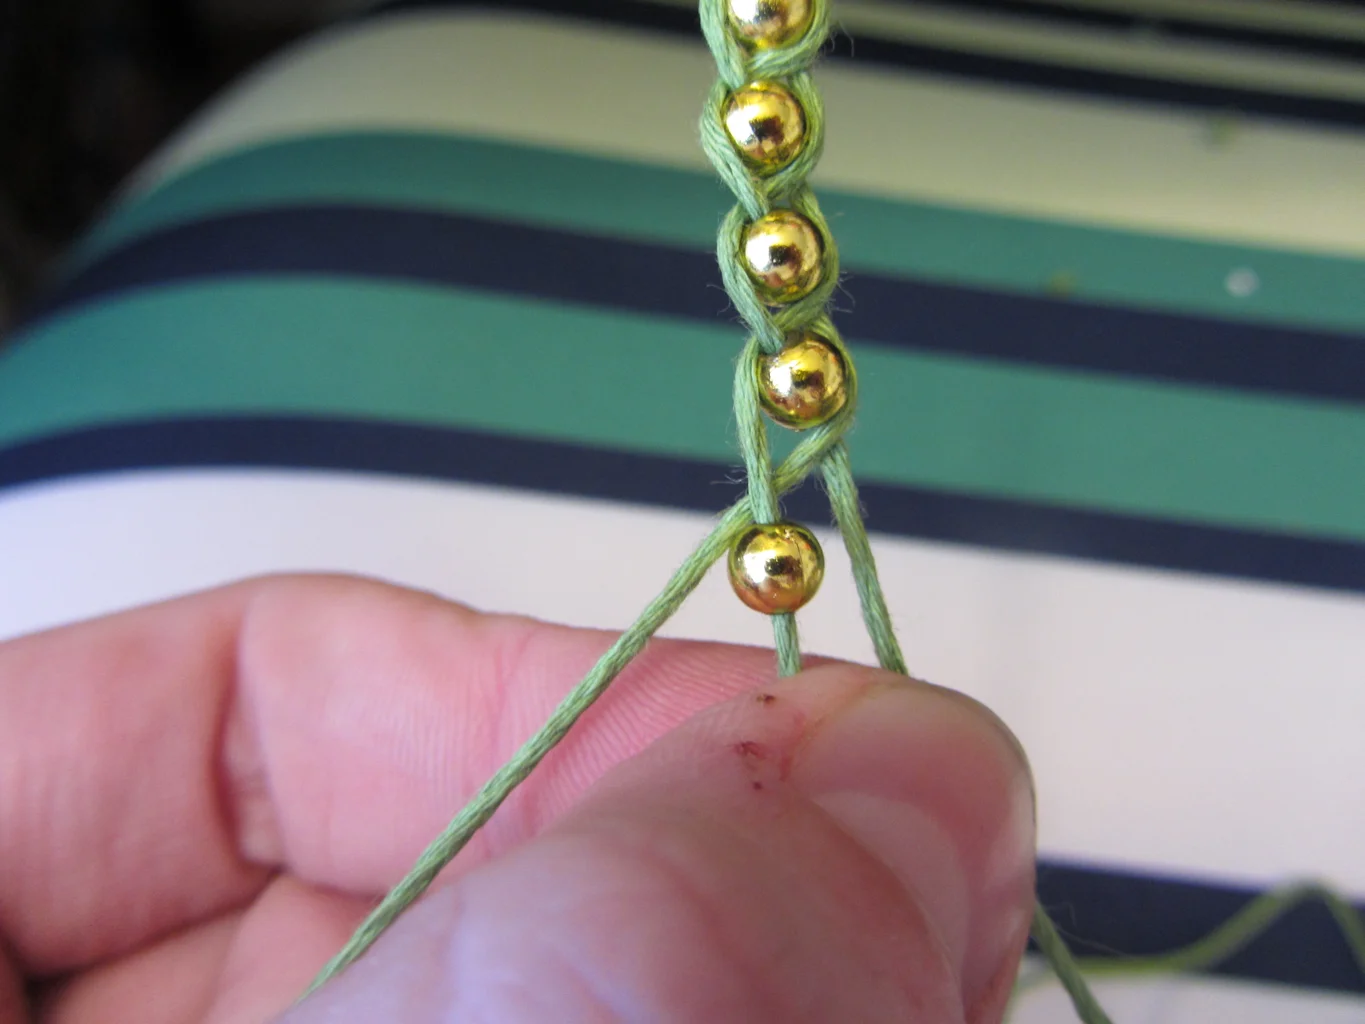
Step 5: Next, add beads to your bracelet. Thread a bead onto your beading needle. Insert the needle through the upper part of the loop formed by the rubber bands. Slide the bead down onto the loop.
Step 6: Repeat this process, adding as many beads as you desire. You can alternate colors and sizes to create different patterns and designs.
Step 7: To add more beads, repeat the above steps. Take another rubber band, twist it into an "8" shape, and fold it in half. Slide it through the last bead added to the bracelet, creating a loop. Pull the ends of the rubber band through the loop to secure it. Adjust the tension as necessary. Repeat the steps until you reach the desired length for your bracelet.
Step 8: Once you have reached the desired length, carefully remove the bracelet from your fingers. Take the last rubber band you added and slide it through the end bead on the other side of the bracelet to connect both ends.
Step 9: Pull the ends of this rubber band through the loop to secure it. Trim any excess rubber band, leaving a small tail. At this point, you are almost done learning how to make a bead bracelet with rubber bands.
Step 10: To secure the bracelet and prevent it from coming undone, attach a clip or c-clip to the last rubber band loop. If you don't have a clip, you can tie the ends of the rubber band together with a secure knot.
Step 11: After knowing how to add beads to rubber band bracelets, feel free to play around with different color combinations and bead patterns to make each bracelet unique.
Now that you know how to make bracelets out of rubber bands and beads, follow the below steps to customize and personalize your bracelets.
Choose Color Themes: Select beads and rubber bands that reflect seasonal colors, your favorite sports team, or colors that complement your wardrobe. For example, use pastel colors for spring, or vibrant red and green for a festive holiday look.
Vary Bead Sizes and Shapes: Mix different sizes and shapes of beads to add interest and texture to your bracelet. Combine small round beads with larger geometric shapes like cubes or triangles to create a visually appealing pattern.
Incorporate Charms: Integrate metal or plastic charms between the beads. Choose charms that represent your hobbies, initials, or symbols that have personal significance. This not only personalizes your bracelet but also makes it a great conversation starter.
Create Multi-Strand Bracelets: Use a loom to make multi-layered or wider bracelets, threading beads into different layers for a more complex and detailed accessory.
Use Specialty Beads: Opt for beads with unique finishes such as metallic, glow-in-the-dark, or translucent beads to make your rubber band bracelet with beads stand out. These specialty beads can add an unexpected element to your design.
Pattern Play: Plan out patterns before you start weaving. Alternate between solid-colored bands and those with beads, or create specific sequences to establish a rhythm and pattern in your bracelet's design.
In conclusion, mastering how to make a rubber band bracelet with beads is a delightful and creative endeavor that anyone can undertake. This guide provides you with the necessary tools and steps to craft a unique piece of jewelry that reflects your personal style. Whether you choose to follow our basic model or explore various customization options, each bracelet you create will be a testament to your creativity and craftsmanship. Continue to experiment with different beads and rubber band colors to produce distinctive designs that stand out. Embrace this fun, artistic activity to enhance your crafting skills and add a special touch to your accessory collection.
Yes, you can make a rubber band bracelet without a loom by using your fingers to loop and stretch the rubber bands into chains, or by using a simple DIY setup with pegs or clips to hold the bands as you weave them together.
The number of beads needed for a rubber band bracelet depends on the design and wrist size, but generally, around 20 to 30 beads are sufficient for a full bracelet interspersed with rubber bands.
To care for a rubber band bracelet with beads, avoid exposing it to oils, water, or harsh chemicals. Store it away from direct sunlight and heat, and gently clean with a dry cloth if needed.
how to make braided bead bracelets with this step-by-step guide. Perfect for beginners seeking a stylish DIY jewelry project!
Read More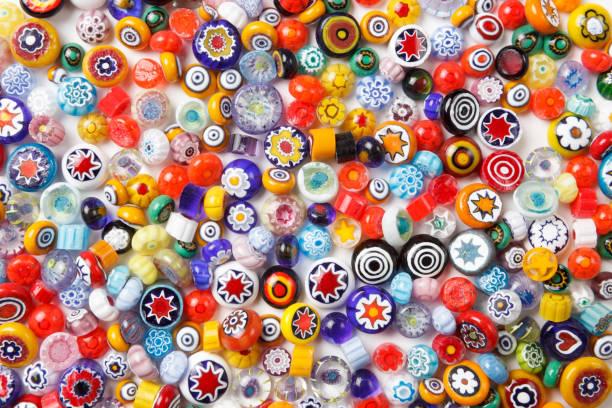
Discover the best types of beads for bracelets and enhance your jewelry making skills with our expert guide!
Read More
Learn how to make a bead cuff bracelet with this guide. Find essential materials, detailed instructions, and customization tips for a unique accessory.
Read More
Explore types, top picks, and factors to consider in choosing the best beaded bracelets. Find the perfect accessory that suits your unique style and needs.
Read More