


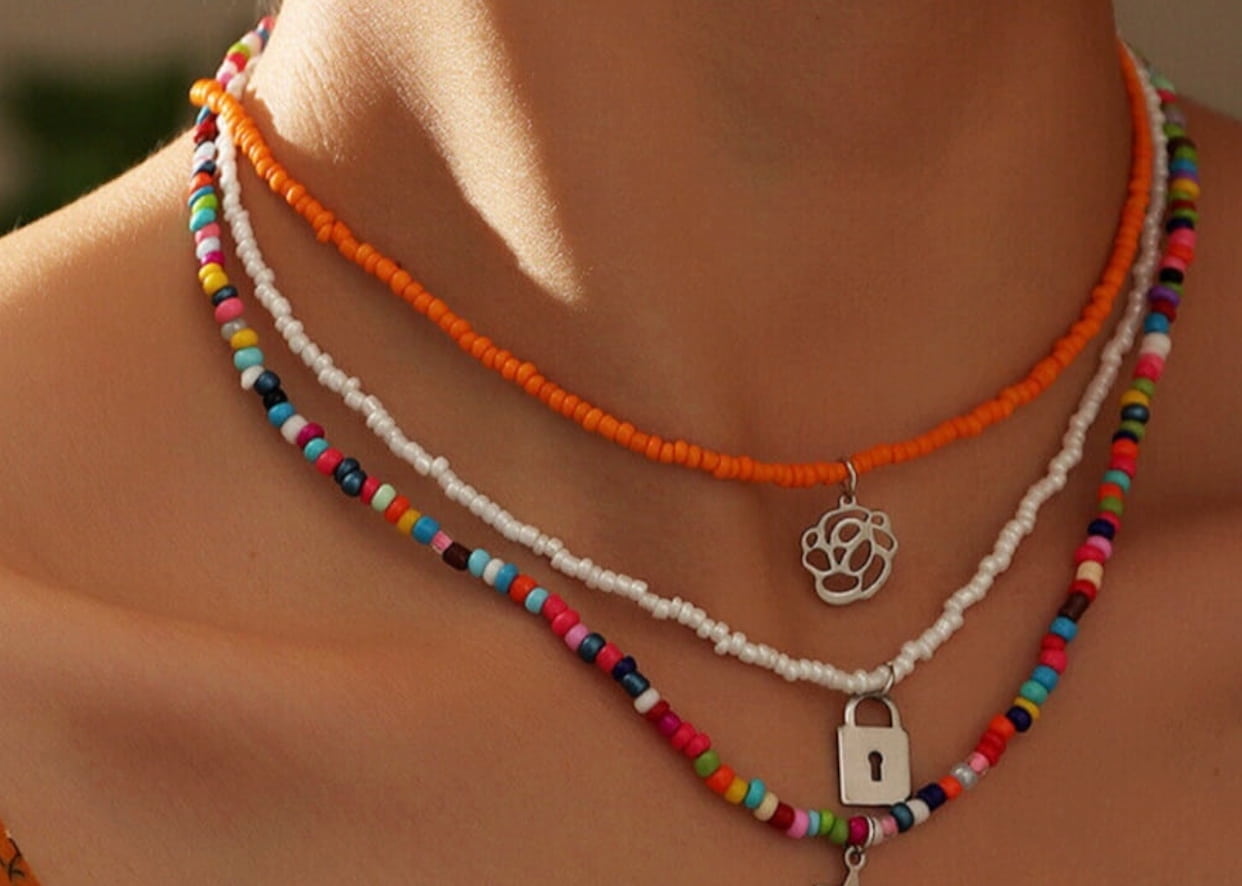
Beaded necklaces have stood the test of time due to their versatility and the personalized touch they allow. From elegant and simple designs to intricate and bold creations, these necklaces allow you to express your personal style and add a unique touch to any outfit. If you're a beginner eager to dive into this creative world of beaded necklace making, you're in the right place.
In this comprehensive guide, we'll explore everything you need to know about how to make a beaded necklace. From choosing the right beads and stringing materials to following step-by-step instructions and mastering other essential techniques, we will equip you with all the knowledge to create beautiful, personalized necklaces.
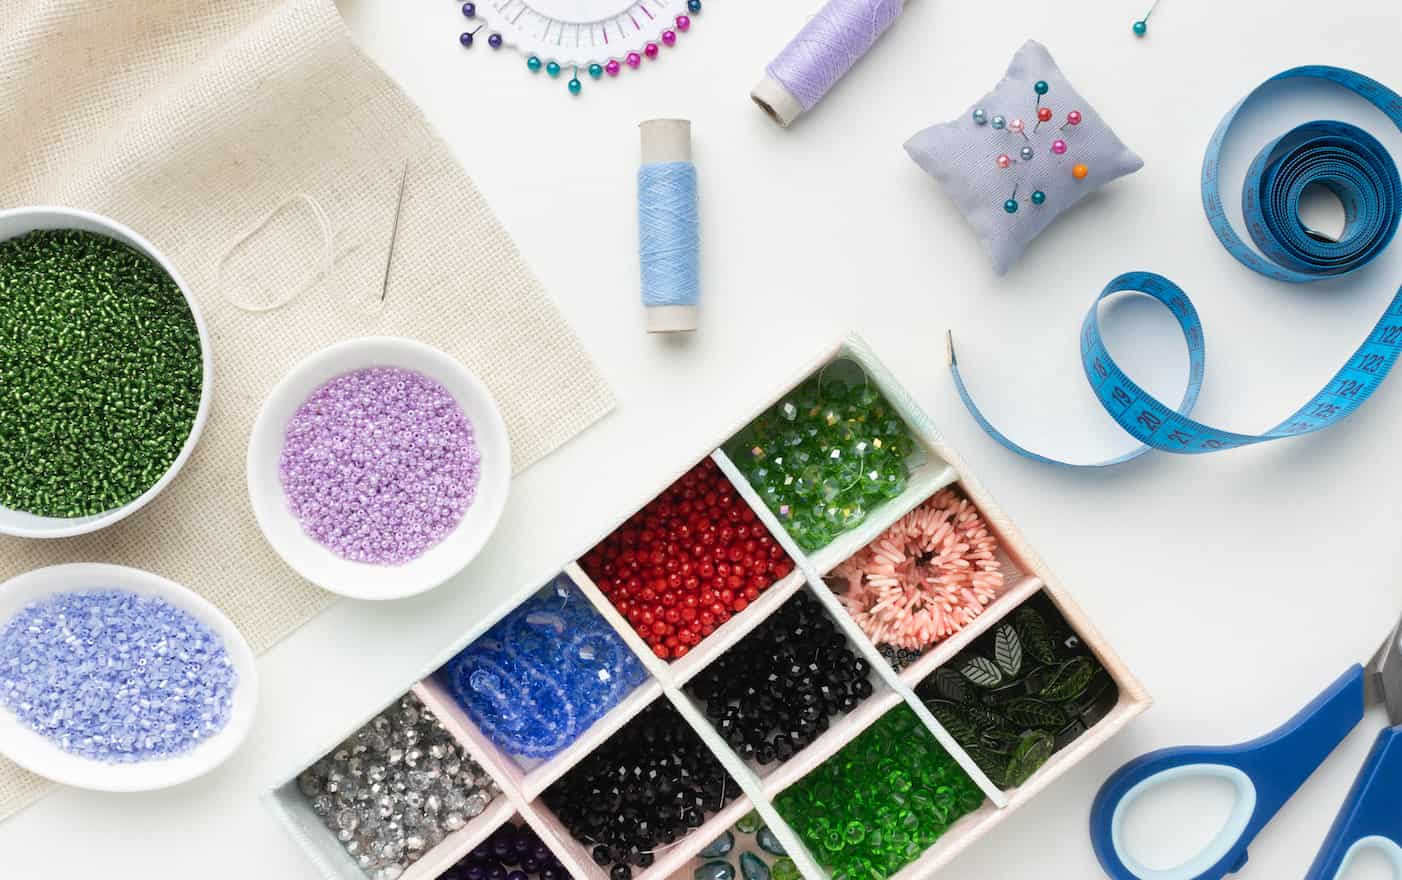
Beaded necklace making is a versatile craft that allows you to create personalized jewelry using various beads and techniques. It's an accessible hobby for beginners and offers enough complexity to hold the interest of experienced crafters. The basic materials required include beads, thread or wire, a clasp, and simple tools like pliers and cutters.
When starting out, selecting the right materials is crucial. Beads come in diverse shapes, sizes, and materials, including glass, plastic, wood, and gemstones. The choice of stringing material—be it flexible beading wire, nylon thread, or elastic—depends on the desired flexibility and durability of the necklace. Additionally, a good clasp will secure the necklace and can be a decorative element as well.
As you progress, you'll learn various techniques for stringing and securing beads, adjusting patterns, and finishing necklaces professionally. Each method offers a different aesthetic and strength, suitable for various styles and occasions. Mastering these skills can turn a simple string of beads into a stunning piece of jewelry, reflecting your personal style and creativity.

Before diving into the world of beads necklace making, it's essential to have a clear understanding of the basics. This knowledge will not only enhance your crafting experience but also ensure that the end result is as beautiful as you envision it to be.
Creating an appealing beaded necklace starts with mastering bead patterns and color combinations. Consider the impact of colors: warm colors can evoke excitement and energy, while cool colors tend to be calming and soothing. Use a color wheel to help select colors that complement each other well. For example, analogous colors (those next to each other on the color wheel) create a harmonious look, while complementary colors (opposite each other on the wheel) offer a vibrant contrast.
Bead patterns can range from simple sequences that repeat throughout the necklace to complex arrangements that include variations in size and color for texture and depth. Examples of popular patterns include alternating colors, graduated patterns where the size of the beads decreases from the center, and random placements for a bohemian look. Understanding these elements can significantly enhance your skills.
The choice of stringing material can greatly affect the look and durability of your necklace. Here are a few popular options:
Each material requires different techniques and considerations. For instance, beading wire may require crimp beads to secure the ends, while nylon thread might need a dab of glue for a firm finish.
Charms and pendants add personality and focal points to your DIY beaded necklace. When selecting charms or focal beads, consider their weight and how they will hang on the final piece. Here's how to integrate these elements effectively:
There are several beading techniques that can enhance your necklace's durability and appearance:
Successful beaded necklace making projects start with good design planning. Sketch out your design, considering length, bead size, and overall style. Here are a few tips:
Before we delve into the steps on how to make necklaces with beads, having the right materials and tools at your disposal is crucial for ensuring a smooth and enjoyable crafting experience. Here's a comprehensive list of the essentials you'll need:
With all the tools and bead necklace kit at hand, creating your own beaded necklace is not only a fulfilling endeavor but also a great way to craft a personalized accessory or a thoughtful gift. Here are step-by-step instructions on how to bead a necklace:
Step 1: Design Your Necklace
Lay out your beads on a bead board to design the pattern of your necklace. This step is crucial as it allows you to visualize before stringing, ensuring the pattern is balanced and meets your expectations. Experiment with different colors and sizes to create a pleasing, harmonious design.
Step 2: Cut the Stringing Material
Measure a length of stringing material that is at least 4-6 inches longer than your intended necklace length. This extra length allows for adjustments and adding the clasp.
Step 3: Attach the Clasp
Before you start to string a bead necklace, secure one end of your stringing material with a crimp bead. Slide one part of the clasp onto the string, then loop the string back through the crimp bead and squeeze it tightly with pliers to secure it. Trim any excess from the short end of the stringing material.
Step 4: String the Beads
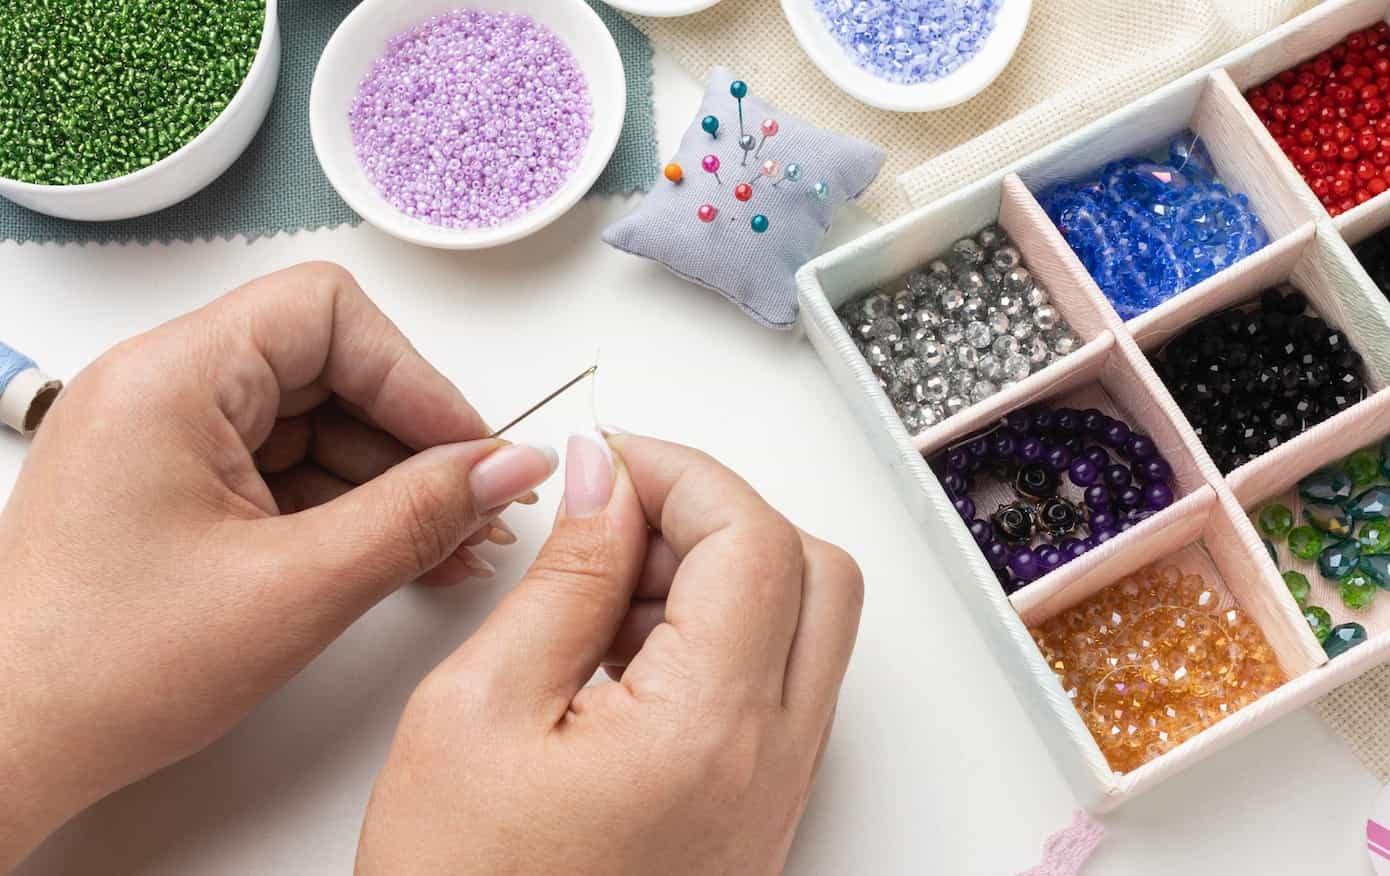
Now, begin stringing your beads according to the layout you've planned. Keep the tension consistent but not too tight, as this could make the necklace stiff. If you're working with beads that have small holes, a thin needle can help pull the string through.
Step 5: Finish with the Clasp
After stringing all your beads, attach the other part of the clasp using another crimp bead. Ensure that the end bead is snug against the crimp bead to prevent gaps and give the necklace a professional finish.
Step 6: Test the Strength
Gently pull on the necklace to make sure everything is secure. It's important to ensure the crimp beads are tightly clamped and that the necklace will hold under normal usage conditions.
Step 7: Final Adjustments
Put on your necklace and check in a mirror how it falls. Sometimes, seeing it on can inspire last-minute adjustments to its length or bead placement.
Once you've mastered the basics of how to make a beaded necklace, exploring additional techniques and tips can elevate your crafting skills and enhance the uniqueness of your designs. Here are some advanced strategies and helpful hints to keep in mind during your beads necklace making journey.
After the main construction of your DIY beaded necklace, choosing the right closure technique and finishing touches are crucial for both the necklace's functionality and its aesthetic. Here's how to expertly complete your beaded necklace:
1.Choosing the Right Clasp
The choice of clasp is essential to make the necklace functional and stylish. There are several types of clasps available:
2.Securing the Clasp
To attach your chosen clasp, thread a crimp bead onto the end of your stringing material, add the clasp, and then loop the string back through the crimp bead and several adjacent beads. Pull it tight to ensure there are no loose ends and then secure the crimp bead with pliers. This technique helps to make necklaces with beads that are durable and professionally finished.
3.Adding a Safety Chain
For extra security and a decorative touch, consider adding a safety chain. This small chain connects both ends of the necklace and provides a backup closure.
Taking proper care of your beaded necklaces ensures they last long and continue to look their best. Here's how to maintain your handcrafted jewelry:
1.Regular Cleaning
Depending on the materials used in your beaded necklace, regular cleaning might vary:
2.Storage Solutions
Store your necklaces in a dry place away from direct sunlight which can fade the beads. Hanging them vertically is preferable as it prevents tangling and stress on the stringing material. Soft lined jewelry boxes or individual pouches can protect them from scratches.
3.Periodic Inspection
Regularly inspect your necklace for any signs of wear or damage. Checking the clasp and the stringing material for wear and tear can prevent losing your necklace. If the string starts to fray or the clasp becomes loose, it's time for a repair.
Mastering the art of how to make a beaded necklace allows you to create custom, unique pieces that reflect personal taste and style. Throughout this guide, we've covered everything on how to make beaded necklaces, from the basics of bead selection and necklace design to the intricacies of stitching and finishing techniques. Armed with these skills and knowledge, you're now ready to turn colorful beads and strings into personal statements and treasured gifts. Keep experimenting with different designs and techniques and take care of your creations so they continue to bring joy and style for years to come.
To fasten a beaded necklace, select a suitable clasp like a lobster, toggle, or magnetic clasp based on the necklace's style and weight. Attach one part of the clasp to each end of the necklace using a crimp bead or knot, depending on your material. To wear, simply connect the ends of the clasp, ensuring they are securely fastened to prevent the necklace from undoing.
Beaded necklaces can be made using a variety of materials including glass, plastic, wood, metal, stone, and gemstones for the beads themselves. For stringing these beads, materials such as nylon, silk threads, wire, or elastic cords are commonly used, each offering different durability and flexibility. Additionally, clasps and closures used in beaded necklaces can vary, with options like lobster claws, toggles, or magnetic clasps providing secure and decorative ways to fasten the necklace.
The best wire for making beaded necklaces is typically a flexible beading wire, such as those made from stainless steel coated with nylon. This type of wire is durable, resistant to kinking, and available in various thicknesses to accommodate different bead sizes. For a professional finish and maximum durability, select a wire thickness that suits the hole size and weight of your beads.
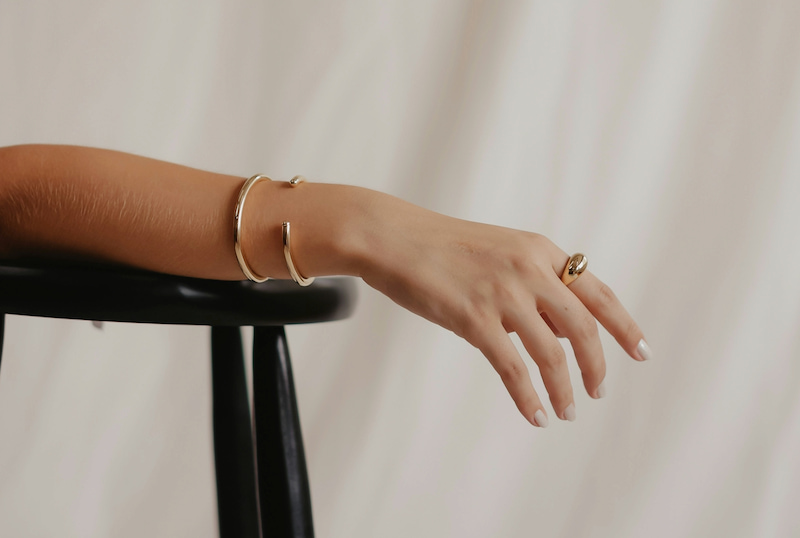
Discover the top 20 popular bangle bracelets in 2024 with our guide! From minimalism to intricate designs, find the perfect bangle to enhance your style.
Read More
Explore the difference of bangle vs bracelet here. Learn their history, distinct features, types, and tips on choosing the perfect piece for any occasion.
Read More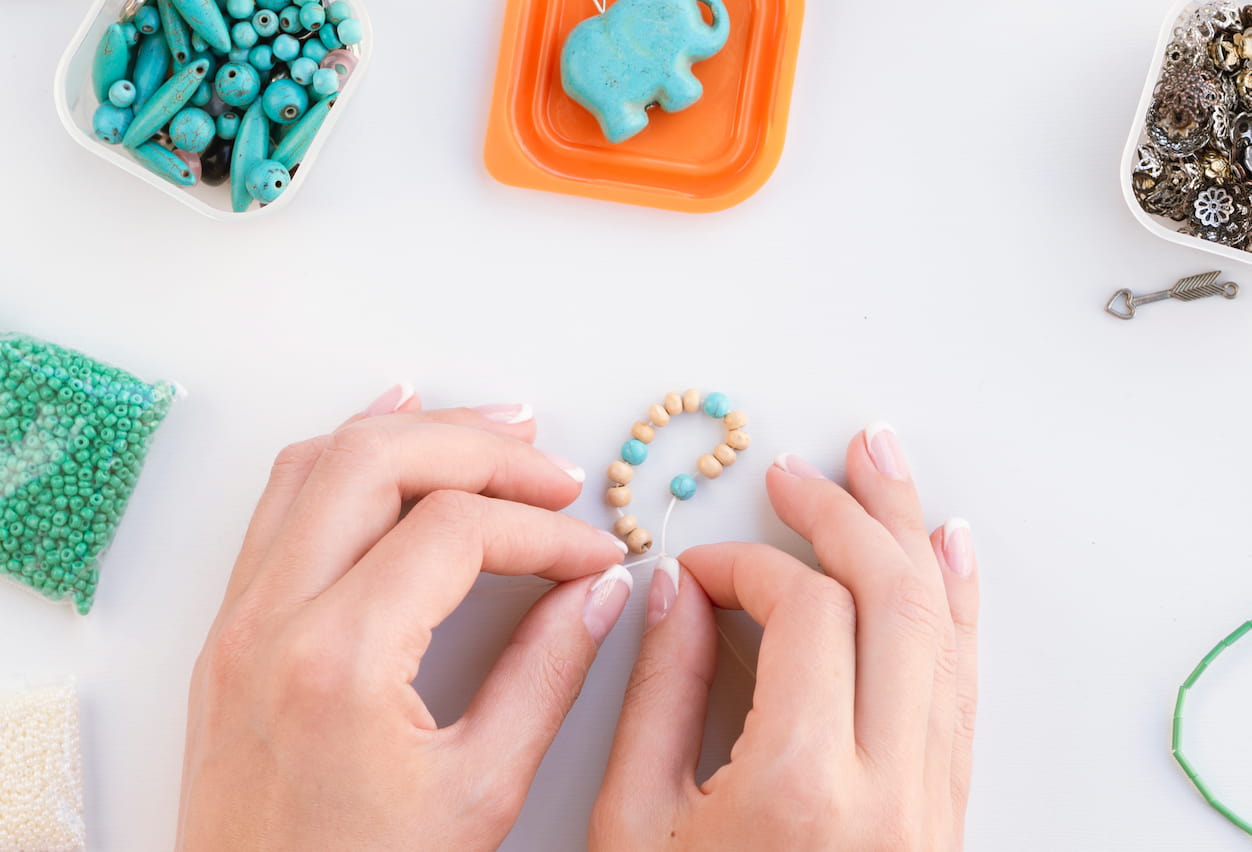
Learn how to tie a clay bead bracelet with our step-by-step guide. Explore materials, popular designs, and expert tips to enhance your crafting experience.
Read More
Wondering "What color jewelry should I wear?" Learn how to select jewelry color based on your skin undertone, outfit choice, and seasonal trends here.
Read More