


Flat back earrings have become increasingly popular due to their comfort and sleek appearance, especially for piercings in tight spots like the cartilage. However, when it comes time to remove them, the process can be trickier than with traditional post back earrings. If you're new to wearing them, understanding how to remove flat back earrings properly is essential to prevent injury and preserve the integrity of both your earrings and your piercings.
In this guide, we'll walk you through everything from the preparations before removal to the methods on how to take off flat back earrings of both push-pin and screw-in styles. Follow our steps to remove your flat back earrings safely and make it a hassle-free part of your routine.
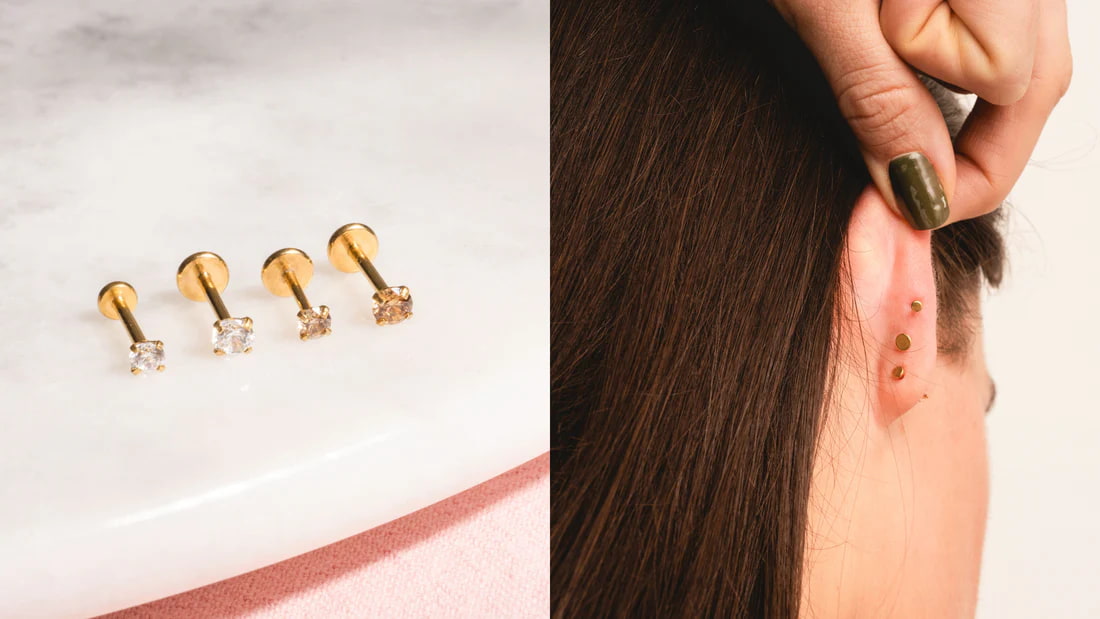
Flat back earrings are exactly what they sound like—stud earrings with a flat backing, often a round disc, that rests flush against your skin. This design eliminates jagged or rounded parts that can easily get caught on clothing or hair or poke into the skin, making them a popular choice for both comfort and style.
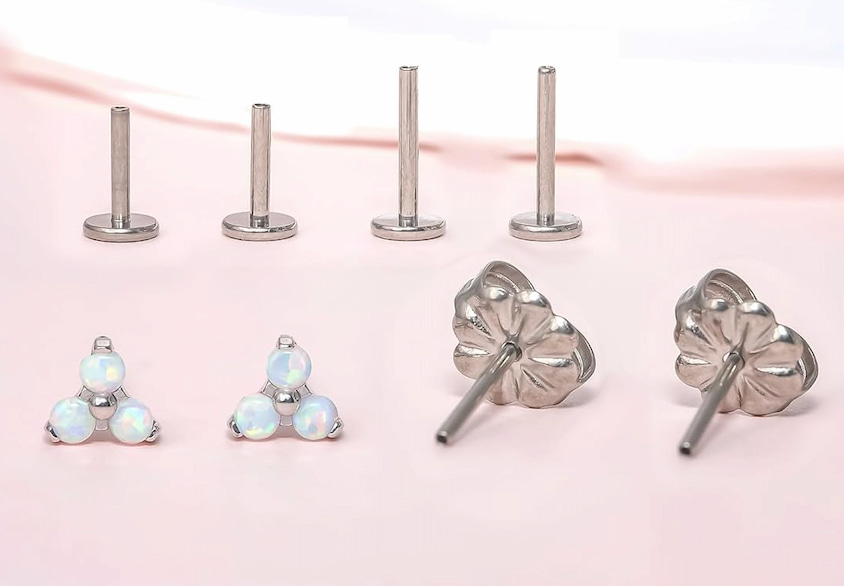
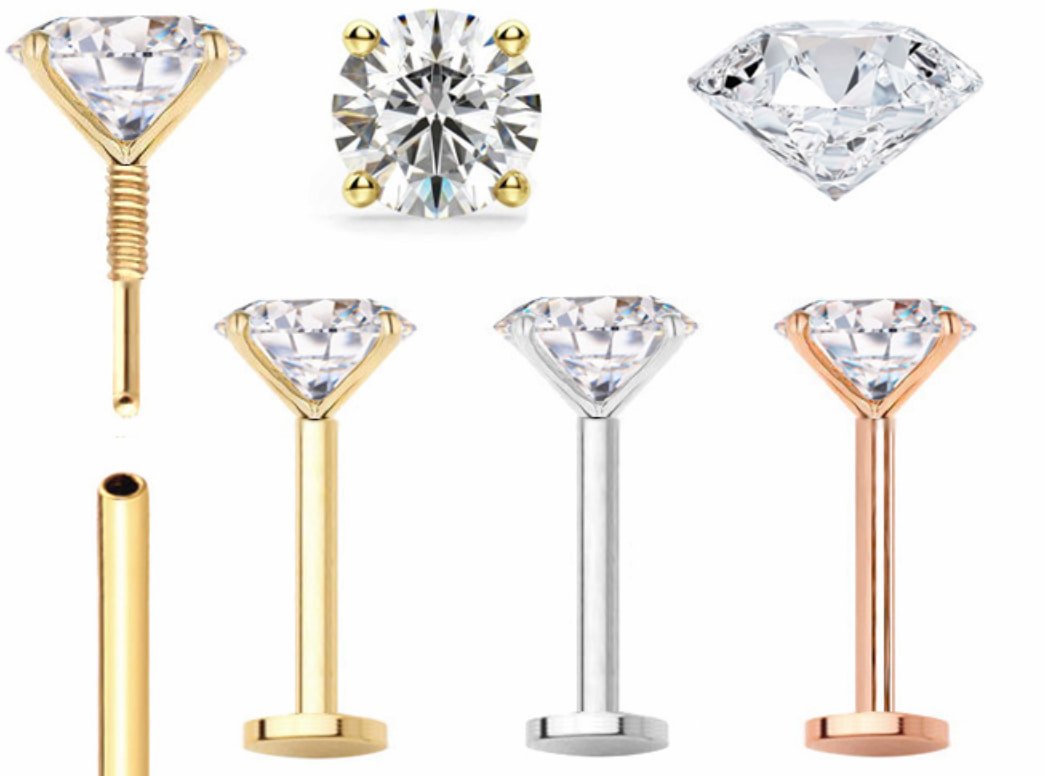
There are two main types of flat back earrings: push-pin style and screw-in style.
Before we delve into how to take out flat back earrings, it's important to be well-prepared to ensure a smooth and safe process. Here are some preparation essential steps to follow:
Removing flat back earrings can be simple with the right techniques. Here's how to take off earrings with flat back safely, including both push-pin and screw-in styles, as well as tips for when they're stuck.
1.Hold the decorative front piece with one hand.
2,Hold the flat back post with the other hand.
3.Turn the front piece counterclockwise to unscrew it from the post.
4.Be gentle to avoid discomfort.
5.If the earring is tight, wearing latex gloves can help you get a better grip and make it easier to unscrew.

1.Hold the decorative front piece with one hand.
2.Hold the back post with the other hand.
3.Pull them apart gently.
4.If there's resistance, twist the front piece slightly back and forth while pulling. This will help release the tension and separate the pieces. It might take a bit of force, but it gets easier with practice.

If your flat back earrings are stuck, try these steps:
Now that you know how to get flat back earrings out, it's crucial to clean both your ears and the earrings after the removal to avoid infection or irritation. Here's how to do the cleaning afterwards:
1.Gather Your Supplies: You'll need a few basic items: cotton swabs or balls, rubbing alcohol or hydrogen peroxide, mild soap, and clean water. These will help you clean your ears and earrings effectively.
2.Clean Your Earlobes: After you take off flat back earrings, gently clean the area around your piercings. Dip a cotton swab or ball in rubbing alcohol or hydrogen peroxide and carefully wipe around the piercing hole. This will help to disinfect the area and prevent any potential infections. Make sure to cover all sides of the piercing.
3.Wash Your Earrings: Cleaning your earrings is just as important as cleaning your ears. You can wash your flat back earrings with mild soap and warm water. Submerge the earrings in the soapy water and gently brush them with a soft-bristled toothbrush. Focus on areas where dirt and skin oils can accumulate, such as the crevices around gemstones or decorative patterns. Rinse the earrings under warm running water to remove any soap residue.
4.Dry Everything Properly: After cleaning, dry your ears and earrings completely. Use a clean, soft towel to pat your earlobes dry and let your earrings air dry on a clean surface. Ensuring everything is dry helps prevent bacterial growth.
5.Store Your Earrings Safely: If you're not putting your earrings back in right away, store them in a clean, dry place. Use an earring box or a small, sealed container to keep them free from dust and bacteria.
Learning how to remove flat back earrings properly is essential for maintaining healthy piercings and avoiding discomfort. By following the steps outlined—from preparing your workspace and your ears, to the actual removal and subsequent cleaning—you can ensure that your earring change is as smooth and hygienic as possible. Remember, the key is to remain gentle and take your time to avoid any unnecessary strain on your piercings. With these tips, you'll be able to handle your flat back earrings with confidence and care, keeping both your jewelry and your piercings in pristine condition.
Flat back earrings may be difficult to remove if they are too tight or if there is buildup around the post. Cleaning the area with rubbing alcohol and using gloves for a better grip can help. If they still won't come out, seek assistance from a professional piercer.
It's best to remove and clean your flat back earrings every few weeks. Regular cleaning helps prevent infections and keeps both your earrings and piercings in good condition.
If you can't remove your flat back earrings, try cleaning the area and using lubrication like petroleum jelly around the post. If they still don't come out, visit a professional piercer for safe removal.
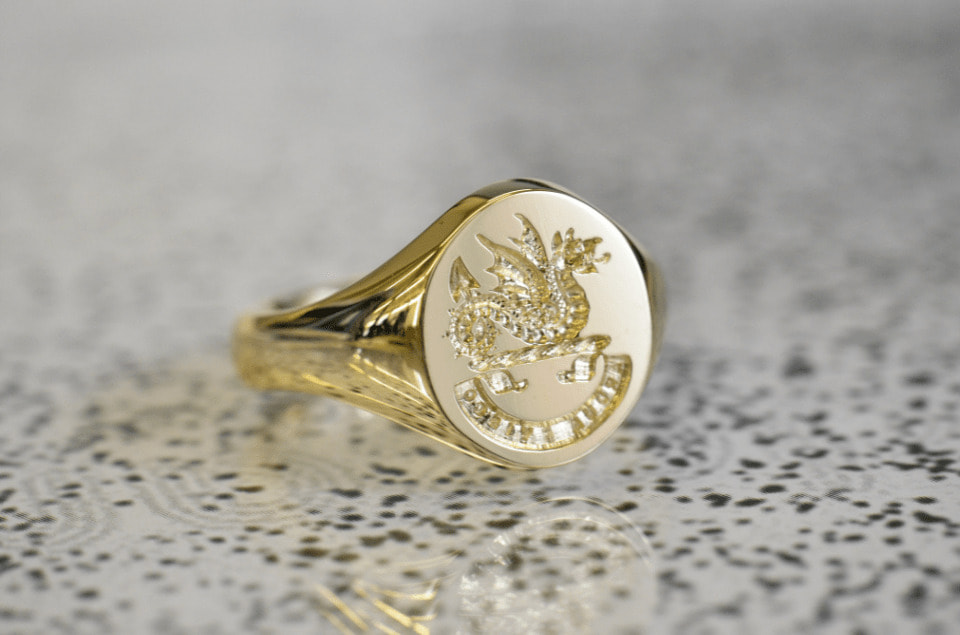
What is a signet ring? Learn everything about this timeless jewelry here, from its history and symbolism to tips on choosing and wearing these iconic pieces.
Read More
Learn how to make pearl necklace with our guide. Discover the materials and tools you need, how to design it, and step-by-step instructions to stringing pearls.
Read More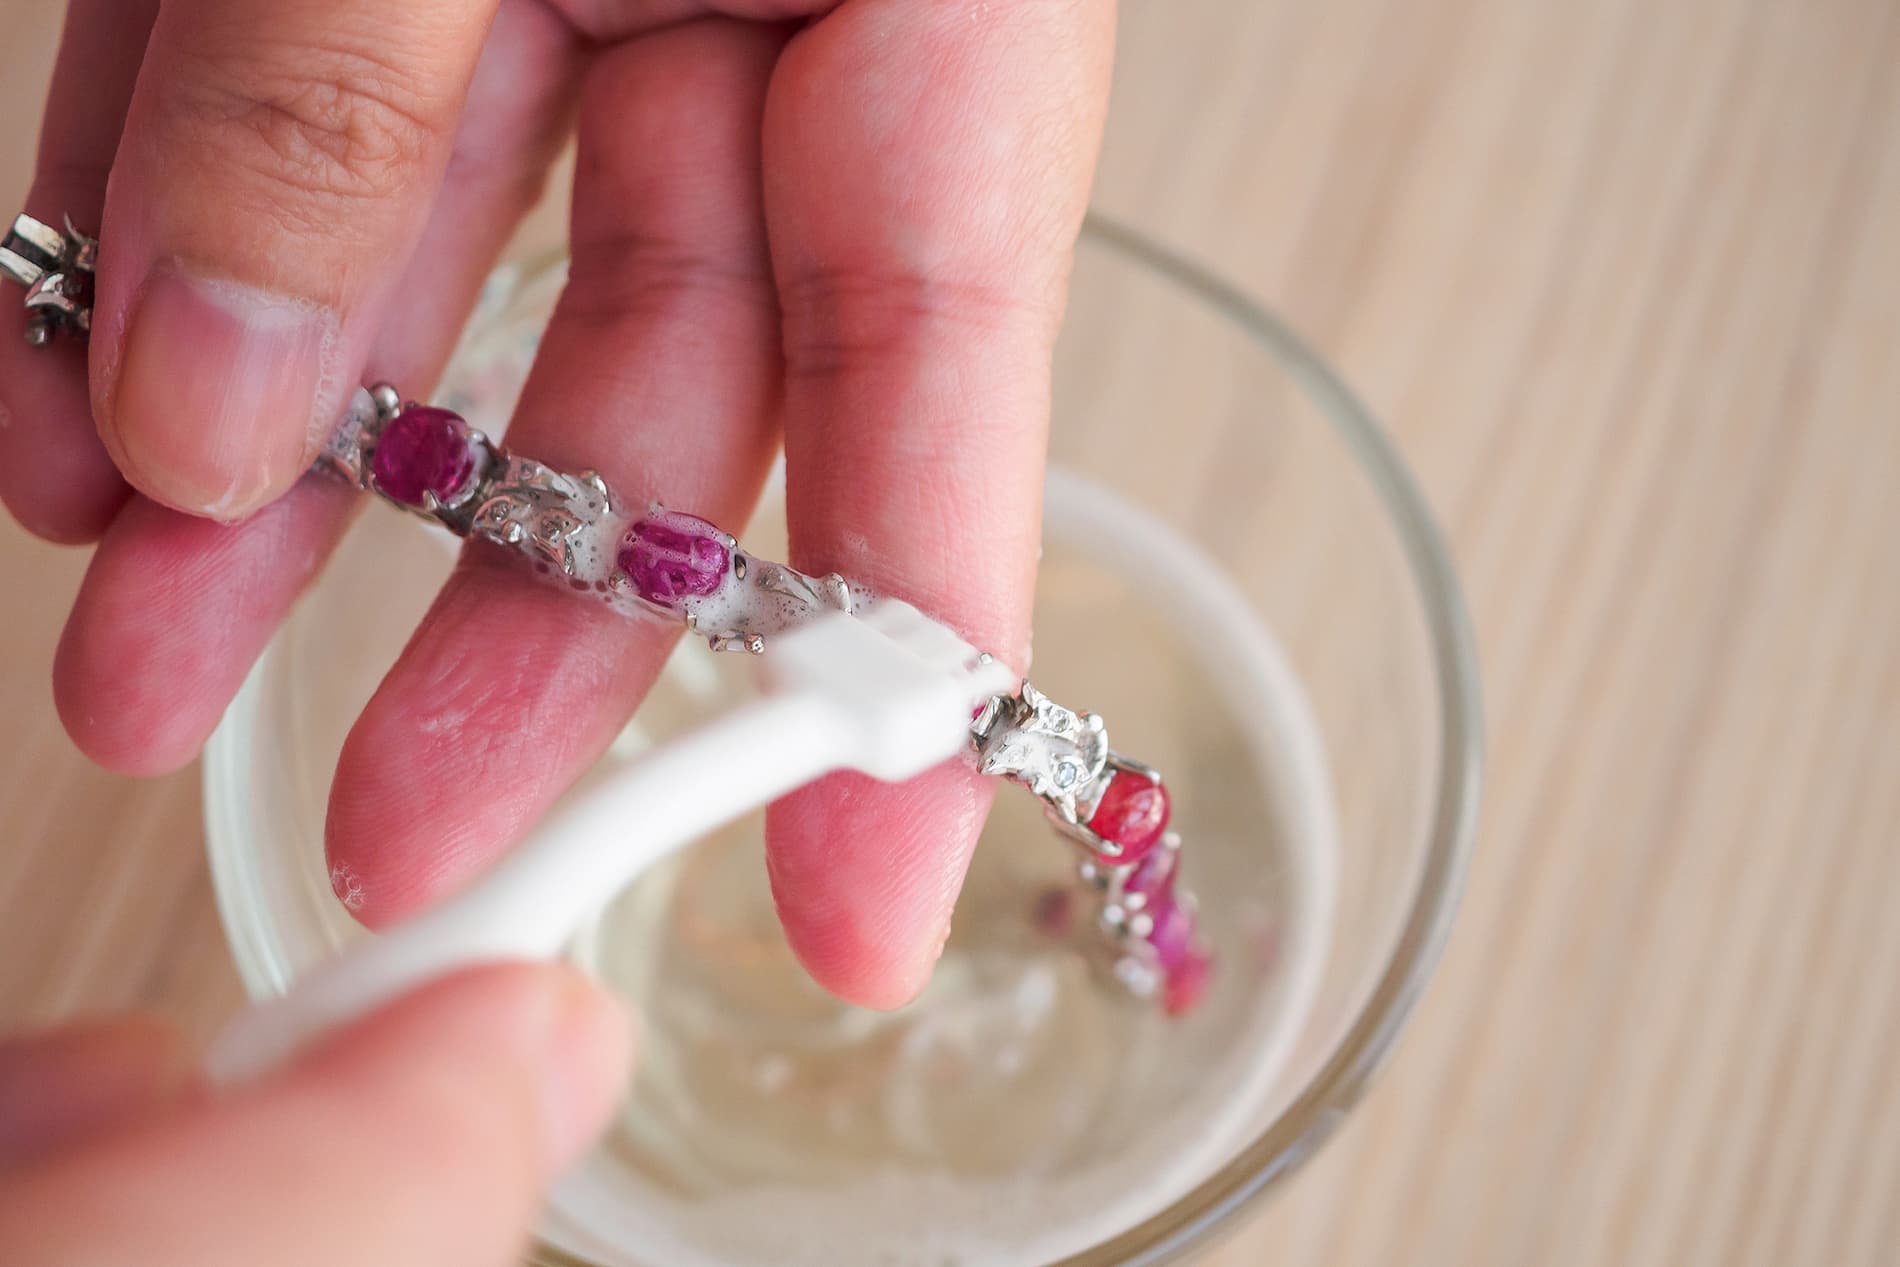
Learn how to clean jewelry with our guide. Discover the ideal frequency, detailed cleaning steps for different types of jewelry, and how to prevent tarnish.
Read More
How do you clean gold jewelry? Learn how often to clean, what materials to use, step-by-step cleaning instructions, and maintenance tips to restore its shine.
Read More