There's something undeniably special about wearing a piece of jewelry you've crafted yourself. Imagine slipping on a ring where the warmth of wood meets the sleekness of metal—your own creation. If the idea of how to make inlay rings has ever crossed your mind, this guide is just what you need. This guide will give a detailed explanation of the materials needed and instructions for novices and professionals to make a wooden ring with inlay. Gather your tools and follow along to craft a ring that's truly unique to you!

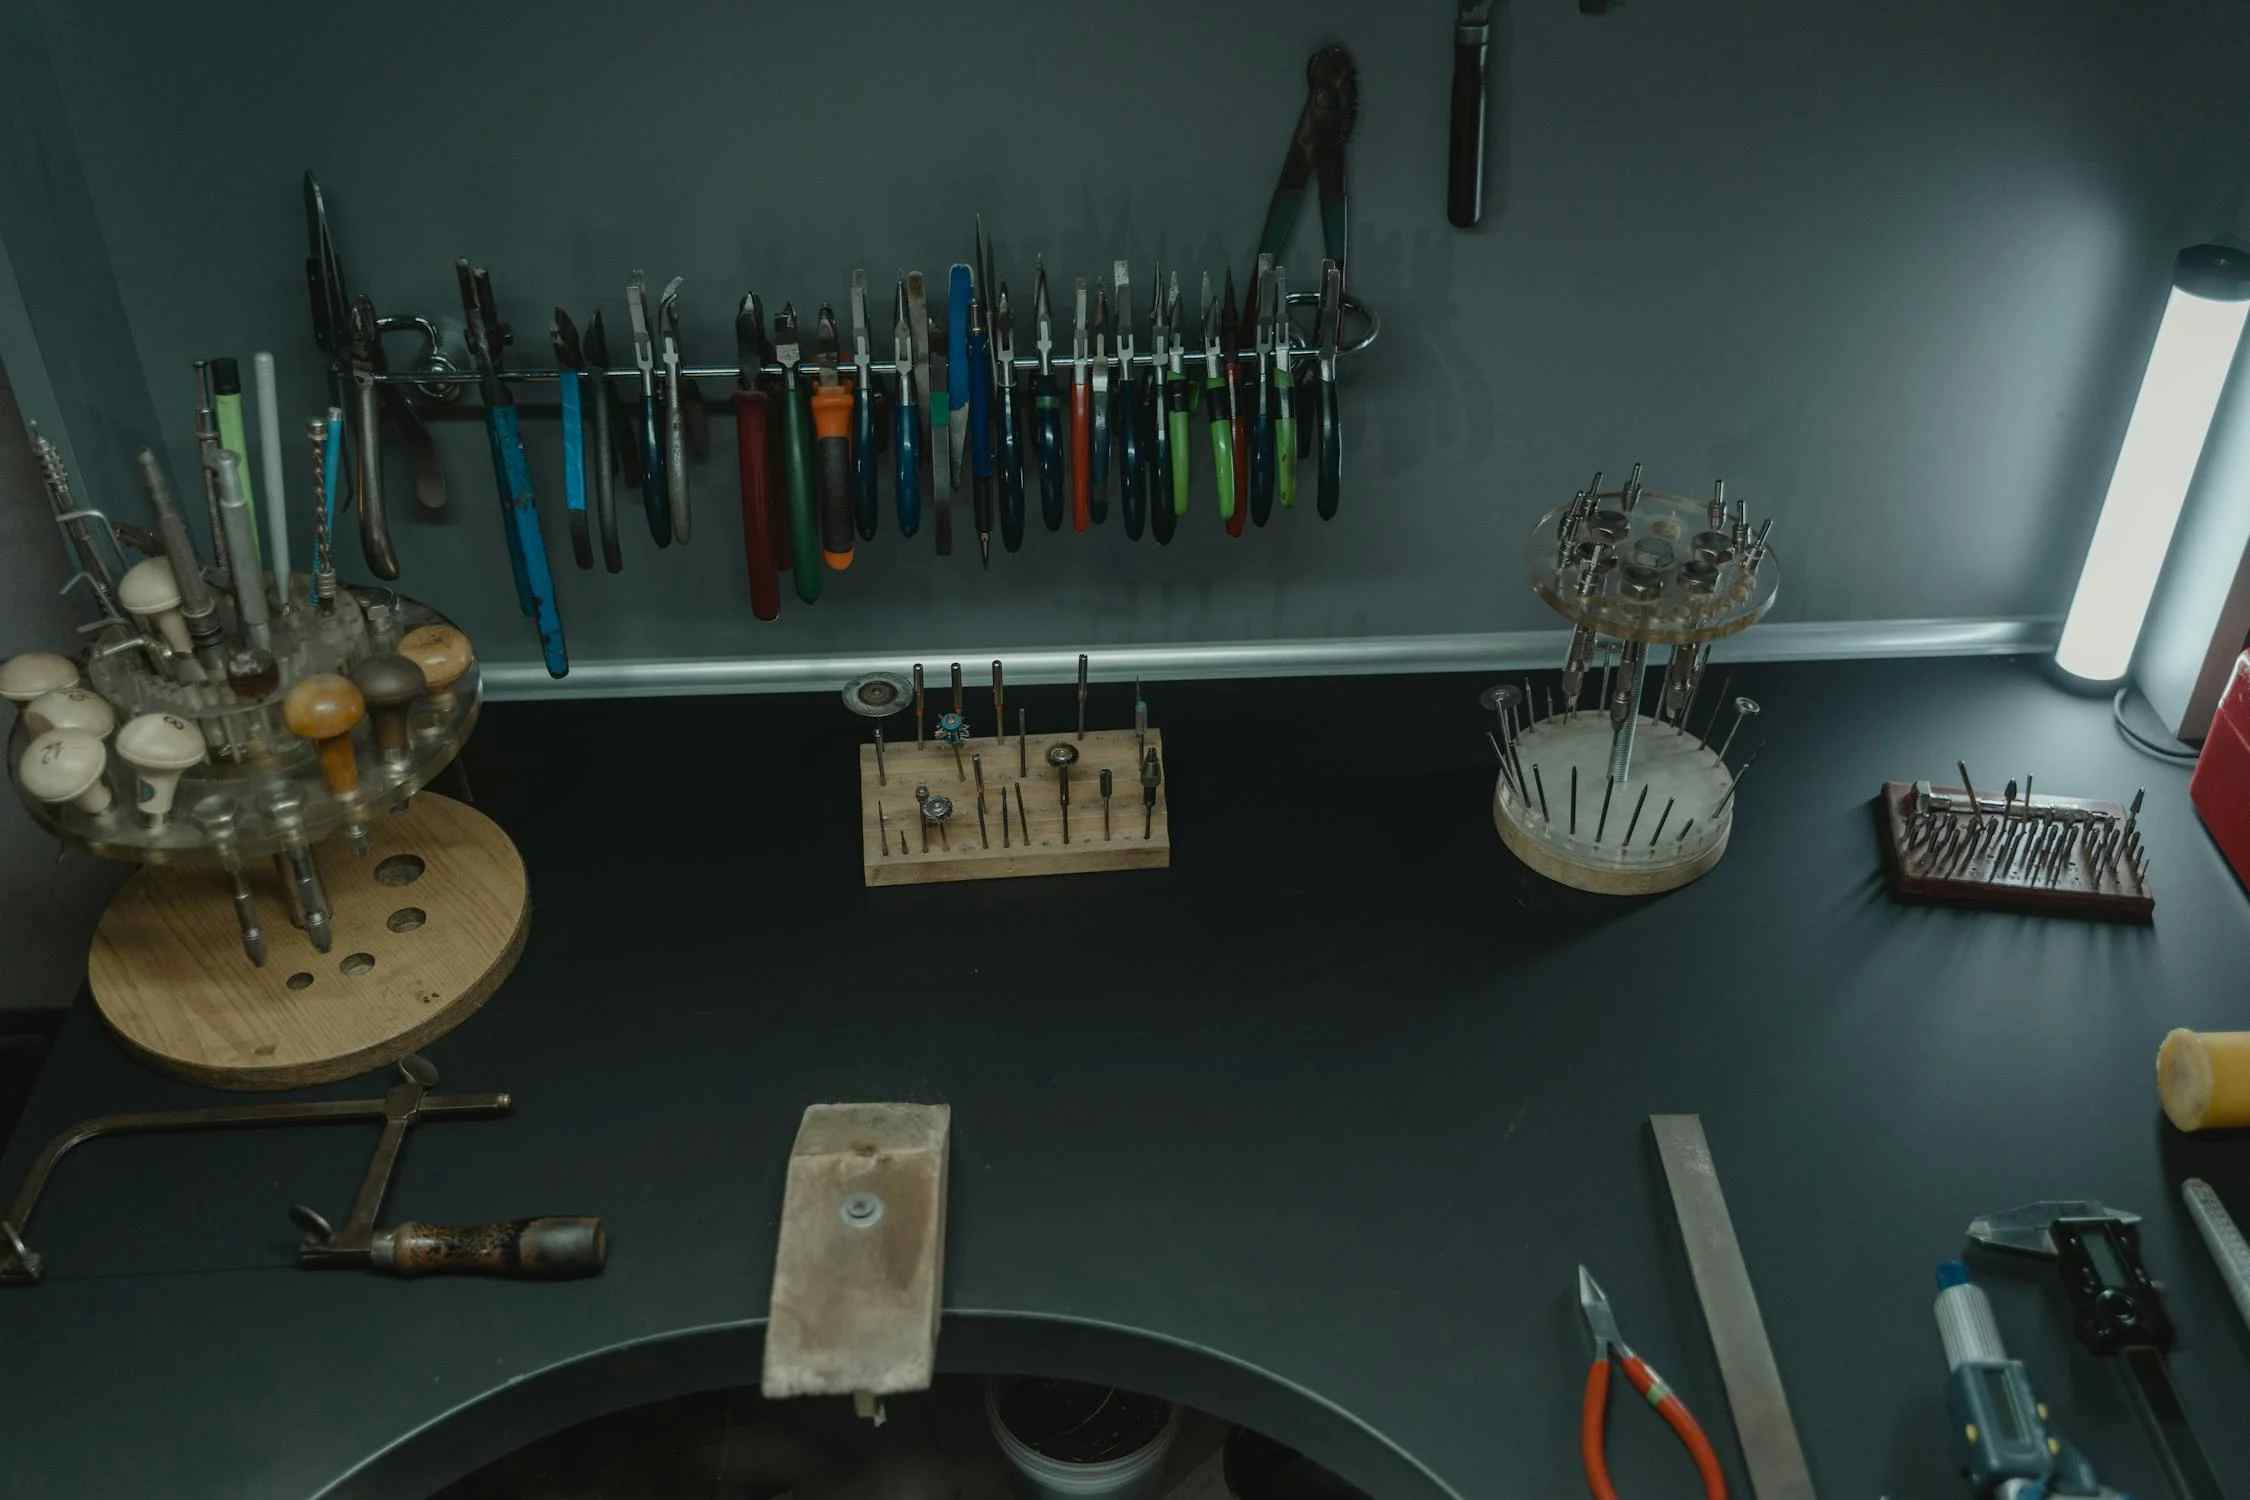
Before you explore how to make an inlay ring, it's essential to gather the right materials. The quality of your tools and supplies will greatly impact the final look and durability of your creation. Here's what you'll need:

When you're learning how to make a wood inlay ring, it's all about getting the details right. It might seem tricky at first, but with the right instructions, you'll be creating something beautiful in no time. Let's break it down step by step, so you can get started with confidence.
Start by selecting the metal blank that will serve as the base of your inlay ring. Using digital calipers, measure the outside diameter of the blank to ensure it matches your desired ring size. Next, measure the width of the blank to guide the groove dimensions for the inlay.

For a wood inlay, a groove about 5mm wide and 2mm deep is ideal, providing enough space for the wood and a protective resin layer. Use a lathe or rotary tool to cut the groove, ensuring it's smooth and evenly spaced. Clean the ring blank thoroughly to remove any dust or debris before proceeding.
Now it's time to prepare the wood inlay. After selecting your wood, measure the width of the groove in your ring blank to ensure a precise fit. Using a jeweler's saw or fine-toothed hobby saw, mark the wood to outline strips that are slightly narrower than the groove to ensure a snug but not overly tight fit.
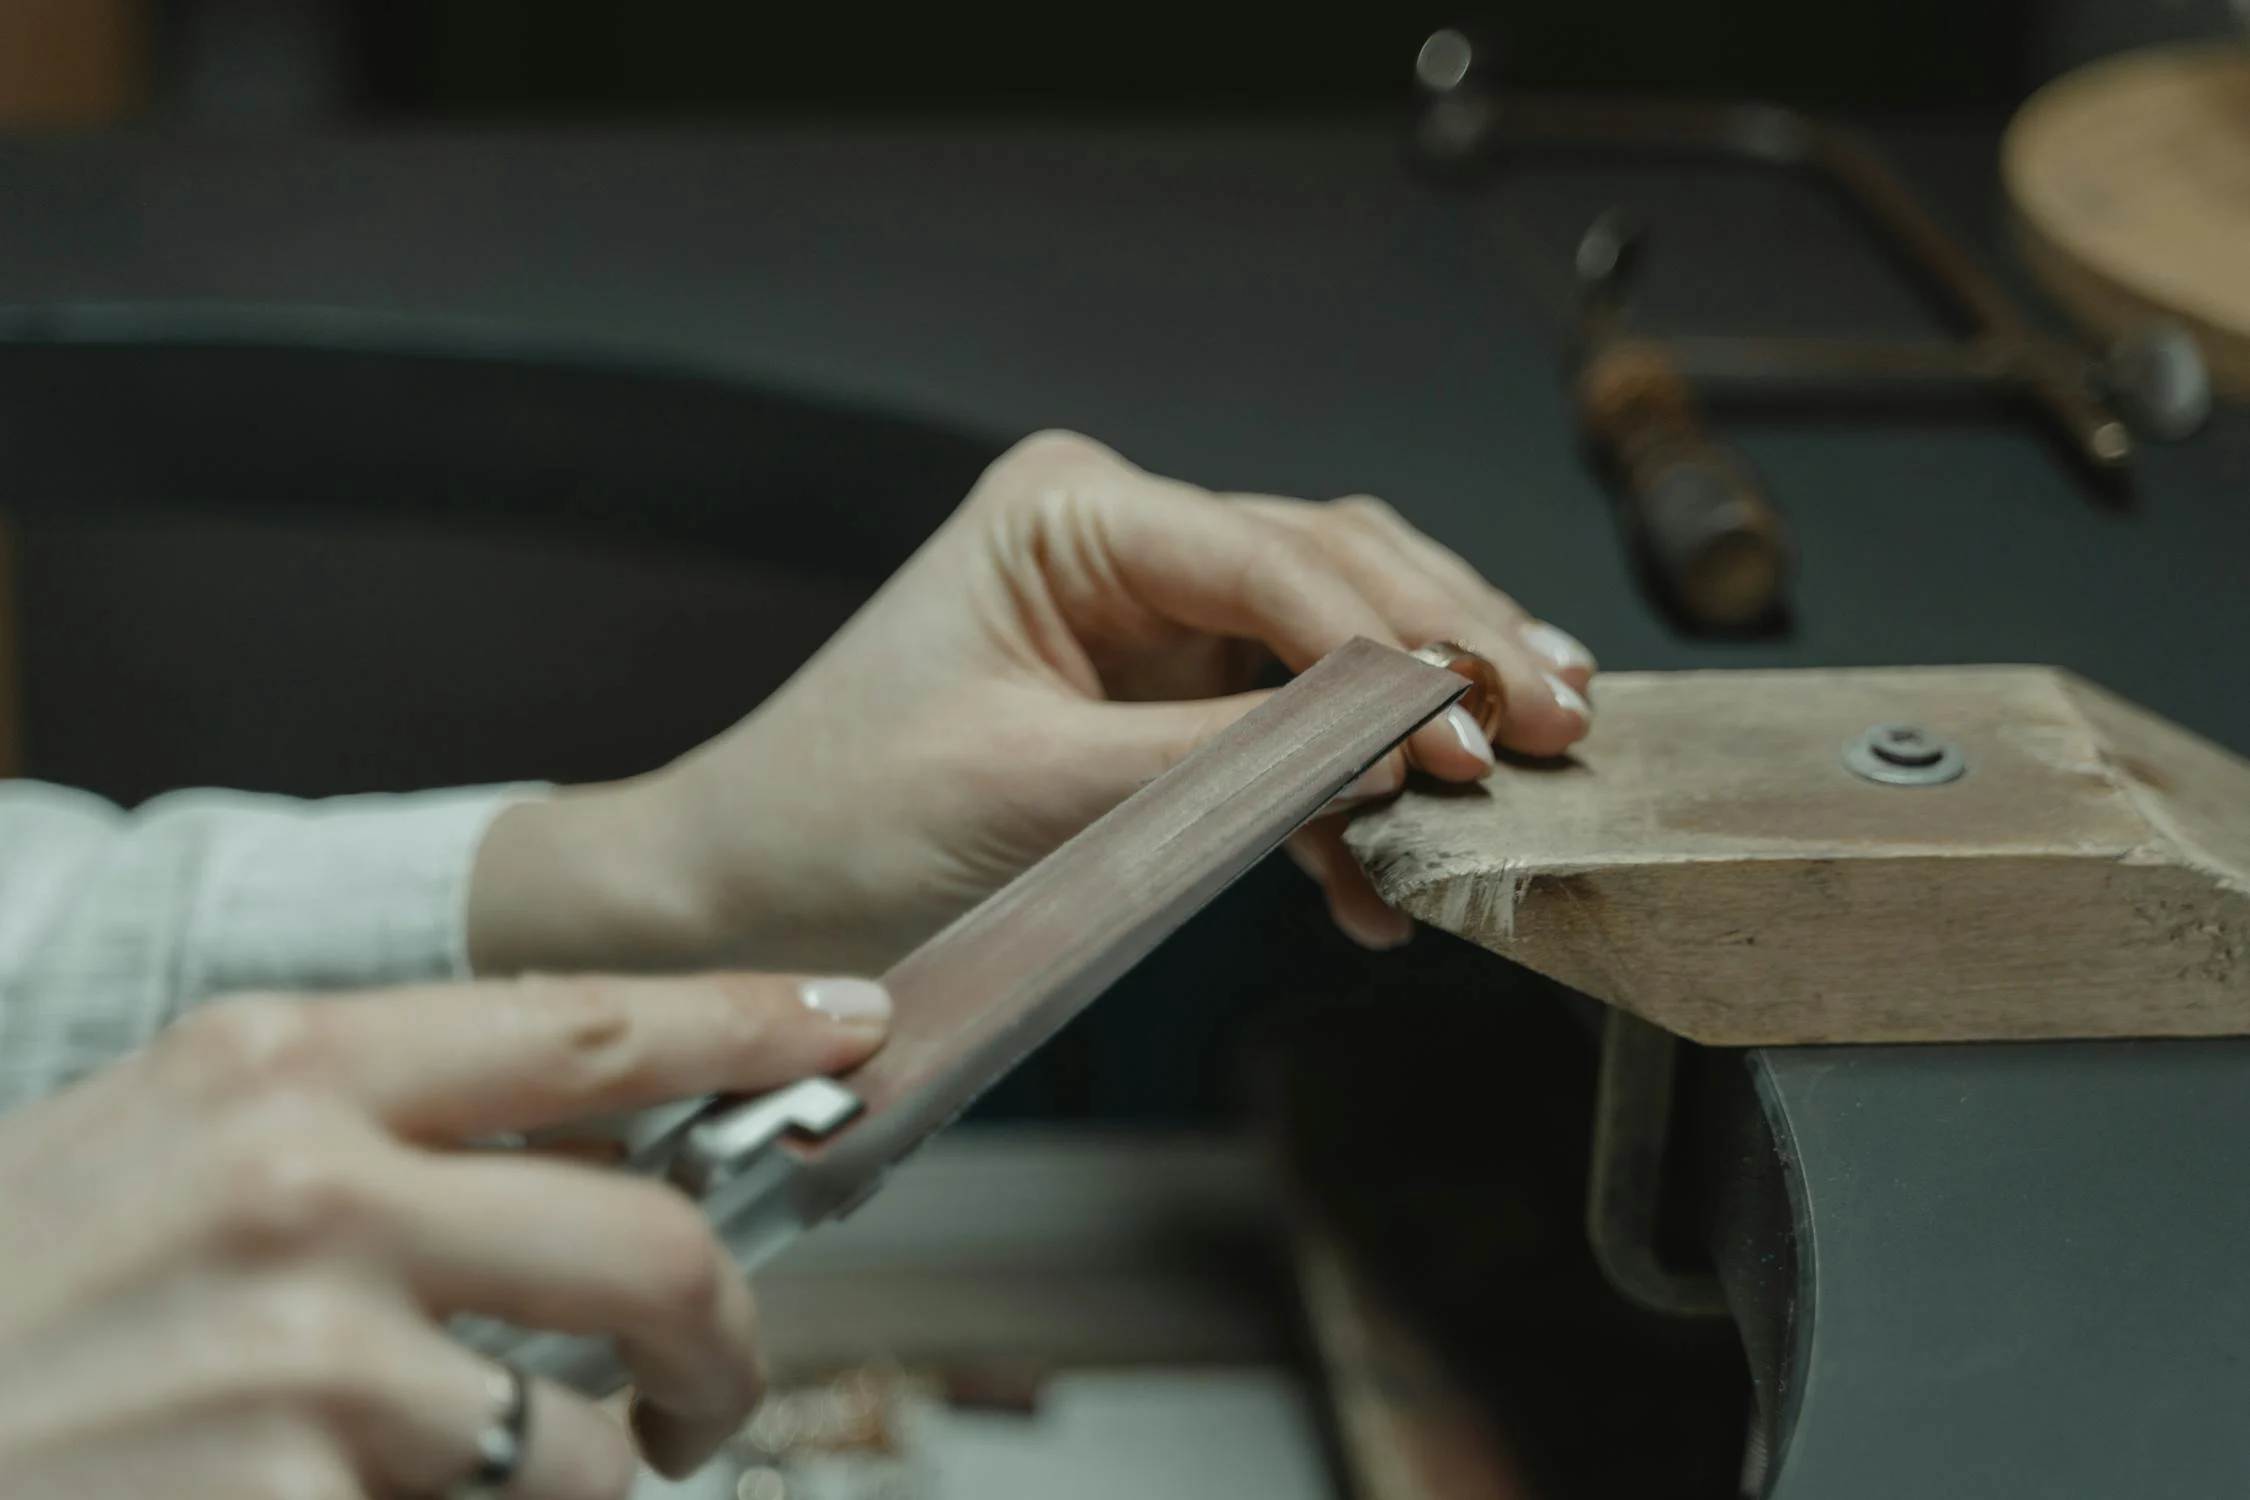
Hold the wood firmly in place, using a clamp or bench pin for stability, and make smooth, even strokes with the saw, applying light pressure to avoid splintering or uneven cuts. Once the strips are cut, lightly sand the edges to smooth them out and ensure they fit flush inside the groove. The goal is to have strips that sit snugly in the groove without forcing, allowing for a seamless fit once glued.
With the wood strips ready, you're ready to inlay wood into a ring blank. Select a strong adhesive like cyanoacrylate glue or epoxy resin. Apply a thin, even layer of glue inside the ring blank’s groove, being careful not to over-apply to prevent excess glue from seeping out and creating a mess.
Carefully press the wood strip into the groove, ensuring it fits snugly against the metal. Hold it in place with gentle pressure, or secure it with rubber bands or clamps while the glue dries. Check for any gaps and clean off excess glue before it sets to ensure a clean, seamless bond.
Once the glue has fully dried, the next step is to smooth the ring's surface. Start by using fine-grit sandpaper to sand down any uneven edges or protrusions from the wood inlay. Sand in a circular motion, being careful not to remove too much material, especially from the wood.

As you sand, check the surface regularly to ensure a smooth, even finish where the wood inlay and metal ring meet. You can move on to progressively finer grits of sandpaper to polish the surface until it's seamless.
To protect the wood inlay and give it a glossy, finished appearance, apply a layer of clear resin over the entire ring. The resin not only seals the wood but also provides a durable, water-resistant finish. Use a small brush or applicator to carefully spread the resin over the wood inlay, ensuring it covers the wood evenly without dripping over the edges.
Let the resin cure according to the manufacturer's instructions, typically allowing it to dry for 24 to 48 hours. Once cured, check for any rough spots or imperfections and lightly sand the surface if necessary.
The last step is to polish the entire ring. Use a polishing cloth or a buffing wheel to give the metal and the wood inlay a brilliant shine. If necessary, use a fine metal polish to bring out the luster of the metal. Be patient during this step, as a good polish can make all the difference in the final appearance of your ring.
Inlay rings are a beautiful and unique way to showcase your creativity and craftsmanship. By following the proper steps and gathering the right materials, anyone can learn how to make inlay rings that are both personal and visually stunning. With a bit of patience and creativity, you can craft a lasting piece that tells its own story, one that will be cherished for years to come.
Yes, inlay rings are designed to be durable, especially when properly crafted with high-quality materials. The epoxy resin serves as a protective layer, safeguarding the wood from daily wear and exposure.
You should gently wash the ring with mild soap and warm water, and use a microfiber soft cloth to dry it thoroughly. Avoid harsh chemicals or abrasive cleaners, which can damage the resin or wood.
Resizing inlay rings can be challenging, as the process may disrupt the inlay material. So, it is often best to ensure the correct size before completing the ring. If resizing becomes necessary, consult a jeweler experienced in handling inlay rings to avoid damaging the wood or resin.
Discover how to design an engagement ring, including expert tips on personalization, considerations, and costs, helping you create a truly unique ring.
Read MoreLearn how to find a lost ring with practical tips and discover the most common places it might be hiding. Find your ring fast with this helpful guide!
Read MoreThis article explains how to fix a bent ring with simple at-home instructions, offers tips to prevent future bends, and advises when to seek professional help.
Read MoreLearn how to clean a belly button piercing, with aftercare tips, cleaning frequency, and common mistakes to avoid for a safe, healthy piercing.
Read More