


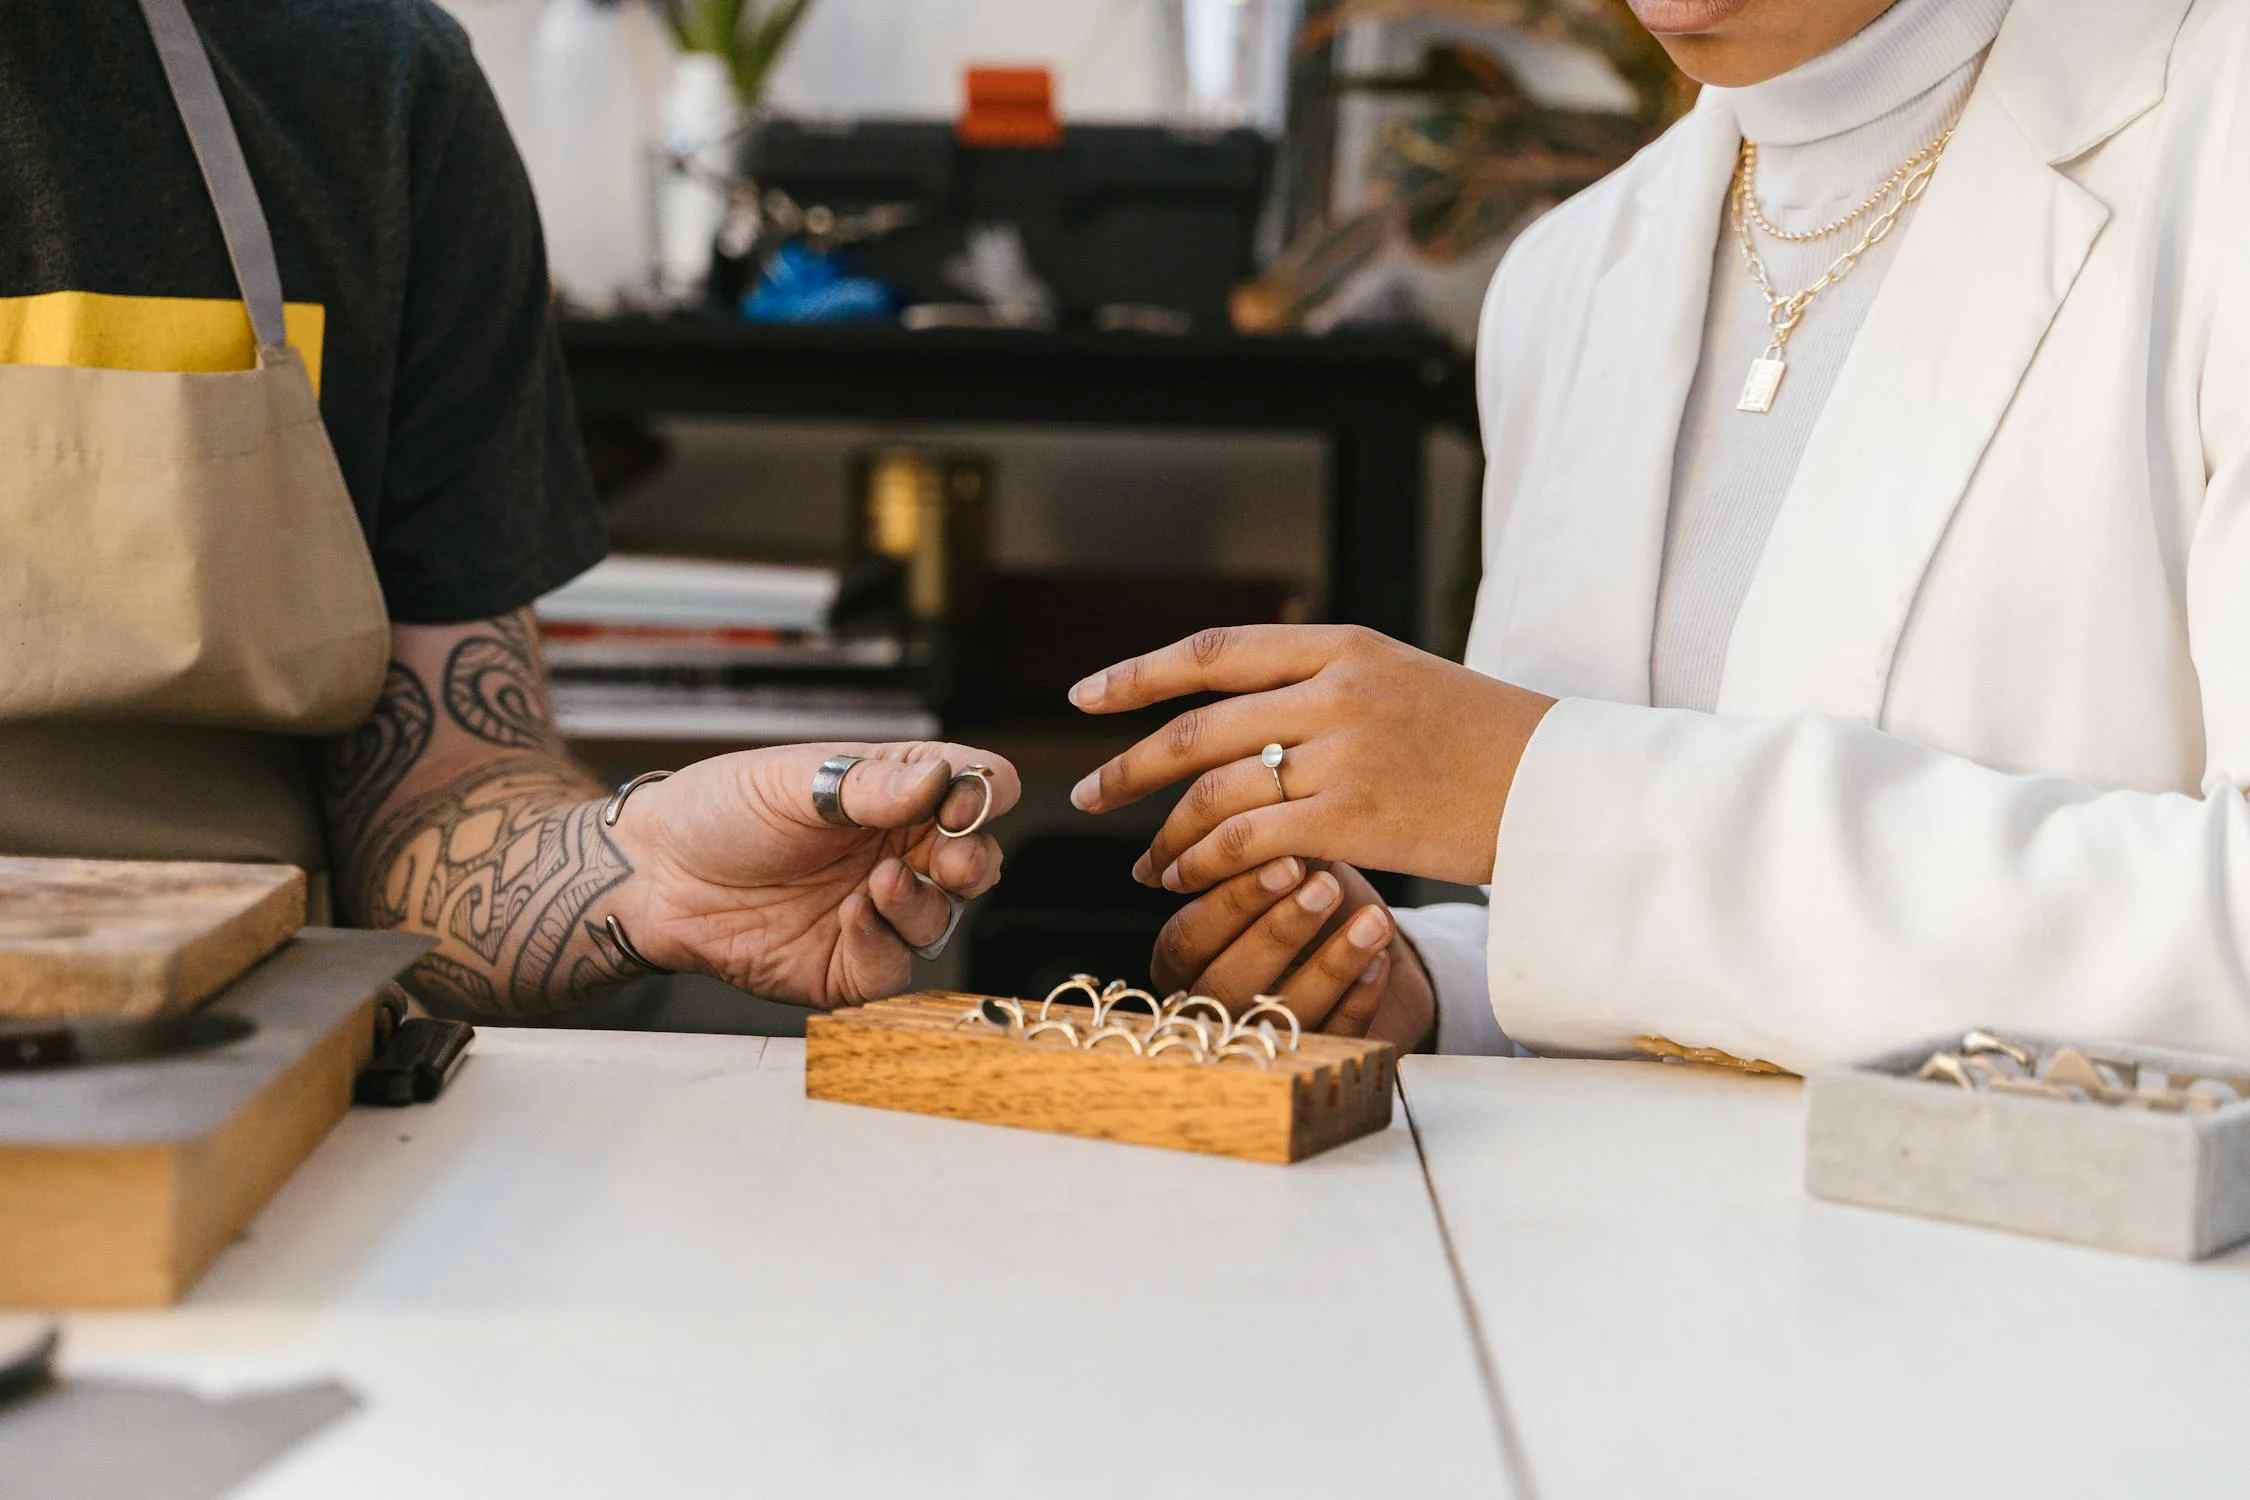
Have you found the person you want to spend your life with, and are ready to take the next step? If you envision crafting something uniquely special—an engagement ring that tells your love story in every detail, instead of choosing a pre-made one from the store, this guide is for you.
We'll walk you through the essential steps on how to make an engagement ring, from selecting the right materials and tools to applying the finishing touches that elevate the ring to a masterpiece. Join us and pour your heart into creating a symbol of your commitment and devotion!
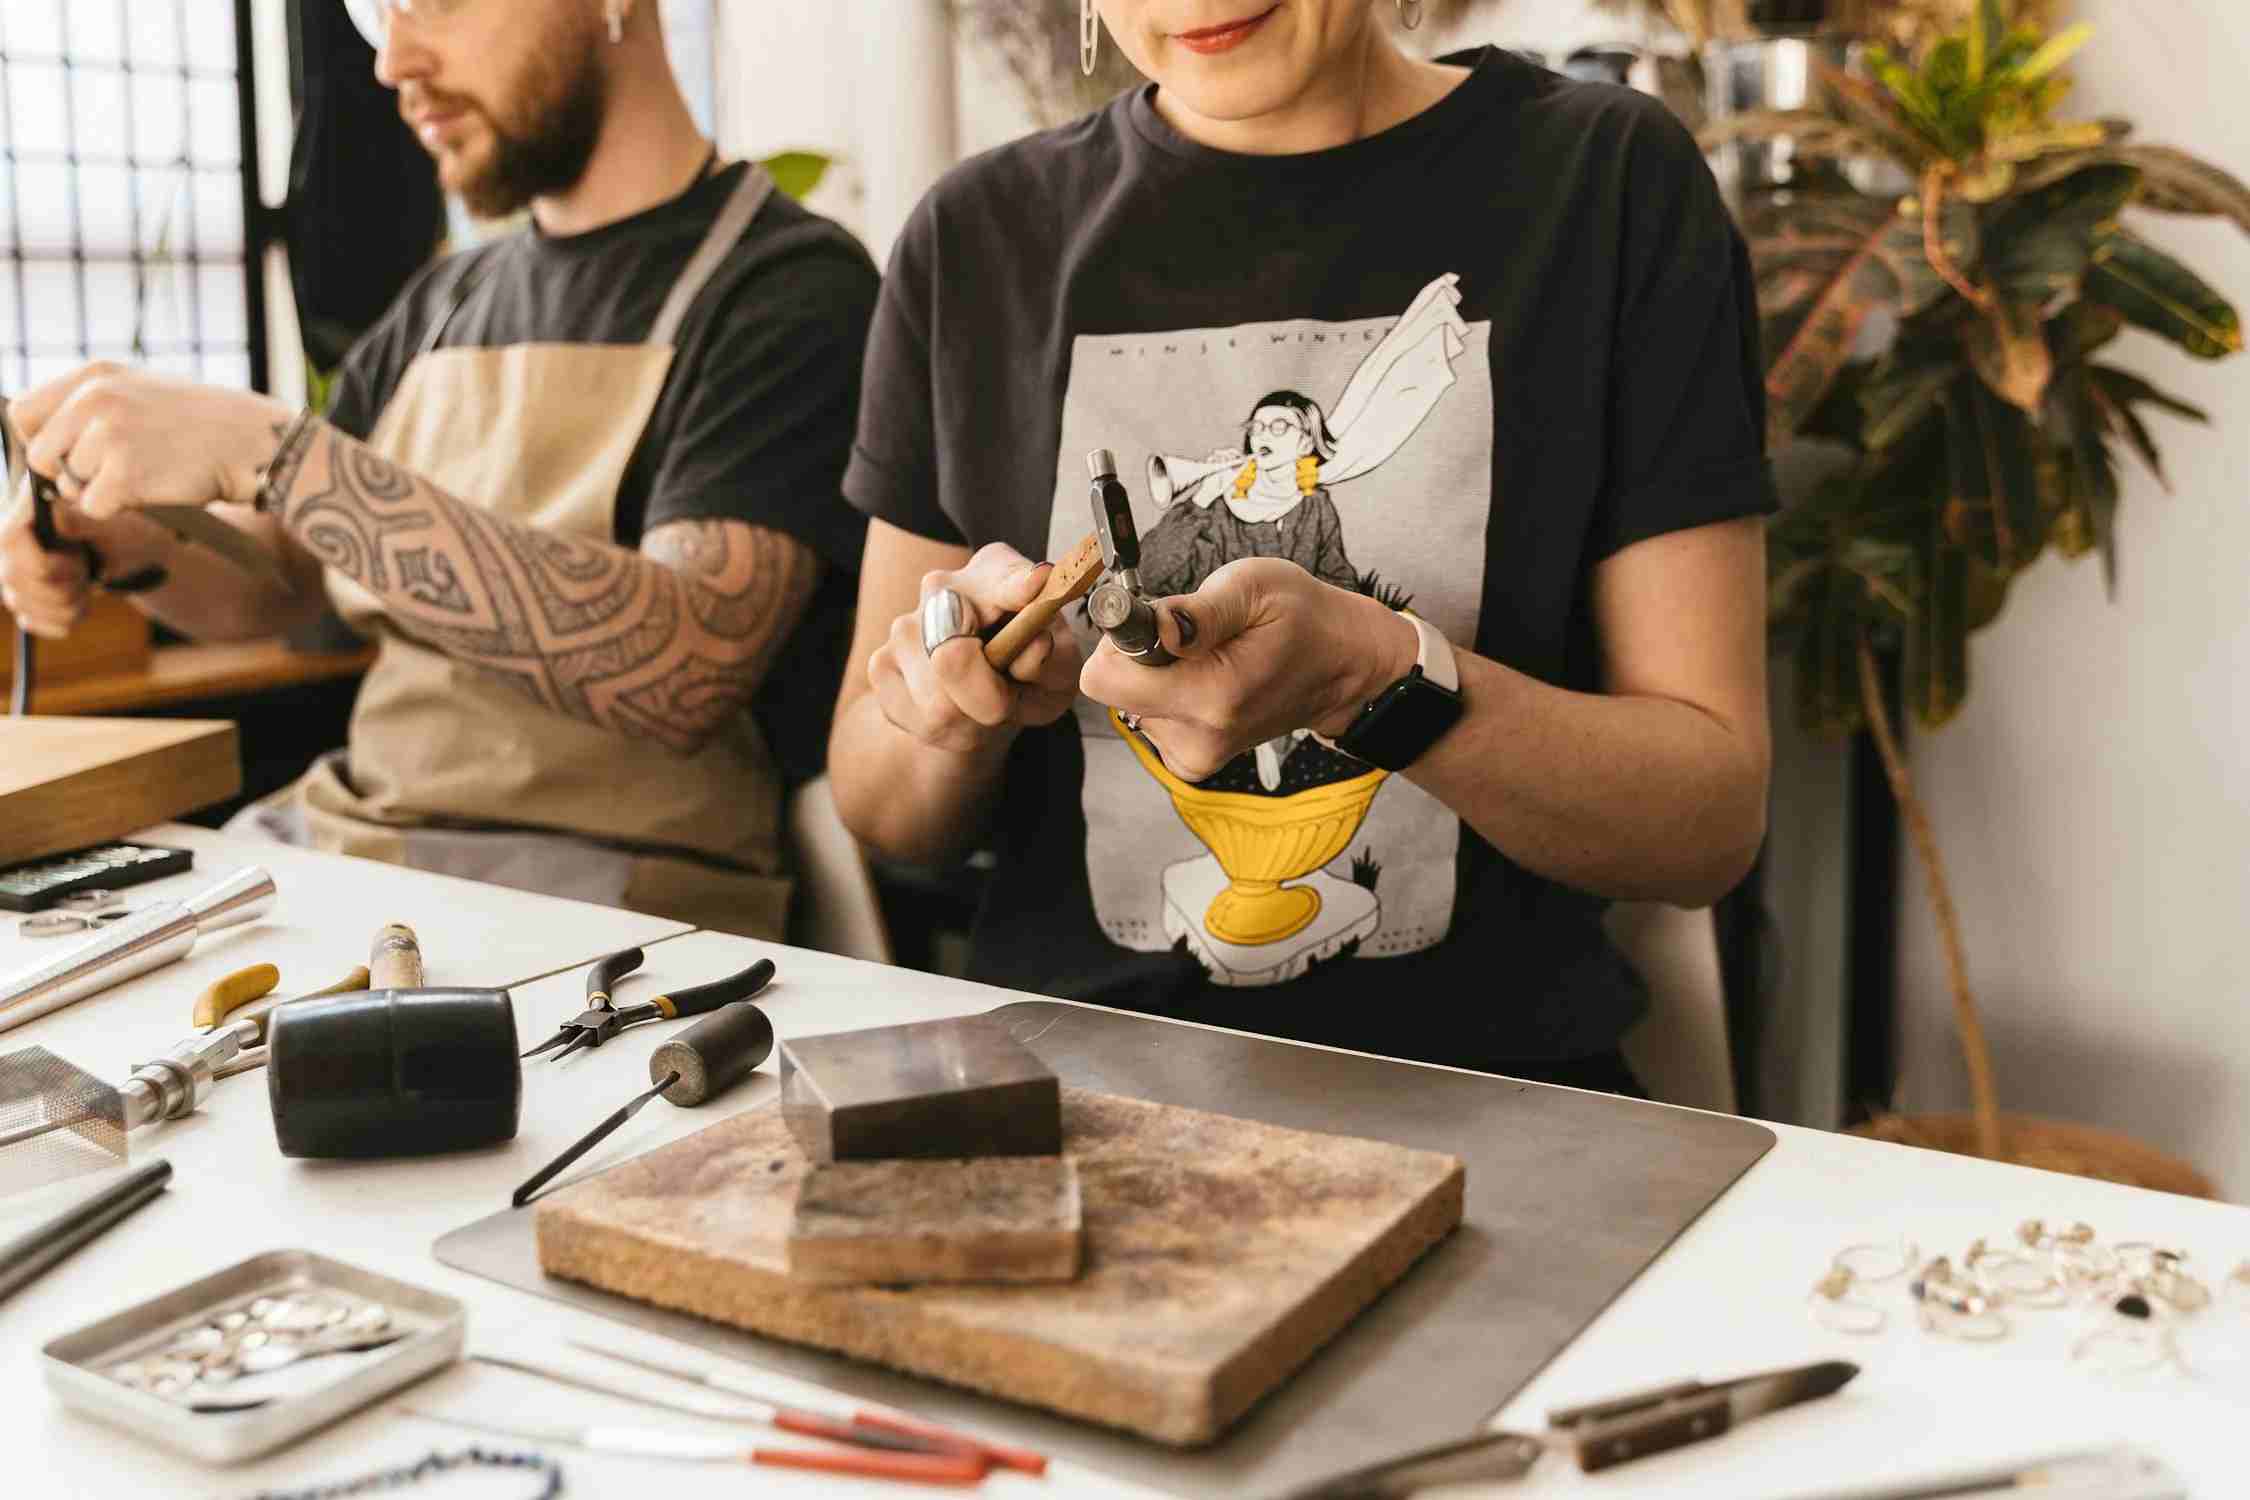
Before diving into the intricate process to create your own engagement ring, it's essential to gather all the necessary materials and tools. Each component plays a crucial role in the durability and aesthetics of your engagement ring. Here's what you'll need to get started:

Now that you have all your materials and tools ready, it's time to build your own engagement ring. From designing the ring to setting the stones, follow these steps to craft a beautiful and lasting symbol of commitment:
The first step is to design your own engagement ring. Start by sketching out your ring design on paper. Whether you prefer a classic solitaire, a halo setting, or something more intricate like a vintage-inspired design, you need to decide what style you want to create. Think about the size, shape, the type of gemstone(s) you want to use and how they will be arranged. Measure the circumference of the ring finger to determine the length needed. This initial planning phase is crucial as it sets the blueprint for the entire ring-making process.
Once you have your design, you may choose your preferred metal—platinum, gold (such as 18k or 14k), or silver. Using a jeweler's saw, carefully cut a strip of metal to the desired length and width based on your design. Then you may secure the metal strip on a sturdy workbench with a bench pin or clamp. After that, you can file the edges of the metal strip to ensure they are smooth and even.
Take the prepared strip and start shaping it around a cylindrical mandrel. Gradually bend the strip into an oval shape by gently pressing and manipulating it, using nylon jaw pliers to ensure the metal remains smooth and free from marks. Continuously check and adjust against the mandrel until the oval is consistent and begins to resemble the base of a ring.
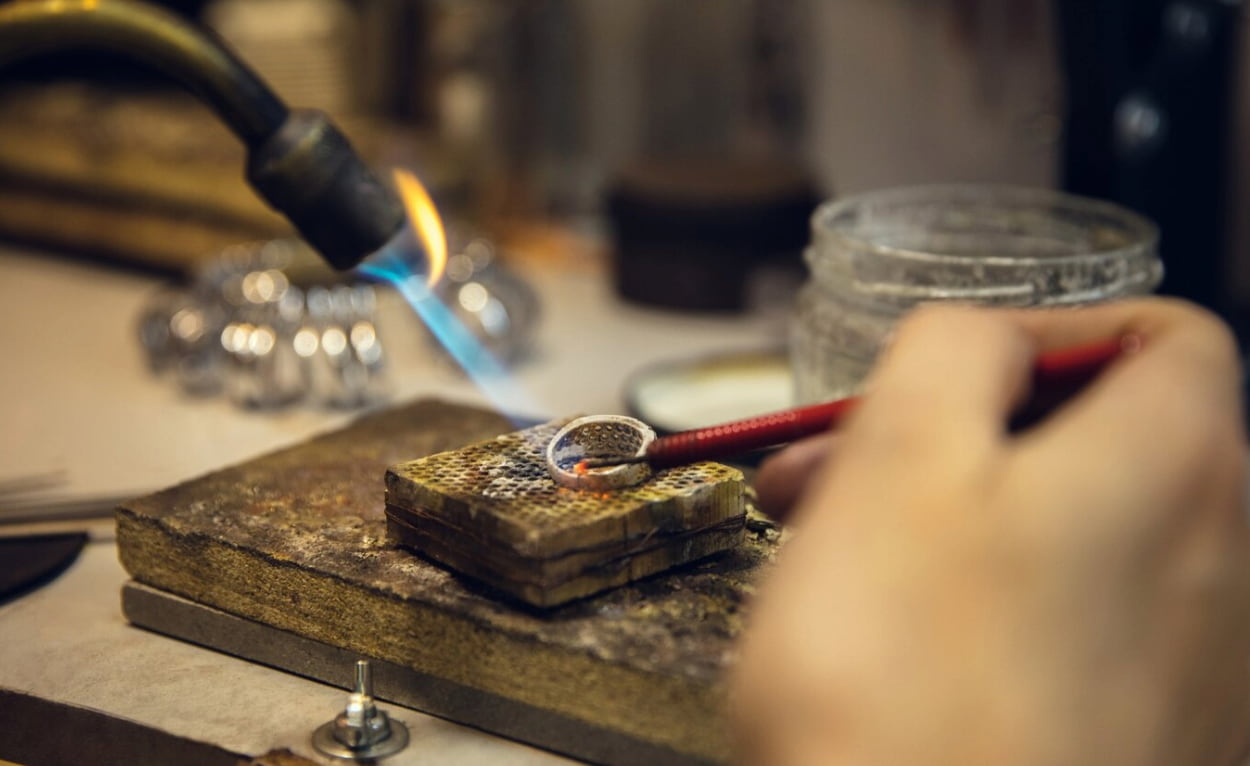
In this step, you may apply flux, a chemical used to prevent oxidation, to the joint where the ends of the metal strip meet and place small pieces of solder at the seam. Then use a torch to heat the metal evenly until the solder flows and forms a strong bond between the ends. Allow the metal to cool naturally, then clean it in a pickling solution to remove any flux and solder residues, ensuring the joint is smooth and gap-free.
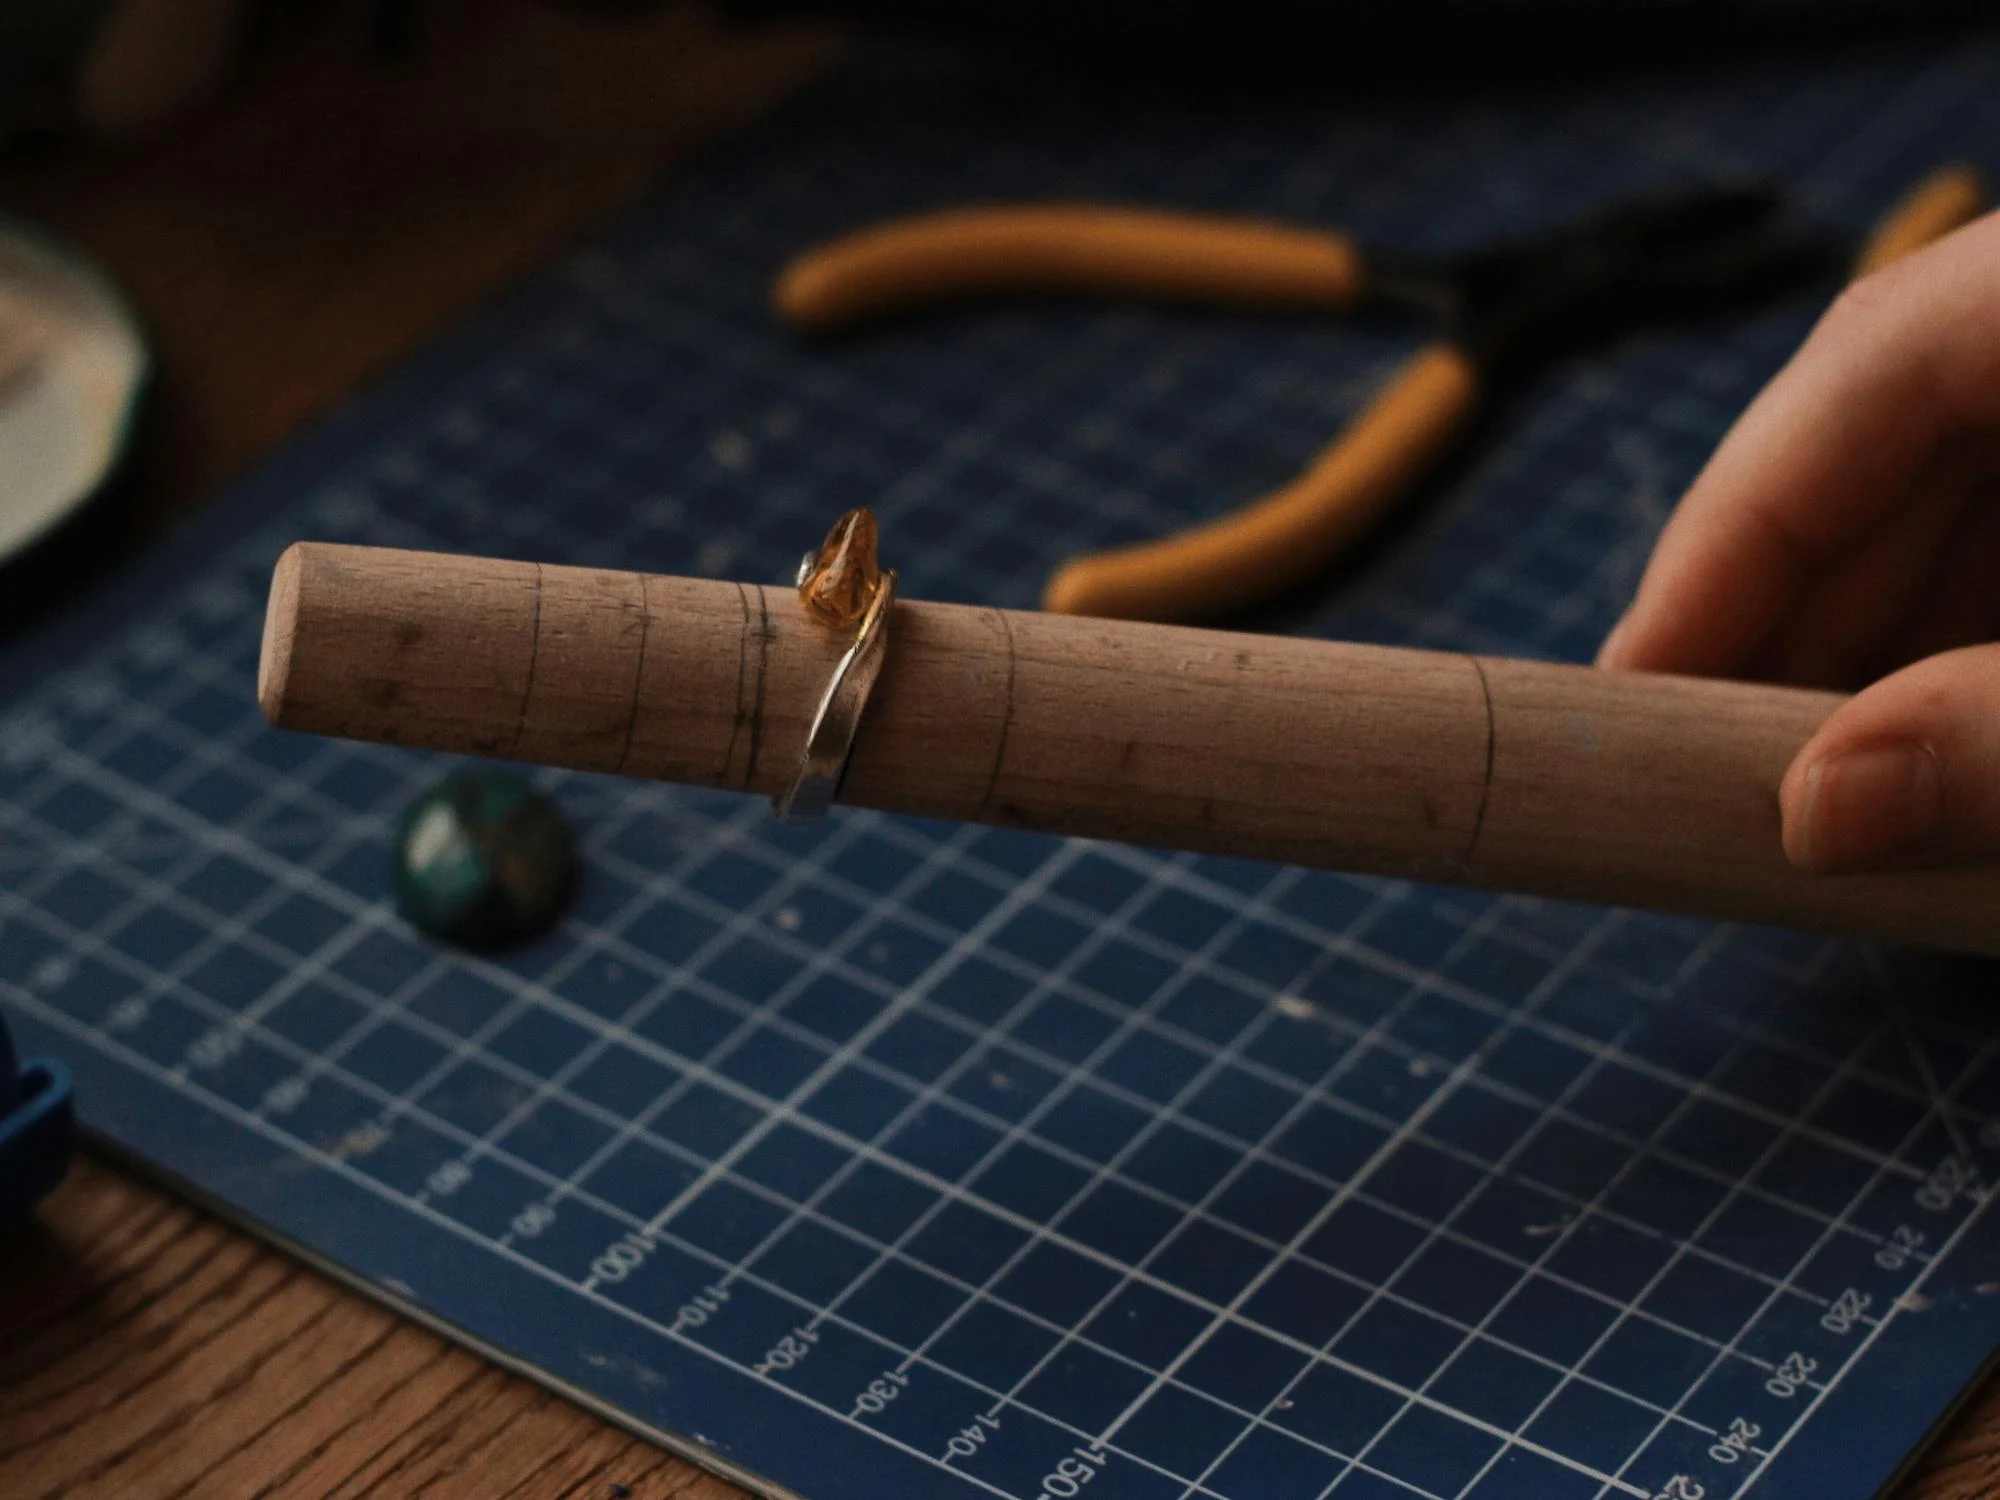
With the oval base formed, refine it into a perfect circle—the intended shape of the finished ring. You may place the oval-shaped metal on a steel mandrel and gently tap it with a rawhide mallet or nylon hammer. Rotate the metal as you tap to maintain even shaping. Verify the size continuously using the ring mandrel until it matches the desired specifications. Keep adjusting as needed to achieve a uniform circular shape.
Begin smoothing the ring using sandpaper, starting with a coarser grit to remove any rough spots, particularly around the soldered joint. Secure the ring band in a ring clamp or holder to keep it steady during sanding. Move to finer grits of sandpaper to refine the surface further and achieve a smooth finish. Pay extra attention to the inside of the band to ensure comfort when worn.
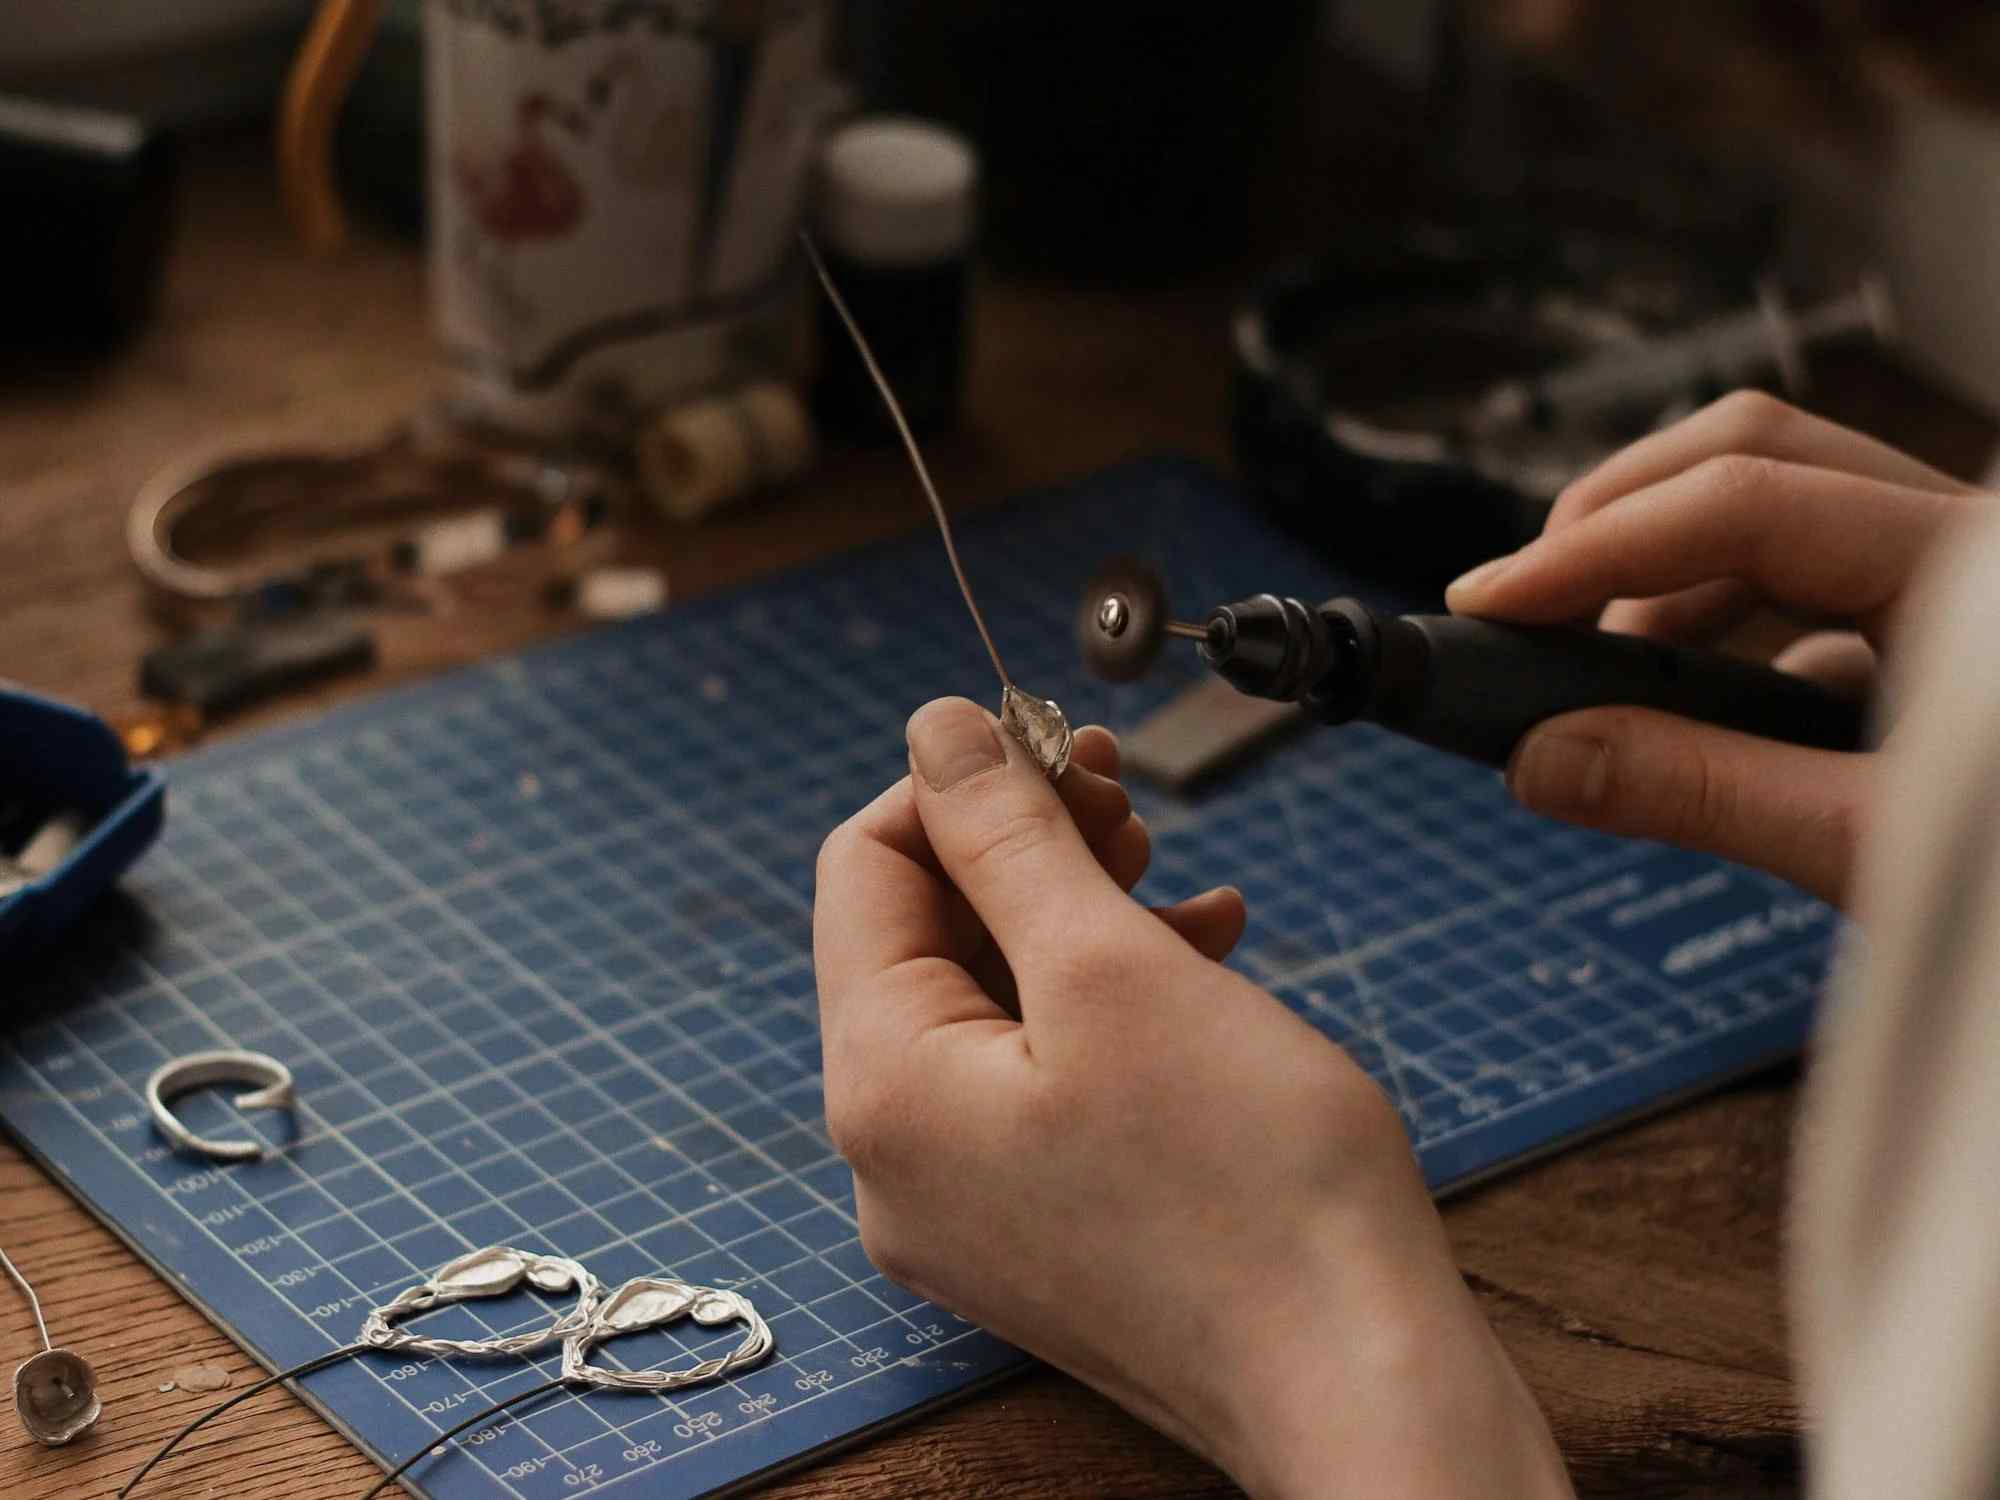
Determine where the gemstone will be placed on the band and make necessary modifications for the setting. If using prongs or a bezel, cut the appropriate grooves or shapes with a fine-bladed jeweler's saw, stabilizing the band as you work. This step demands precise cuts to securely accommodate the gemstone.
Choose the type of setting—bezel, prong, or channel—and position it accurately on the band according to your design. You may use tweezers or a setting tool to hold the setting in place and apply flux to the base of the setting and the ring band. Then place small pieces of solder at strategic points around the base of the setting. Use the torch to heat the area until the solder flows and firmly bonds the setting to the band. Let it cool, then clean to prepare for gemstone placement.
Once the setting is securely attached, polish the entire ring band to enhance its appearance and prepare it for setting the gemstone. You may use polishing tools and compounds starting with a coarse compound to remove any scratches or imperfections. Then progress to finer compounds to achieve a high shine on the metal surface. Pay close attention to the setting area and inside edges of the ring band to ensure a flawless finish.
Use setting tools such as prong pushers or bezel rollers to secure the gemstone in place. Adjust the prongs or bezel edges to securely encase the stone, ensuring it is level and firm. Handle this step with care to avoid any damage to the gemstone or the setting.
Conduct a thorough inspection of the ring, utilizing magnification if necessary to scrutinize every detail. Make final adjustments to the setting or polish as needed to achieve a flawless finish and clean the ring band with a polishing cloth to remove any fingerprints or residues.
A professional finish on your handmade engagement ring involves attention to detail and finesse. Here are some tips and tricks to ensure your ring shines with quality craftsmanship:
In conclusion, learning how to make an engagement ring allows you to create more than just a piece of jewelry—it's a labor of love and craftsmanship. By following these steps and incorporating your personal touch, you can craft a ring that embodies your style and captures the essence of your relationship. Every time they look at their ring, your loved one will remember the care and dedication that went into making it—a truly unique and lasting symbol of your love.
Roughly, making an engagement ring can take between 20 to 40 hours of work, spread across several weeks to ensure precision in design, metalwork, setting, and finishing touches.
Yes, you can make an engagement ring at home if you have the necessary skills, tools, and materials. It requires proficiency in jewelry-making techniques such as metalwork, soldering, and stone setting.
Typically, prices can range from as low as $1,000 for a simple ring with a low-cost gemstone to over $40,000 for a custom design with high-quality diamonds and precious metals. The cost can vary widely based on factors like materials, craftsmanship, and the complexity of the design.
Can you sleep with earrings in? How to sleep with them safely and choose sleep-friendly earrings for a safe and comfortable night's rest. Read the article to find out.
Read More
What are leverback earrings? The article tells you everything about them, including the benefis of wearing this jewelry, how to style them, and how to keep it in good condition.
Read More
What is a pre-engagement ring? Find out here along with its symbolism, history, types, differences from promise rings, and tips for choosing the perfect one.
Read More
Do anxiety rings work? Find out the truth here and explore the definition, benefits, along with alternative ways to relieve anxiety.
Read More