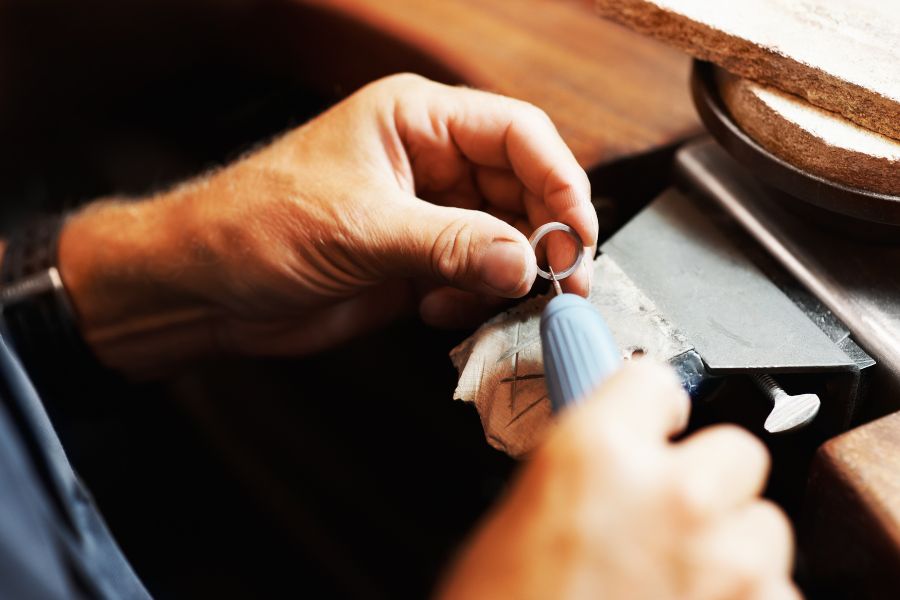
Crafting your own wooden ring is a rewarding project that combines artistry with craftsmanship. If you're eager to learn how to make a wooden ring, you’re in the right place. This guide will walk you through the essential tools and materials needed, as well as provide a clear, step-by-step process to create a stunning, personalized ring.
Whether you're a woodworking novice or looking to refine your skills, mastering this technique will allow you to craft a unique piece of jewelry that reflects your personal style.

Before diving into the ring-making process, it's essential to gather the necessary tools and supplies. Below is a list of items you'll need to successfully craft a DIY wood ring.
Selecting the Right Wood: The foundation of any wooden ring is the wood itself. Choose a high-quality wood blank or veneer, such as walnut, oak, or cherry. These hardwoods are durable and have beautiful grain patterns, making them ideal for ring-making.
Veneer Option: If you prefer a layered design, wood veneer is an excellent choice. Veneer allows for a more intricate and detailed finish by stacking thin layers of wood.
Cutting the Ring Shape: A jeweler's saw or coping saw is essential for cutting the rough shape of your ring from the wood blank. These saws provide the precision needed to create a smooth and even ring shape.
Drilling the Finger Hole: To create the central hole where your finger will fit, you'll need a drill press or hand drill. Precision is key here to ensure the hole is centered and the right size for a comfortable fit.
Smoothing and Shaping: Sandpaper is crucial for refining the shape of your ring. Start with coarse grit to remove excess material and gradually move to finer grits to achieve a smooth finish.
Detailing and Finishing: A rotary tool or Dremel can help with more detailed work, such as carving designs or refining the shape. While optional, it can significantly speed up the process and allow for more intricate details.
Protecting the Ring: To protect your ring from moisture and wear, you'll need to apply a wood finish or sealant. Tung oil, Danish oil, or a clear varnish are popular choices that enhance the wood's natural beauty while providing protection.
Securing the Wood: Using clamps or a vice helps hold your wood securely in place while you work. This is especially useful when drilling or sanding, as it ensures precision and safety.
Accuracy Matters: Accurate measurements are crucial when making a ring. A ruler, calipers, or ring sizer will help ensure your ring is the right size and shape.
Stay Safe: Always prioritize safety by wearing protective gear, such as safety glasses and a dust mask, to protect yourself from wood dust and debris.

With your tools and supplies ready, it's time to start making a ring from wood. Follow these step-by-step instructions to create a beautiful and unique piece of jewelry.
In conclusion, mastering how to make a wooden ring not only adds a personal touch to your jewelry collection but also enhances your woodworking skills. By carefully selecting your materials, using the right tools, and following the detailed steps provided, you can create a beautiful and lasting piece of art. Whether for yourself or as a thoughtful gift, the craftsmanship involved in making a wooden ring will make each creation truly special.
When crafting a wooden ring, hardwoods like maple, walnut, oak, and mahogany are excellent choices. These types of wood are not only durable but also feature beautiful grain patterns, making them ideal for creating unique and long-lasting rings.
To waterproof a wooden ring, apply a protective finish such as tung oil, linseed oil, or a clear resin. Oil treatments penetrate the wood and provide a water-resistant layer, while resin coatings create a durable, waterproof barrier on the surface. Both methods help protect the ring from moisture and extend its lifespan.
Yes, a wooden ring can last a long time with proper care. Using durable hardwood and applying a protective finish can enhance its longevity. Regular maintenance, such as avoiding prolonged exposure to water and reapplying finish as needed, will help keep the ring in good condition over the years.
Explore engagement ring styles with our in-depth guide. Learn about different types, settings, and materials to find the perfect ring for your special moment.
Read MoreDiscover the ultimate gem face-off: cushion cut vs princess cut. Explore the differences, pros, and cons to find the perfect sparkle for you!
Read MoreLearn how to stack bracelets with our chic tips. Master the art of layering for a trendy, personalized look. Discover how to stack bracelets perfectly!
Read MoreLearn how much is an emerald ring by exploring key factors like quality, carat, and setting. Get a detailed price breakdown and buying tips.
Read More