


A heart friendship bracelet is a good way to express the depth of your connection with a cherished friend. With this being said, how to make a heart friendship bracelet that is such a meaningful token?
In this blog, we'll dive into the intricacies of creating a heart friendship bracelet, guiding you through each step with clarity and precision. From gathering the material needed to creating the heart pattern, this definitive guide will equip you with the skills and knowledge needed to craft a bracelet that not only adorns the wrist but also warms the heart. Get started now!
Before we embark on our crafting journey, let's gather the essential materials needed to create a beautiful heart friendship bracelet. Here's what you'll need for how to make a heart pattern friendship bracelet:
2 Embroidery Flosses of Different Colors: Choose 2 embroidery flosses of different colors to make the easy heart bracelet patterns visible. We’ll use red and white flosses for our current project.
Scissors: A sharp pair of scissors will be your trusty companion for cutting the floss with precision.
Clipboard or Tape: Secure your bracelet in place while you work by using a clipboard or tape to anchor it to a flat surface.
Crafting a heart friendship bracelet is a delightful journey that begins with the gathering of materials and progresses through a series of intricate steps. Let's dive into our comprehensive heart friendship bracelet tutorial:
Cut the 2 flosses into 8 strands, with 4 strands for red and 4 strands for white. Each strand should measure approximately 24 inches in length.
Tie a stopper knot with all 8 strands and then tape the knot onto the surface. Then, arrange the strands in a WRWRRWRW pattern, with "W" representing white and "R" representing red. To be more precise in our description, a naming convention is handy: we use W1 to denote the leftmost white strand, W2 to denote the second leftmost white strand, and so forth. R1 and R2 are in the same vein. Thus, we now have before us the arrangement W1R1W2R2R3W3R4W4.
With the strands securely arranged, it's time to begin weaving the intricate pattern of the heart friendship bracelet. Let's start with the first row:
Remember that to craft a heart friendship bracelet, every single knot in the crafting process must be made twice.
After tying W1 and R1, it's time to progress W1 towards the center of the bracelet. Tie W1 with W2 using the same knotting technique (remember to do it twice!), and then W1 and R2. Now, you've finished the left part of row 1.
The right part of row 1 is simply a mirror image of the left part. Namely, take W4, and tie it with R4, W3, and R3. Finally, tie W1 and W4 together using the same 4-shaped knot. We are done for Row 1.
You may have noticed that our naming convention needs adjustment now that W1 and W4 have reached the center. No need to fret; we can easily relabel them to maintain consistency. Since both outermost strands are now red, let's rename them R1W1R2W2W3R3W4R4.
Now, let's proceed with weaving the second row. This row differs slightly as we start from the second outermost strands on both sides. Here's how to tackle the left part:
The right part of row 2 is simply the mirror image of the left part.
Finally, tie the two middle strands together, namely R1 and R4, to complete the second row.
The process of weaving the third row is exactly like the process of weaving the second row. Since we initially placed W1 on the outermost side when weaving the second row, let's relabel our beginning arrangement as W1R1W2R2R3W3R4W4 to reflect the fact that the outermost strands are both white.
Take the second leftmost strand (which is R1), tie it with W1, and then place R1 on the outermost side. Proceed to tie W1 with W2, and W1 with R2 to complete the left part of Row 3. Afterward, continue with the right part of Row 3, mirroring the left part. Don’t forget to tie the middle strands as always after finishing both the left and right parts.
The method of weaving the 4th row is exactly like that of the 1st row.
With the previous R1 on the outermost, we can just relabel the strands R1W1R2W2W3R3W4R4 to reflect the fact that both outermost strands are red.
Tie R1 with W1, R1 with W2, and R1 with R2 for the left part, and mirror this process for the right part. Conclude by tying the two middle strands together. Voila, a heart pattern is complete now!
Continue repeating the pattern of rows, mirroring each row until the bracelet reaches the desired length. Remember to tie off the strands securely once you've reached the desired length. You can do this by knotting all the strands together and trimming any excess floss.
With these steps completed, you've successfully crafted a heart friendship bracelet, a beautiful symbol of the special bond you share with your friend. Congratulations!
Crafting a heart friendship bracelet is not only a creative endeavor but also an opportunity to strengthen the bond with your friend. To ensure your bracelet turns out beautifully, consider the following tips and tricks:
1.Choose Quality Materials: Opt for high-quality embroidery floss in vibrant colors that reflect the essence of your friendship. Quality materials will enhance the durability and visual appeal of your bracelet.
2.Maintain Consistent Tension: Keep the tension of your knots consistent throughout the weaving process to achieve a uniform and polished look. This will prevent your bracelet from becoming uneven or loose.
3.Personalize with Charms: Add a personal touch to your bracelet by incorporating beads, charms, or initials that hold special meaning for you and your friend. These embellishments will make your bracelet even more meaningful and unique. If possible, read up on how to make a heart bracelet with beads to master embellishment techniques.
The steps of how to make a heart bracelet may initially seem lengthy and a bit bothersome. However, once you immerse yourself in the process, you'll find it to be a deeply enjoyable and rewarding experience. By following our instructions on how to make a heart friendship bracelet, you've created a tangible symbol of the special connection you share with your friend. As you wear your bracelet, may it serve as a constant reminder of the laughter, support, and joy you bring to each other's lives.
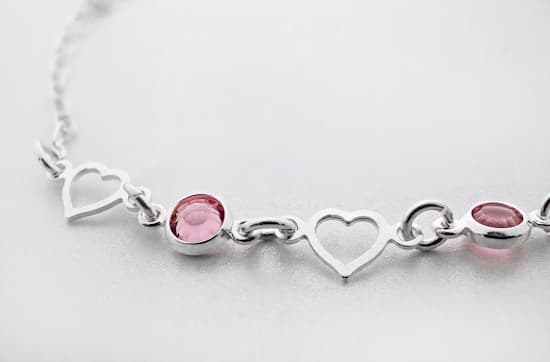
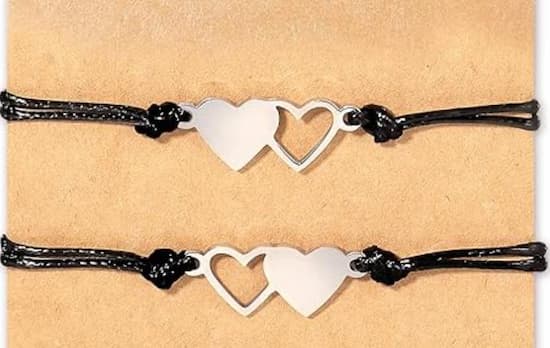
The amount of string needed for a heart friendship bracelet depends on factors like bracelet size, knotting style, and desired thickness. For our current project, at least over 100 inches of string is required for each color. However, some handmade minimalist heart friendship bracelets like the Your Always Charm Best Friend Bracelet may need less string to make.
Heart friendship bracelets crafted from embroidery floss can generally withstand occasional exposure to water, such as hand washing. However, prolonged exposure to water, particularly soaking or swimming, may cause the colors to fade and the threads to weaken.
The time it takes to make a heart friendship bracelet varies depending on factors such as skill level, bracelet complexity, and weaving speed. For a beginner, crafting a simple bracelet may take around 1-2 hours, including setup time and familiarization with the knotting techniques. If you want a quicker solution, consider ready-made options to signify mutual commitment.
Explore our detailed bangle bracelet size chart to discover your perfect fit. Learn to measure your hand, understand sizing, and avoid common mistakes.
Read More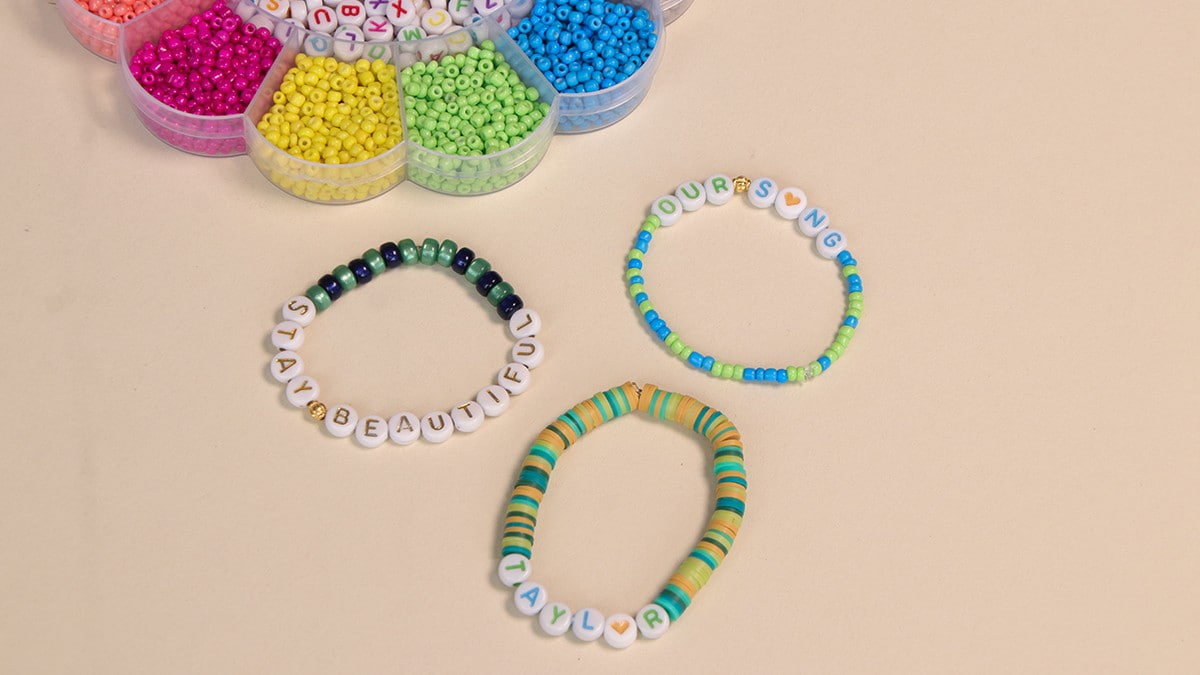
Discover unique letter bead bracelet ideas to personalize your style. Learn the materials to use and follow step-by-step instructions to make your own bracelet!
Read More
Explore the rich symbolism and deep jade bracelet meaning in our new blog. Learn how these stunning pieces of jewelry can influence your life positively.
Read More
Discover how to make a wood bead bracelet with this DIY guide. Perfect for beginners, this article provides all the steps you need for a handmade accessory.
Read More