


Necklace chains, no matter their quality or type, can sometimes break, leaving you with a piece of jewelry that's temporarily out of commission. Before you think about replacing your favorite accessory, consider the possibility of repair.
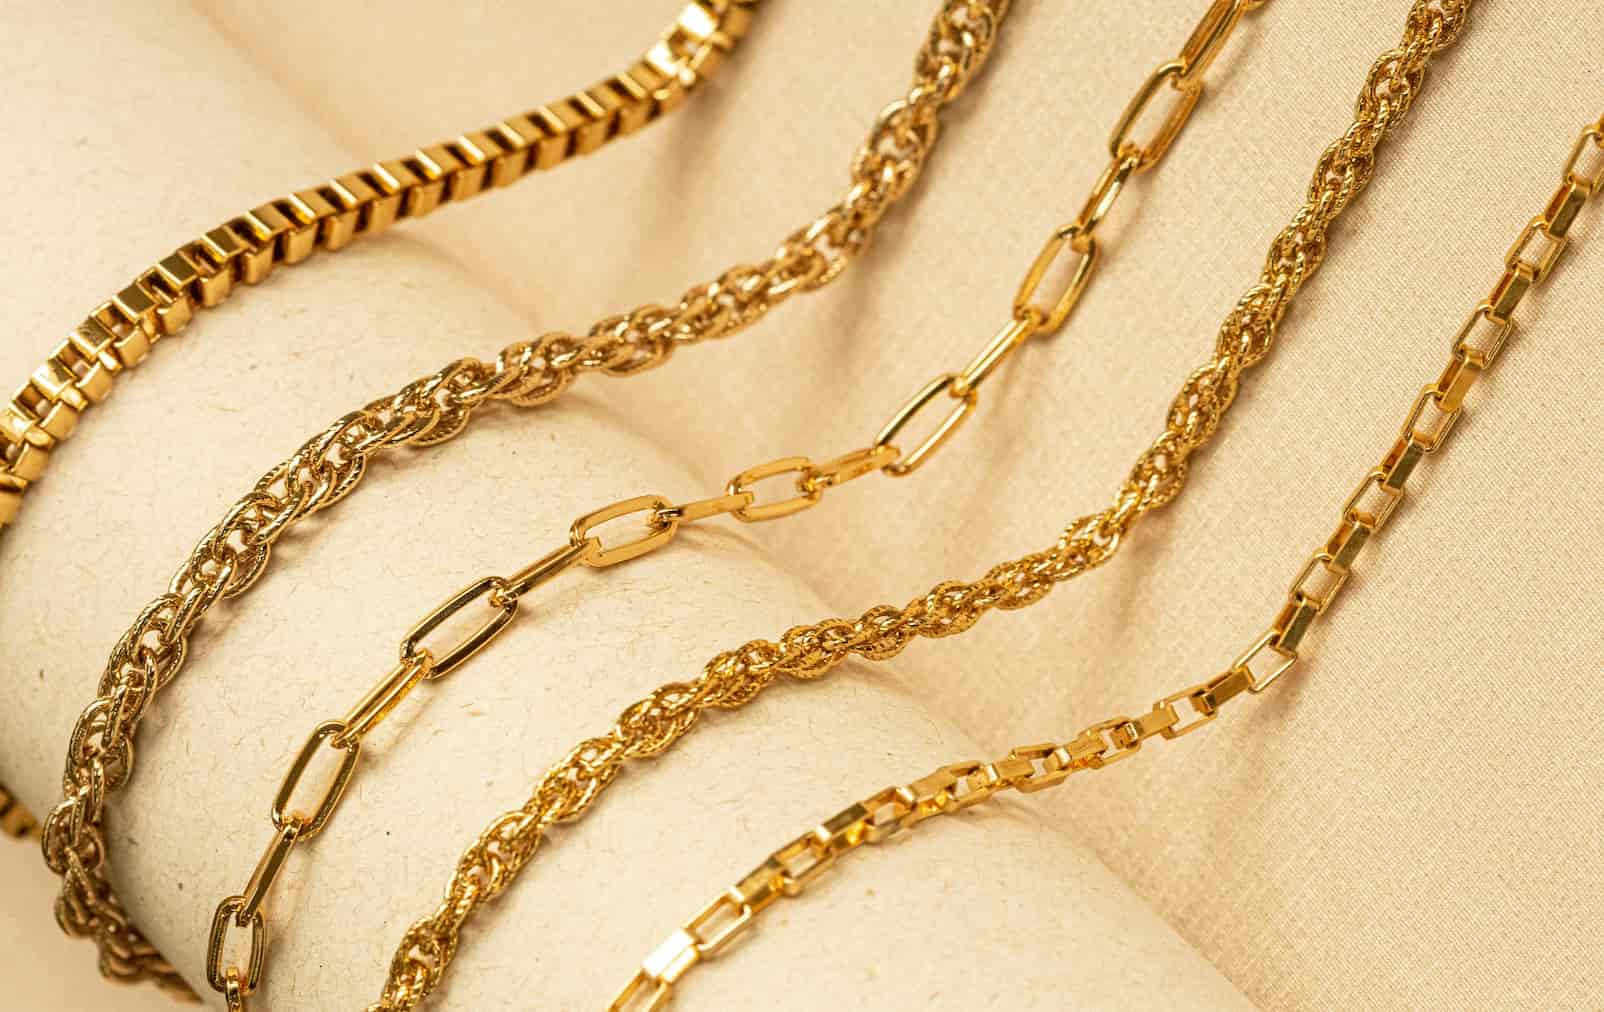
In this guide, we'll take you through the essential steps on how to fix a broken necklace chain, ensuring your treasured piece is restored to its former glory. From assessing the damage and gathering tools and materials to detailed repairing steps and final touches, we'll cover everything you need to repair various types of chains, including herringbone, curb, box, ball, rope, and cable/link chains.
Before diving into how to fix a broken necklace chain, it's crucial to accurately assess the extent of the damage. This initial examination will determine the best approach for repair and ensure you gather the appropriate tools and materials for the task. Follow these steps to effectively evaluate your broken necklace chain:
1.Identify the Type of Chain: Different chain types, from delicate herringbone to sturdy curb chains, will require different repair approaches. Identifying the type of chain will help you understand the intricacies involved in the repair process and gather the appropriate tools and materials.
2.Assess the Break: Lay the necklace on a flat, well-lit surface. Use a magnifying glass to closely inspect the break in the chain. Chain breaks can vary significantly. It could be a simple snap where the metal has cleanly separated, or a more complicated issue like a crushed or twisted link. The type of break will affect how you approach the repair.
3.Check for Additional Damage: While the main focus may be the break itself, it's crucial to check for other issues like weakened links nearby, clasps that may have become loose, or any signs of wear and tear that could complicate the repair.
Repairing a broken necklace chain requires understanding the specific characteristics and needs of each chain type. Below, we outline the process of how to repair necklace for several common types of chains, detailing the tools and materials needed, as well as step-by-step repair instructions.
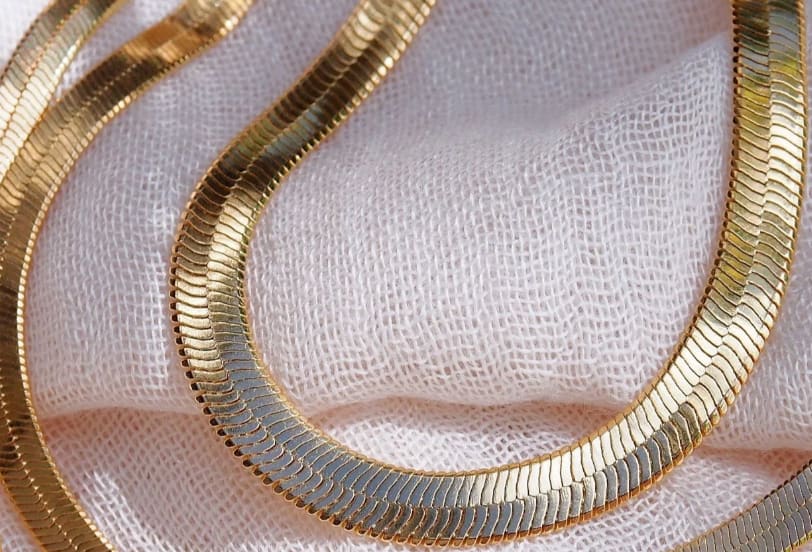
Herringbone chains are known for their unique, flat appearance, consisting of short, parallel links that are set at an angle to each other. This design gives the chain a liquid-like, smooth feel, which makes it both beautiful and delicate. Due to its structure, the herringbone chain is prone to kinking and requires careful handling during repairs. Here's how to repair a broken necklace chain of herringbone:
Tools and Materials:
Repairing Steps:
1.Gently Straighten the Chain: Using the soft cloth to handle the chain, carefully straighten out any kinks or distortions with the tweezers. It's crucial to be gentle to avoid creating more bends.
2.Identify the Break Point: Examine the chain closely to find exactly where it has snapped.
3.Apply Adhesive or Solder: If the break is clean and the ends meet neatly, a small amount of jewelry adhesive can be used to rejoin them. For a more durable fix, especially in fine jewelry, soldering the ends together with a material that matches the chain's metal can be preferable.
4.Press and Hold: Use flat-nosed pliers to press the repaired section gently if using adhesive. This ensures that the ends are firmly joined without adding pressure that could bend the chain.
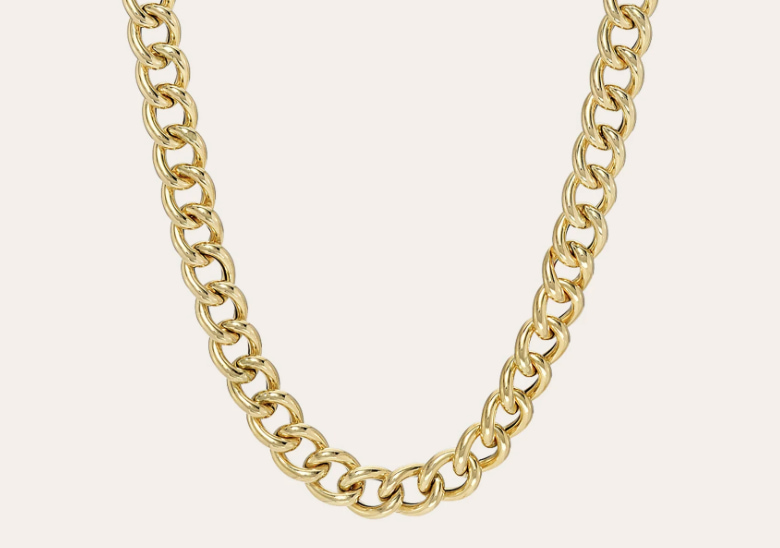
The curb chain is composed of uniformly sized round or oval links that interlock with each other, which are often twisted and diamond-cut to lie flat. This design gives the curb chain a durable structure, making it less prone to breaking but easier to repair when it does.
Tools and Materials:
Repairing Steps:
1.Open the Link: Use needle-nosed pliers to gently twist open the link adjacent to the damaged or broken link. Ensure you twist sideways, not outward, to maintain the integrity of the link shape.
2.Replace or Repair the Broken Link: Remove the damaged link. If you have a replacement link, thread it into the chain. If the original link is salvageable, realign it in the chain.
3.Close the Link: Once the broken link is replaced or repaired, use the pliers to close the open link securely.
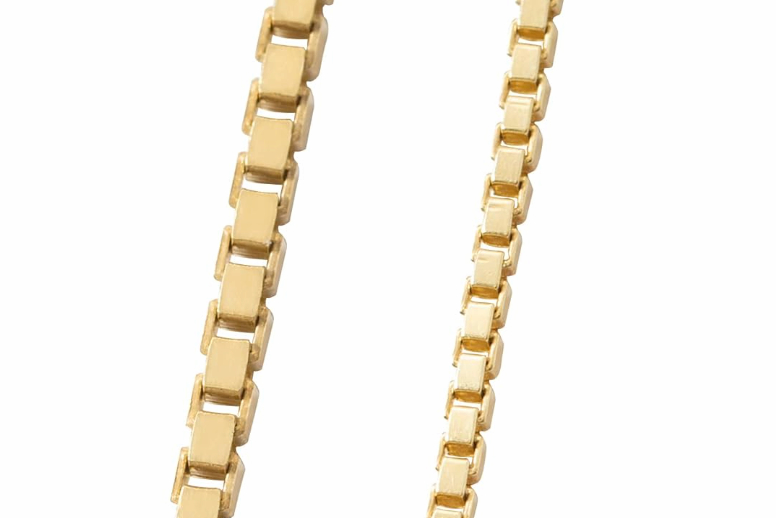
Box chains consist of square links that form a continuous, smooth chain. Each link is typically robust, but the chain can still snap under force. The structure of a box chain allows for relatively straightforward repairs.
Tools and Materials:
Repairing Steps:
1.Identify the Damaged Link: Examine the chain closely to locate any broken or distorted links.
2.Remove and Replace Damaged Link: Use the pliers to open the link next to the damaged one. Remove the damaged link and replace it with a new link or connect the gap with a small jump ring.
3.Reconnect the Links: Connect the open link to the new link or jump ring. Use the pliers to close the link carefully.

Ball chains are distinguished by their series of small, bead-like spheres connected via short lengths of wire or small connector bars. This type of chain is typically used for more casual or industrial styles like dog tags due to its sturdy yet simple design. Here's how to fix a thin necklace chain of these spheres:
Tools and Materials:
Repairing Steps:
1.Identify the Damaged Section: Carefully examine the chain to locate the break, often at a connector or between balls.
2.Prepare the Repair Site: If the connector is damaged, remove it using wire cutters. If a ball is missing, prepare to insert a new ball or connector in its place.
3.Insert Replacement Parts: Slide the new ball or connector into place. If using a connector, ensure that it fits snugly between the balls.
4.Secure the Repair: Use needle-nosed pliers to crimp the connectors or wire ends to secure the new parts in place. Ensure the connection is strong to prevent future breaks.

Rope chains are visually complex, consisting of several small links that are patterned to emulate a twisted rope. This intricacy makes them both appealing and delicate. They are susceptible to unraveling and more complex breaks.
Tools and Materials:
Repairing Steps:
1.Unravel and Straighten the Damaged Area: Gently untwist any tangled or knotted links. Use the magnifying glass to better see the intricate weave of the chain.
2.Realign the Links: Carefully realign the twisted links using the needle-nosed pliers, restoring the original rope pattern as closely as possible.
3.Solder if Necessary: For breaks that have led to completely separated links, use a fine-tipped soldering iron to rejoin the ends. Choose a solder that matches the chain's metal to maintain appearance and strength.
4.Test the Repair: Gently pull on the repaired section to ensure it holds under stress. Adjust as necessary.
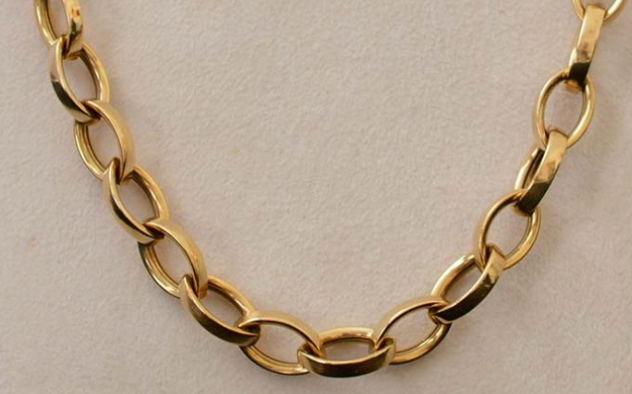
Cable chains, also known as link chains, are one of the most common jewelry chain types. They consist of a series of oval or round links that are connected in a simple sequence. Their straightforward design makes them relatively easy to repair.
Tools and Materials:
Repairing Steps:
1.Open the Link Next to the Break: Use needle-nosed pliers to carefully open the link adjacent to the damaged one. Remember to twist the link open in a lateral motion to maintain the shape.
2.Remove or Repair the Damaged Link: Extract the broken link from the chain. If a spare link is available, attach it in place of the damaged one.
3.Close the Open Links: Use the needle-nosed pliers to close the open link securely.
Once you've successfully gone through the above steps on how to fix a broken chain on a necklace, it's vital to take some additional steps to ensure its longevity and prevent future damage. Here are some final touches and maintenance tips to keep your repaired chain in excellent condition:
Repairing a broken necklace chain can be a fulfilling project that not only saves money but also preserves a piece of jewelry that may hold significant sentimental value. Throughout this guide, we've walked you through the steps to assess the damage, gather the right tools and materials, and navigate the intricacies on how to fix a broken necklace of different types of chains. With your necklace restored, remember to follow our maintenance tips and handle it with care to ensure your jewelry withstands the test of time.
If your necklace breaks unexpectedly, one temporary fix is to use clear nail polish or super glue to bind the broken ends together. Alternatively, you can tie the broken ends with a piece of thin wire or strong thread, ensuring a secure hold.
When faced with a broken necklace, assess the damage to determine the best course of action. If the break is minor, you may be able to repair it yourself using jewelry tools or adhesive. For more severe damage, such as multiple breaks or missing components, consider taking the necklace to a professional jeweler for repair. Alternatively, you could repurpose the necklace by transforming it into a new piece of jewelry or using its components for other craft projects.
Yes, you can use jewelry adhesive to glue a necklace back together, but it's essential to do so carefully and correctly. Ensure the broken ends are clean and properly aligned before applying the adhesive. Use a small amount of adhesive to avoid excess dripping or messiness. Press the broken ends together firmly and hold them in place until the adhesive sets. Allow the glued necklace to dry completely before wearing it again.

Learn how to shorten a necklace with these 5 effective methods. Discover when to seek professional help and alternative solutions for excess necklace length.
Read More
Learn how to pack necklaces in 9 effective ways to avoid tangles and damage with our guide. Discover helpful tips for moving and traveling with your jewelry.
Read More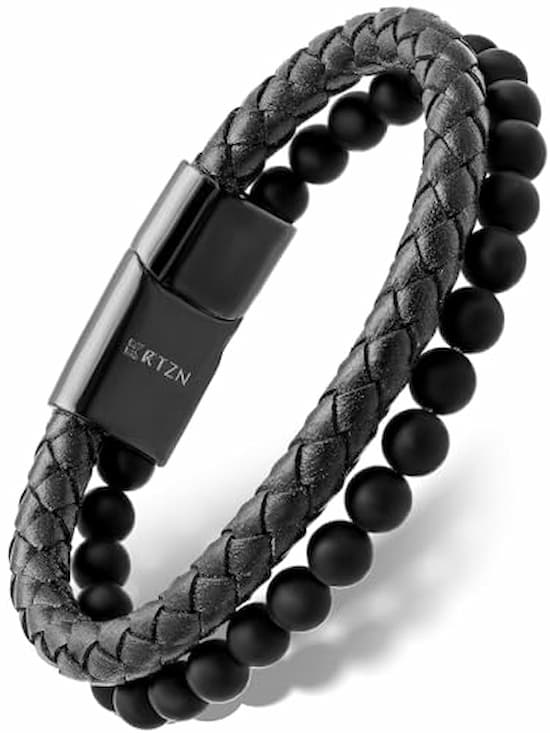
Discover how to make a multi strand beaded bracelet with simple steps. This guide covers everything from materials to final touches. Perfect for beginners!
Read More
Learn how to clean a chain necklace of all metal types with our guide, including gold, silver, plated, and more. Get expert care tips and avoid common mistakes.
Read More