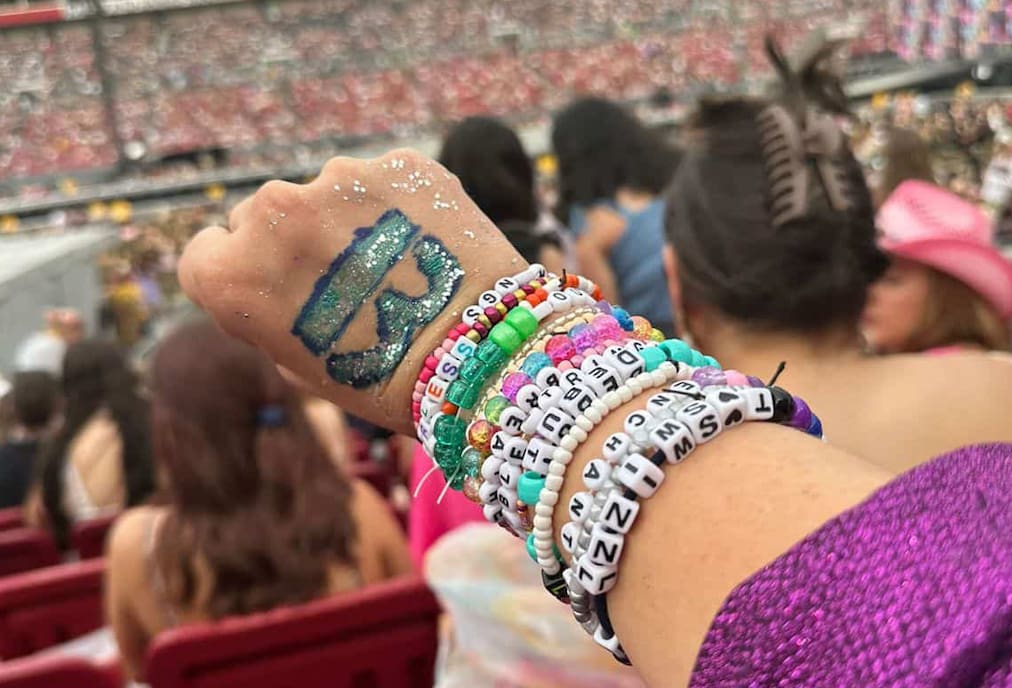
Are you a Swiftie gearing up for the next Taylor Swift's Eras Tour, or perhaps you're hosting an Eras Tour Movie viewing party soon? If so, creating Taylor Swift friendship bracelets is the perfect way to complement your outfit or trade with fellow fans. These bracelets serve as a stylish symbol of your love for Taylor and a fun, personalized accessory to flaunt at events.
In this article, we'll help you choose the best beads for Taylor Swift bracelets, guide you through the steps to craft your own Taylor Swift friendship bracelet, and offer tips to style them perfectly. Join us and start crafting something as unique and vibrant as Taylor's music.

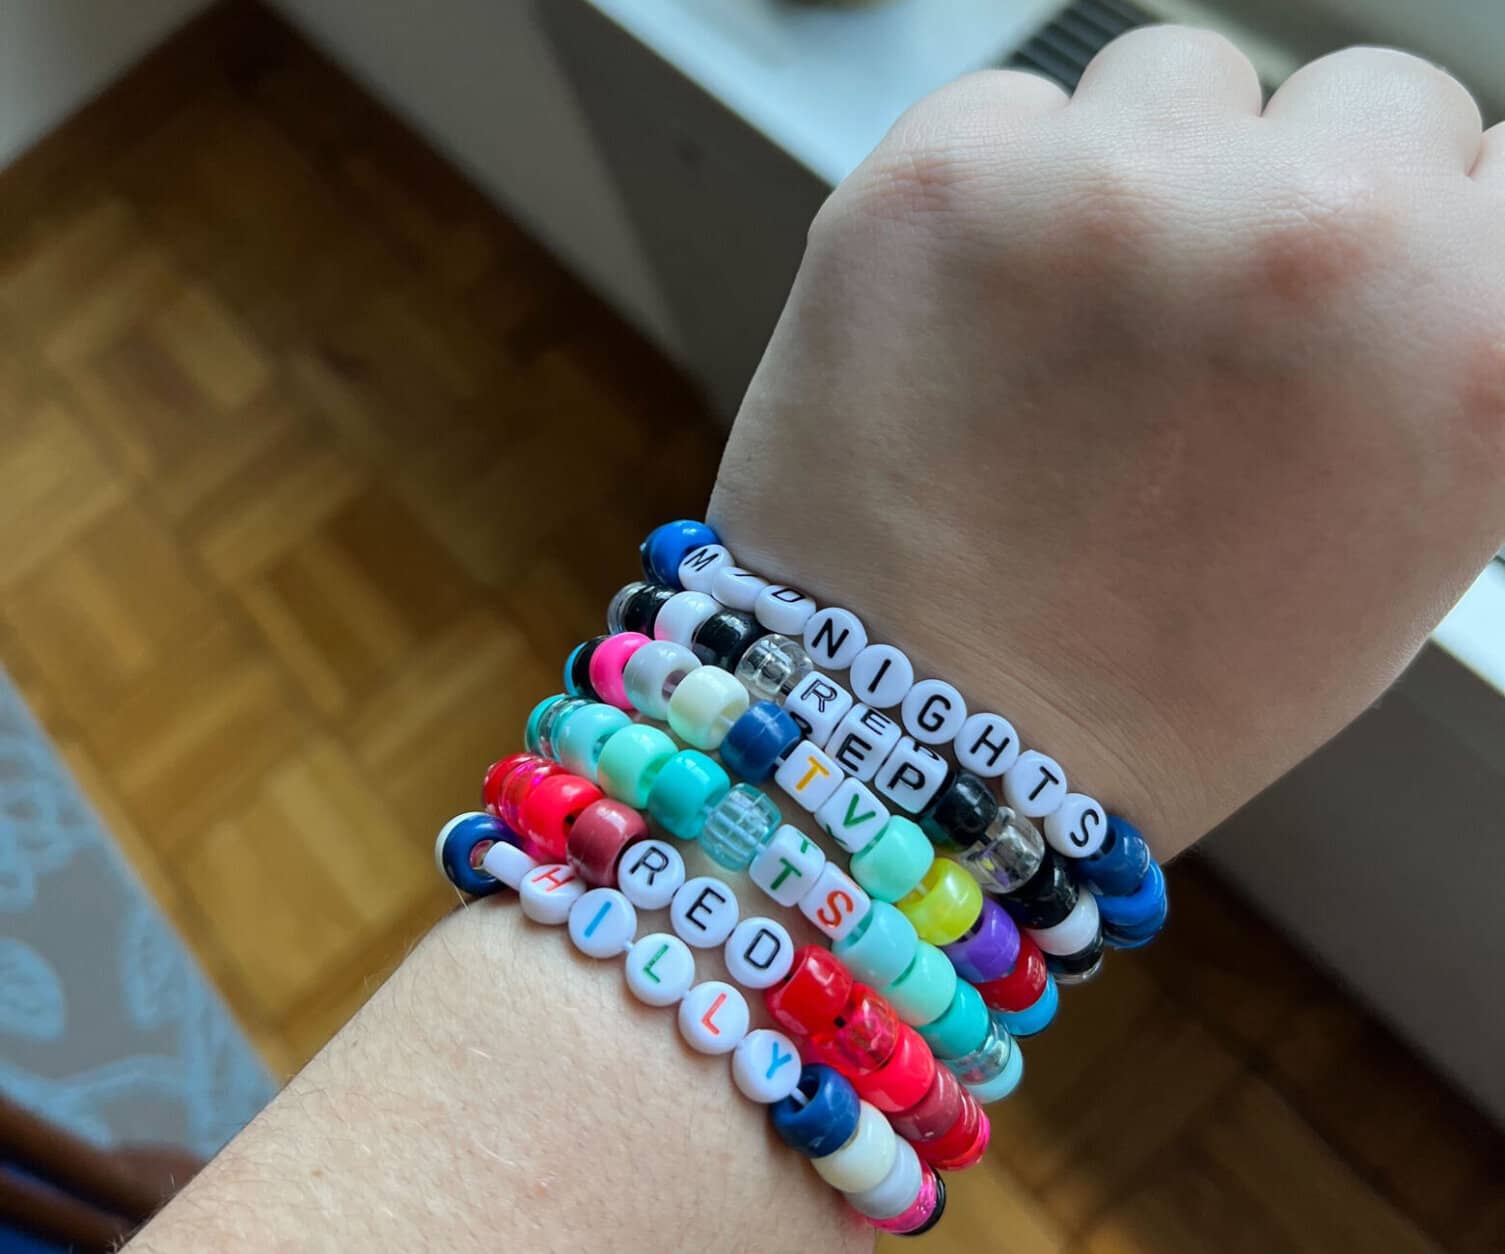
Taylor Swift bracelets, often seen during her vibrant Eras tour, are not just any friendship bracelets; they are a colorful mosaic of fandom culture and personal expression. These bracelets are typically crafted from a variety of beads, each chosen to convey a specific meaning or sentiment. Fans use these beads to spell out Taylor Swift song lyrics, album titles, or playful inside jokes that resonate within the Swiftie community.
The tradition of crafting and trading these beaded bracelets took inspiration from a lyric in "You're On Your Own, Kid," a track from Taylor's album Midnights. The lyric "So make the friendship bracelets, Take the moment and taste it" became a literal and figurative call to action for fans to weave their connections with one another, echoing the themes of friendship and self-discovery found throughout her music.

When it comes to crafting the perfect Taylor Swift bracelet, selecting the right beads is crucial. Your bead choice will influence the overall look, feel, and message of your bracelet. Here's a guide to help you choose the best beads for Taylor Swift friendship bracelets:
Creating a Taylor Swift bracelet is an enjoyable way to express your admiration for Taylor and connect with other fans. Whether you're planning to wear it to her next concert or gift it to a fellow Swiftie, here's a straightforward guide to making your own Taylor Swift-inspired friendship bracelet.
1.Plan Your Design: Before you start threading beads, lay out your design. Arrange the beads in the order you want them on your bracelet. Include letter beads to spell out song titles, lyrics, or your favorite Taylor Swift era. Mix in decorative and spacer beads to add flair.
2.Measure and Cut the Elastic Cord: Wrap the elastic cord around your wrist to determine the right length. Add about 2 inches extra for tying knots. If using bracelet wire and a clasp, cut a length that wraps around your wrist comfortably.
3.Secure the Cord (Optional): To prevent beads from slipping off one end, you can tape the cord or tie a temporary knot at one end.
4.String the Beads: Start stringing the beads onto the cord according to your planned design. Ensure that your chosen phrase or name is spelled correctly with the letter beads. Mix in decorative beads and spacers for a balanced look.
5.Check the Fit: Once all the beads are on the cord, wrap the bracelet around your wrist to ensure a comfortable fit. Adjust the number of beads if necessary.
6.Tie the Knot: For elastic bracelets, tie a secure knot with the two ends of the cord. Double or triple knot for extra security. Add a small drop of jewelry glue to the knot to ensure it doesn't come undone. Let it dry before trimming the excess cord. If using a clasp, attach it securely to the bracelet wire ends with crimp beads and a pair of pliers.
Whether you're dressing up for a concert or just want to add a touch of Swiftie flair to your daily outfits, here are some styling tips to help you make the most out of your Taylor Swift bracelets.
Crafting your own Taylor Swift bracelet is more than just a creative endeavor—it's a way to connect with a community of fans and express your admiration for Taylor's artistry. From choosing the best beads for Taylor Swift bracelets to styling your finished piece, each step allows you to infuse personal touches that make your bracelet uniquely yours. Embrace the joy of creating something unique and wear your Swiftie spirit with pride at every gathering.
When designing your Taylor Swift bracelet, consider including lyrics, song titles, or album names that resonate with you. Personalize it further with elements like initials, significant dates, or symbols that represent your favorite Taylor Swift era. This makes your bracelet not only a stylish accessory but also a personal memento of your connection to her music.
Customizing your Taylor Swift bracelet with beads involves selecting colors and materials that reflect the themes of her albums or your personal style. Add letter beads to spell out your favorite song titles or lyrics. Mix and match different bead shapes and sizes to create a unique bracelet that perfectly captures your Swiftie spirit.
The ideal bead size for Taylor Swift friendship bracelets typically ranges from 4mm to 10mm. Smaller beads (4mm to 6mm) are great for intricate designs or when you want to include detailed patterns or text. Larger beads (8mm to 10mm), on the other hand, are more visible and make a bolder statement, suitable for simpler designs that require less detail but have greater visual impact.
Learn how to make a friendship bracelet with letter beads. Discover materials needed and follow our step-by-step instructions to create personalized bracelets.
Read MoreLearn how to make woven beaded bracelets with our easy guide. Discover essential supplies and follow step-by-step instructions to create stunning bracelets!
Read MoreUncover the Chinese bracelet beads meaning here. Learn what they symbolize, how they bring luck through Feng Shui, and tips on choosing and wearing them.
Read MoreLearn how to put beads on Pandora bracelets with our easy-to-follow guide. You will know how to add charms and personalize your charm bracelet effortlessly.
Read More